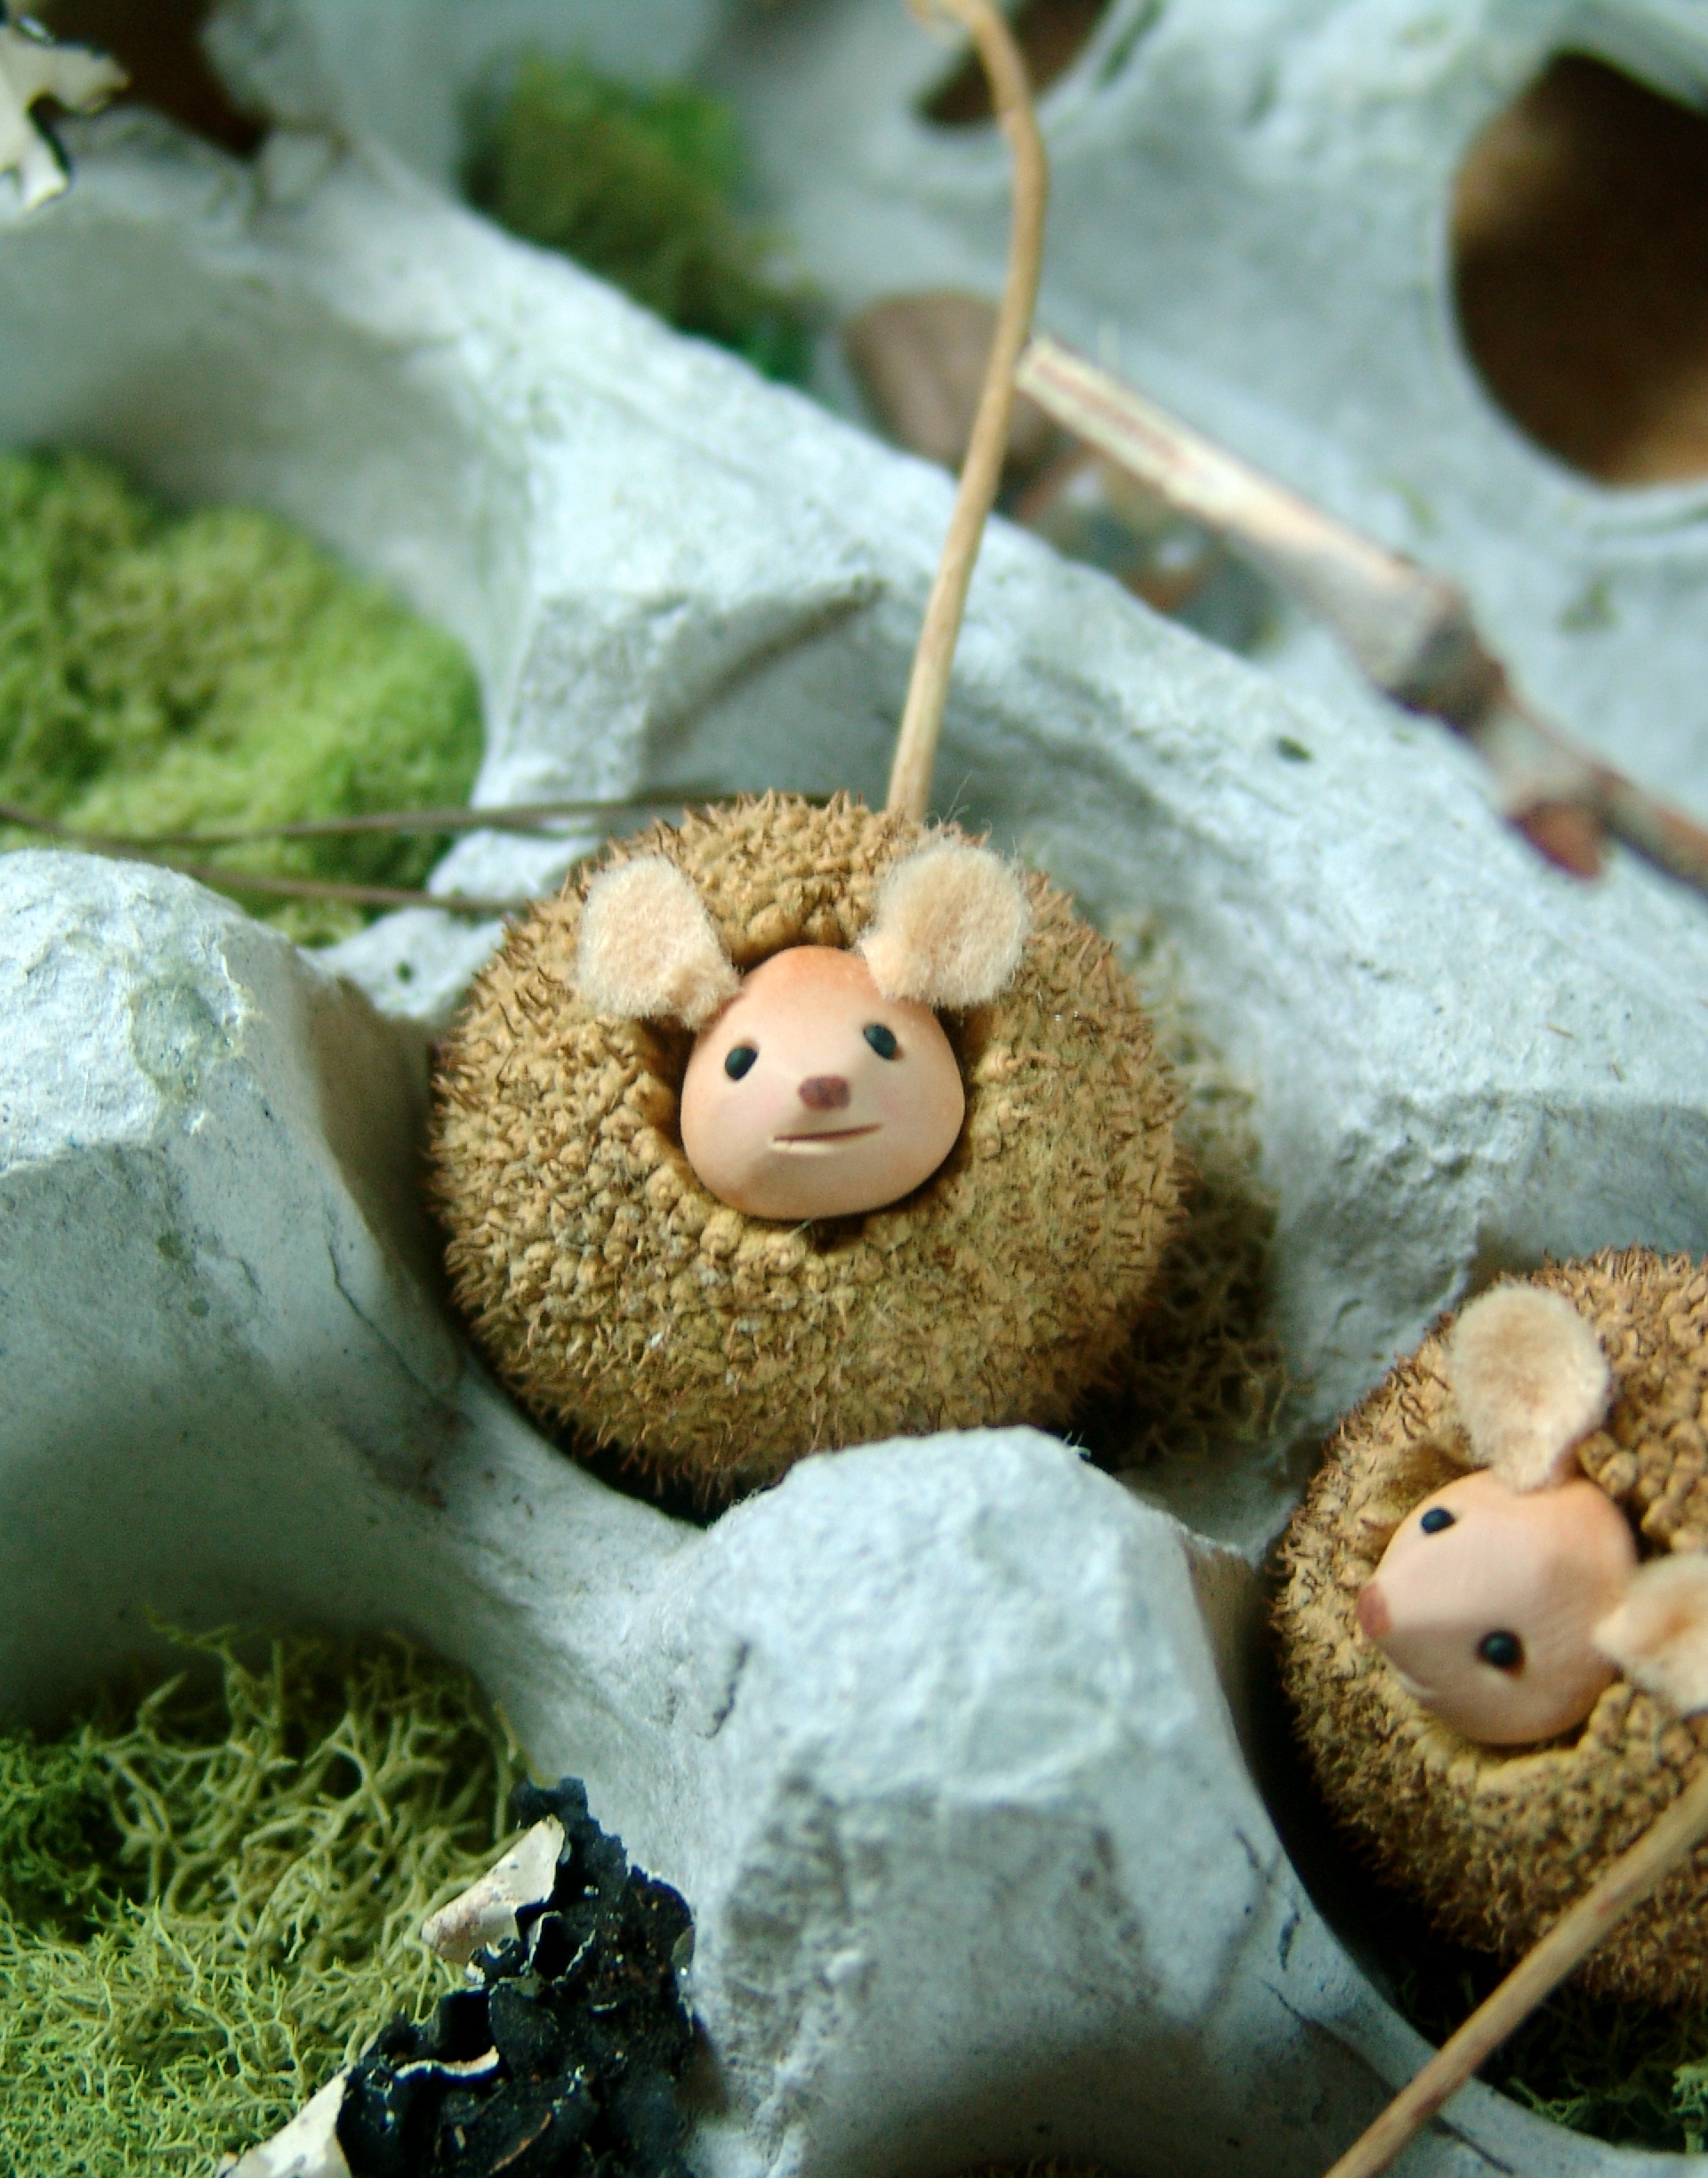
Today, I want to show you how to make the tiny hedgehog’s from my last post. (This tutorial is an updated version of one I made a few years ago.)
Tools + Supplies
- Sycamore seed balls (see note, below)
- X-Acto knife
- Tweezers
- Polymer clay in tan, beige and black
- Artist chalk pastels in browns and tan
- Paint brushes, small and medium
- Needle tool
- Small ball-end tool
- Two-part epoxy or E-6000 glue
- Beige felt
- Hot glue gun
- Toothpicks
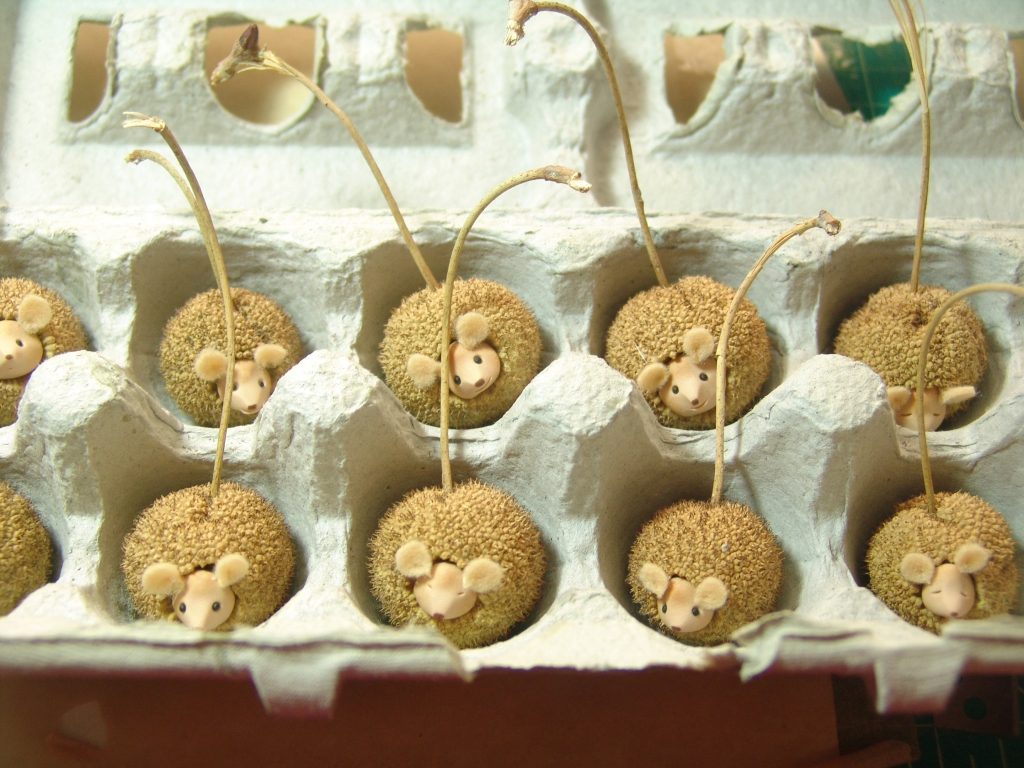
Note: Sycamore seed balls can be found this time of year (late fall/winter) around sycamore trees, which are easy to spot because they have beautiful white branches that stand out among the other trees. The trunks are a rather nondescript greyish brown, so when you’re looking for them, be sure to look up (high–they’re often quite tall) in order to spot the white branches. See all the little “hedgehogs” hanging? 🙂

If you don’t have access to sycamores, I’m sure you could also use pom pom balls, cutting away some of the material to make space for the face, just as I’ve done with the seed balls.
- Start by making the hedgehog faces. I used a mixture of equal parts Sculpey Beige and Tan to create the face clay.
- Roll the clay into little balls, one per face, each roughly 1/4″ in diameter.
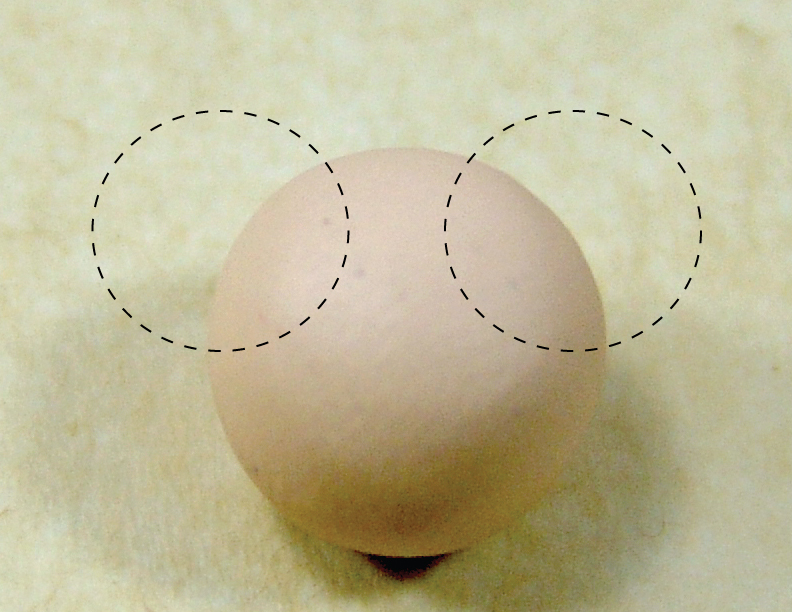
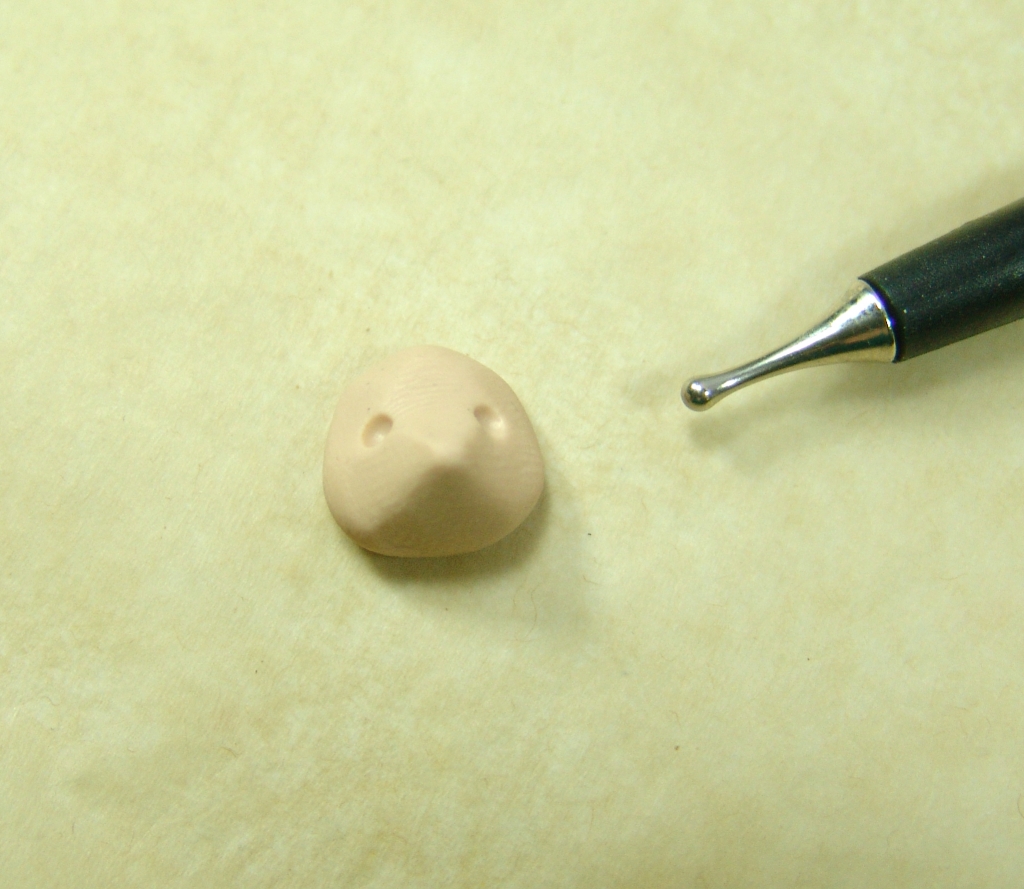
- To shape the face, first press the upper outer sections (see diagram below) of the ball with your index fingers, creating the eye areas.
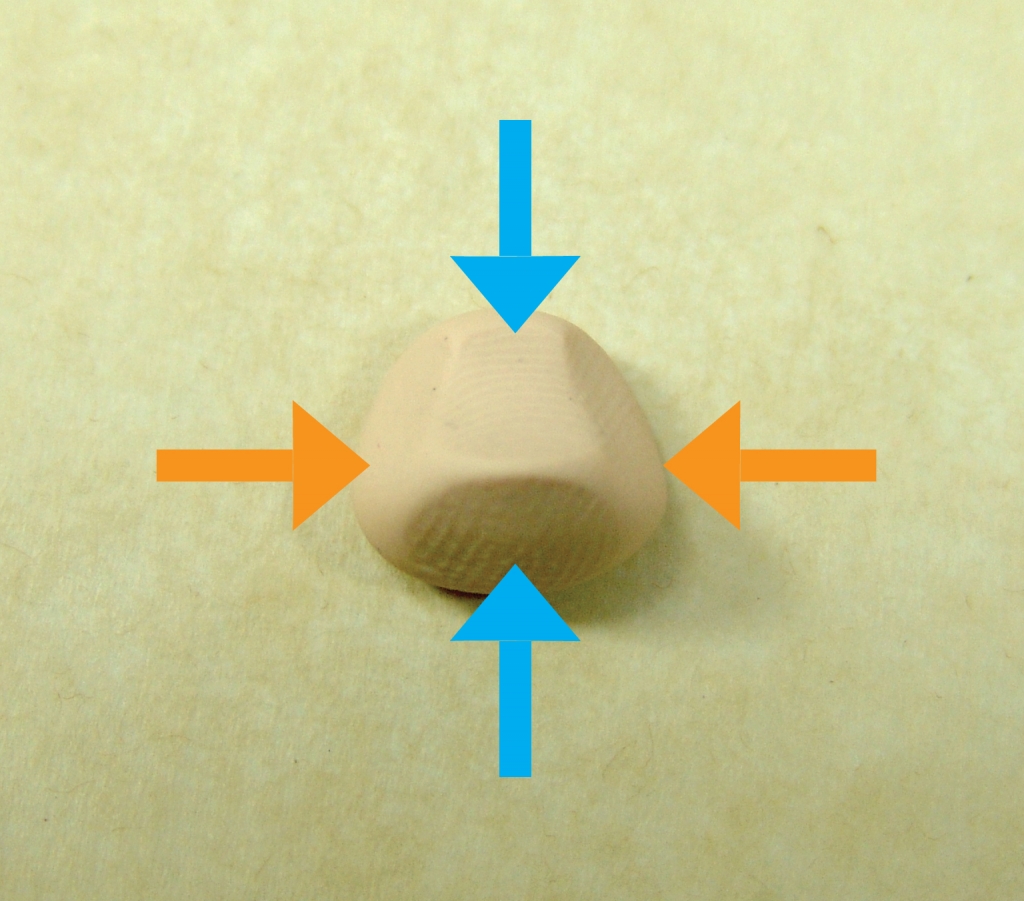
- Then, pinch the center of the ball with your thumb and forefinger, first in the direction shown by the blue arrows, then in the direction shown by the orange arrows.
- The nose might be a little too pointy at this stage, so soften it a bit with the pad of your finger.

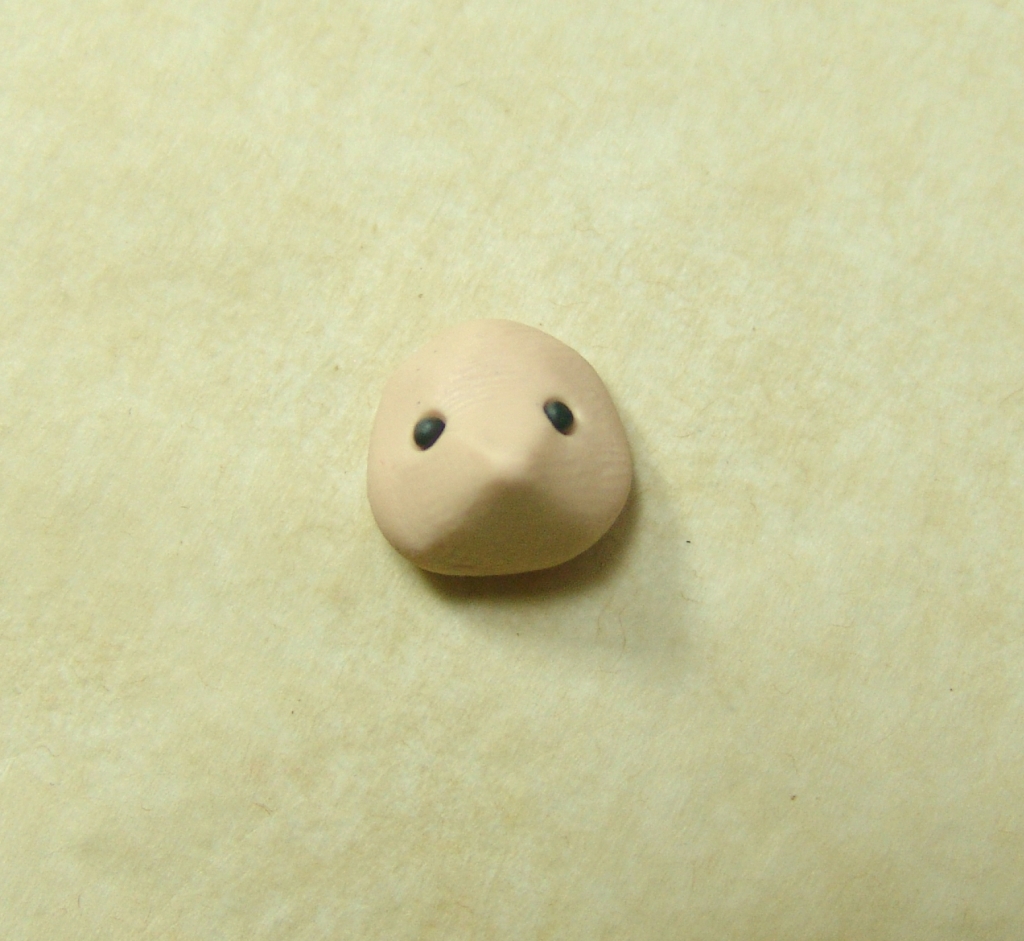
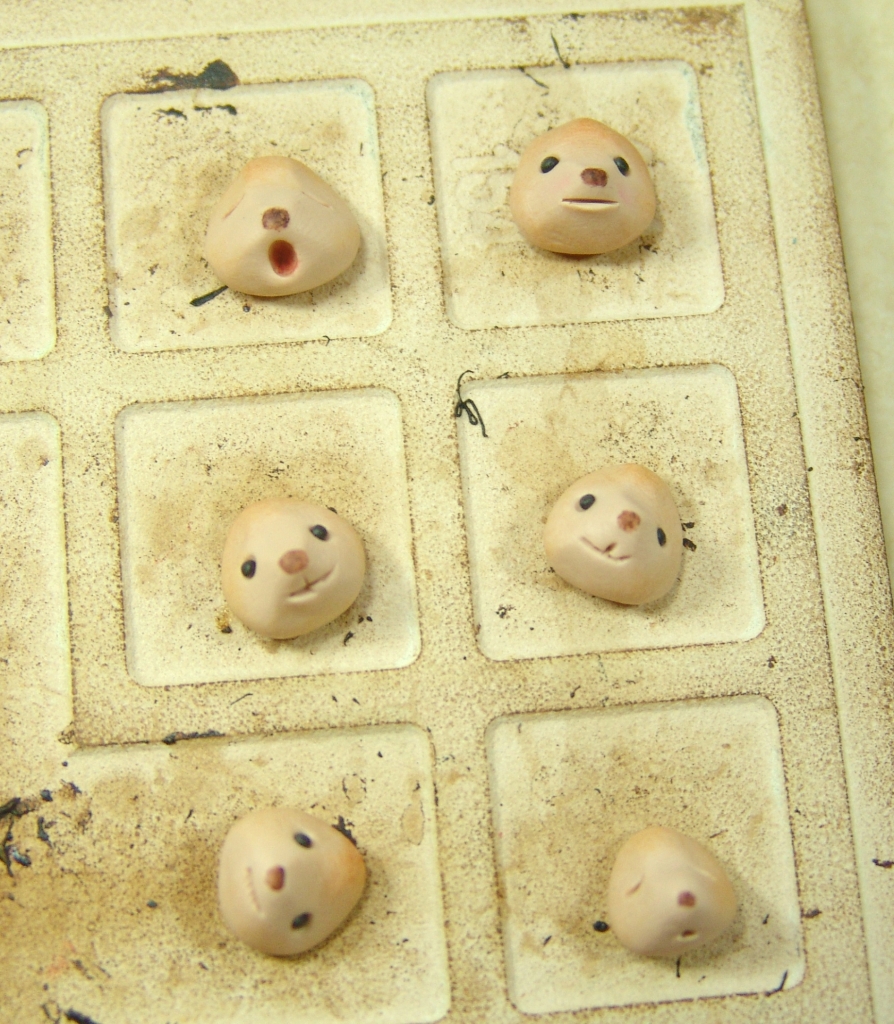
- Use a ball-end tool to make depressions for the eyes, and roll out two small balls of black clay, placing them in the depressions. This is one eye variation. You can also use the needle tool to create little upside-down arches for closed eyelids for sleeping hedgehogs or any variation you choose!
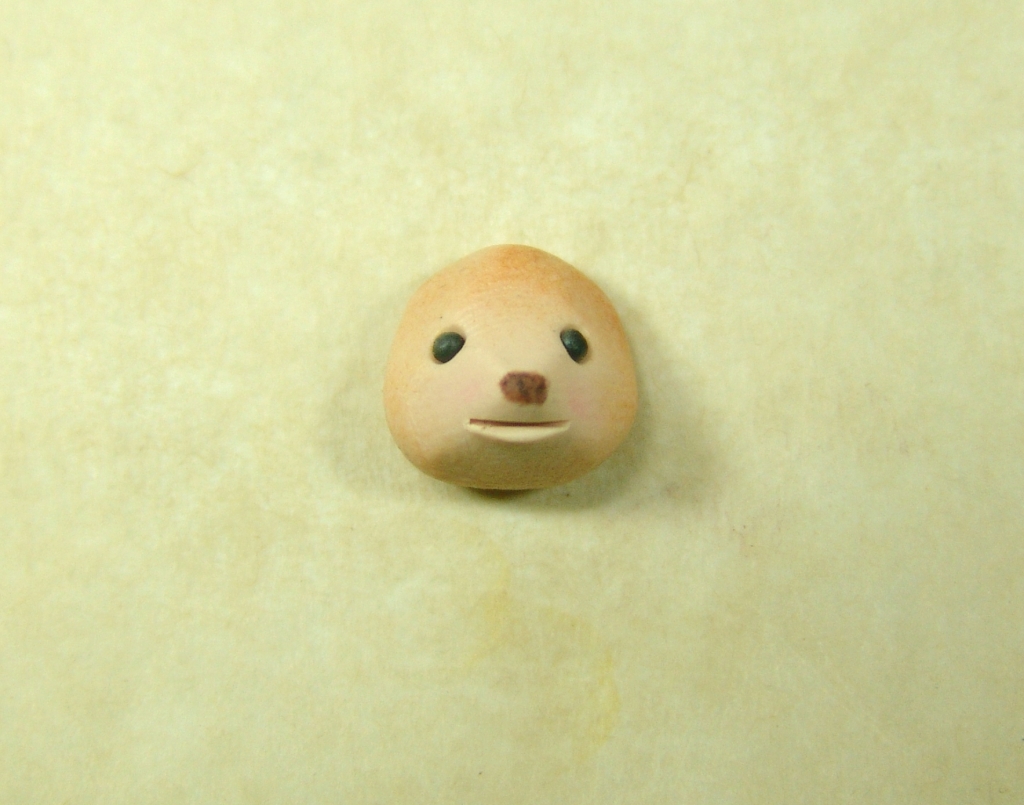
- Use a sharp blade to cut a small slit, forming the mouth. You can also use the ball-end tool to make a little depression for an open, rounded mouth or any other variation you choose.

- Grate a little artist chalk pastel pigment off of a pastel stick, and take up some of this loose pigment onto a barely moist, small paint brush. Dab onto the nose to add color. I used a chocolate brown and a cordovan brown for my noses.

- You can stop here with the faces, or use a larger, dry paint brush to dust some tan chalk pastel around the perimeter of the face.
- Bake the faces in a preheated oven for fifteen minutes and let cool.
 Cut out little ear shapes from beige felt. Make them quite tiny–a little less than 1/4″ wide.
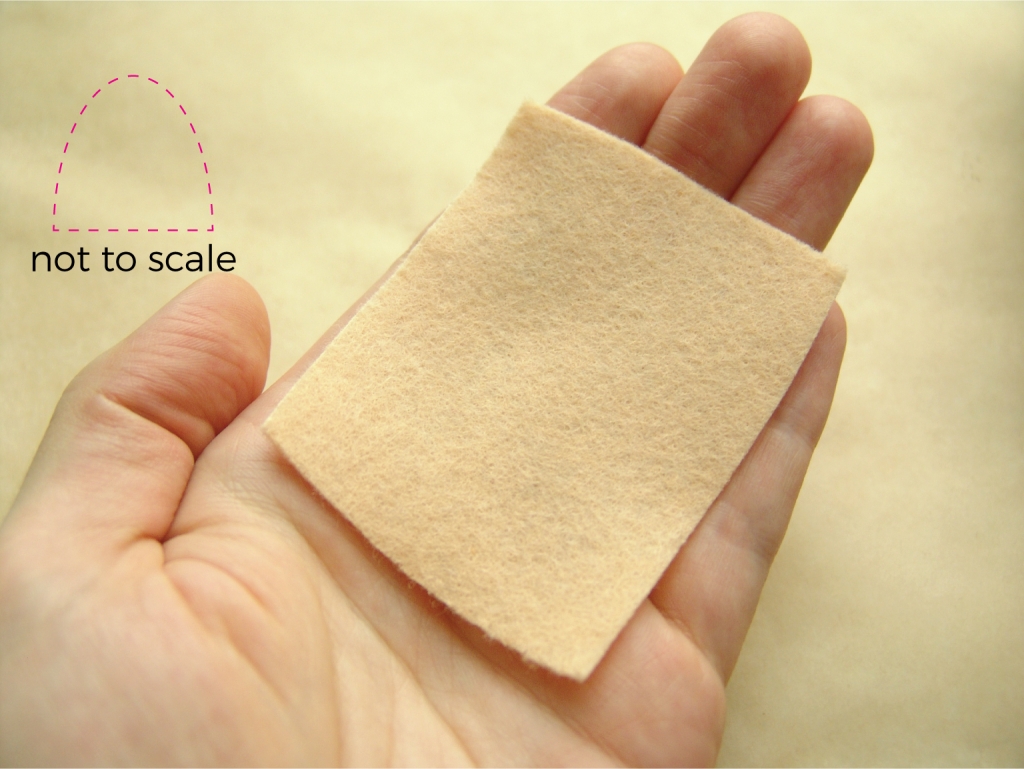
- Heat a hot glue gun, and take a tiny dab of hot glue onto a toothpick, quickly adding it to the base of the ear. Use tweezers to pinch the bottom corners of the ear together, forming a pinched, folded shape. You can use scissors to trim away any excess crusty bits of glue once it’s cool. Make two ears per hedgehog.
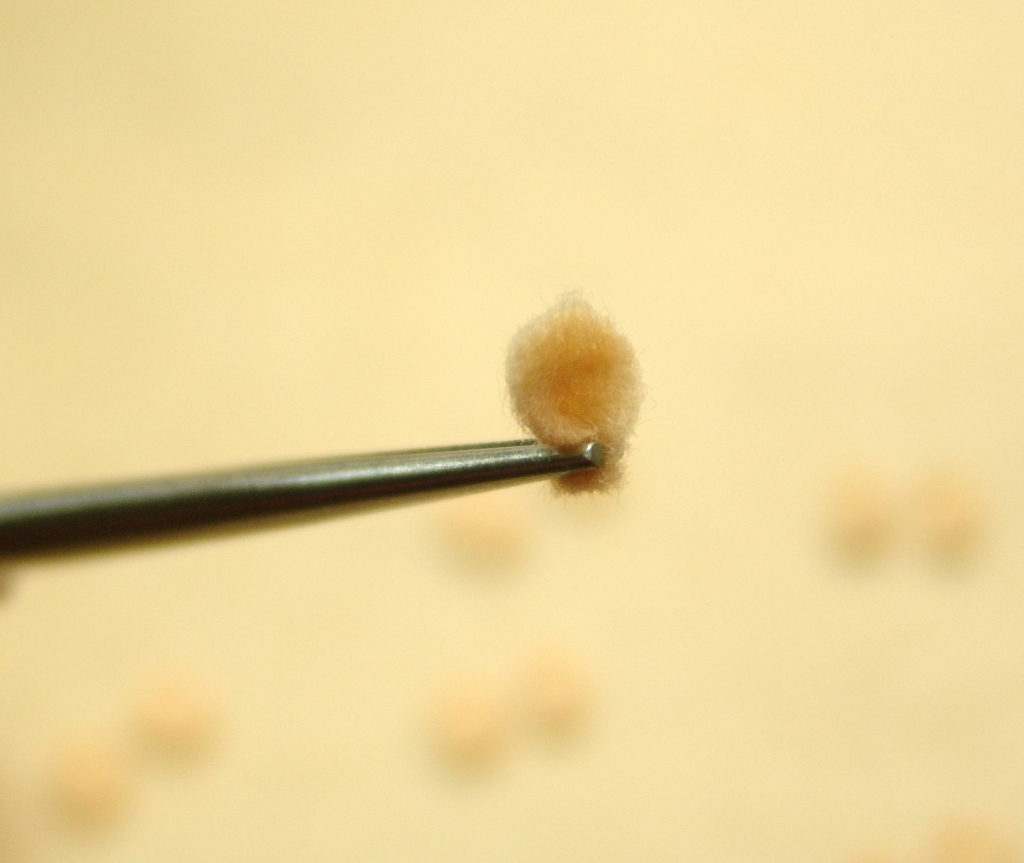
- Prepare the seed balls by cutting some of the seed heads away with an X-Acto knife. Once you’ve created an opening you can use tweezers to pull the seeds out in tufts. Be forewarned: This can get messy! Have a garbage can or container (if you want to release them outdoors) handy. Once you’ve cleared away enough space for the little face to fit, spread two-part epoxy on the back of the face and press it into place.
- Use hot glue to attach the ears, and–voilà! You’re done!