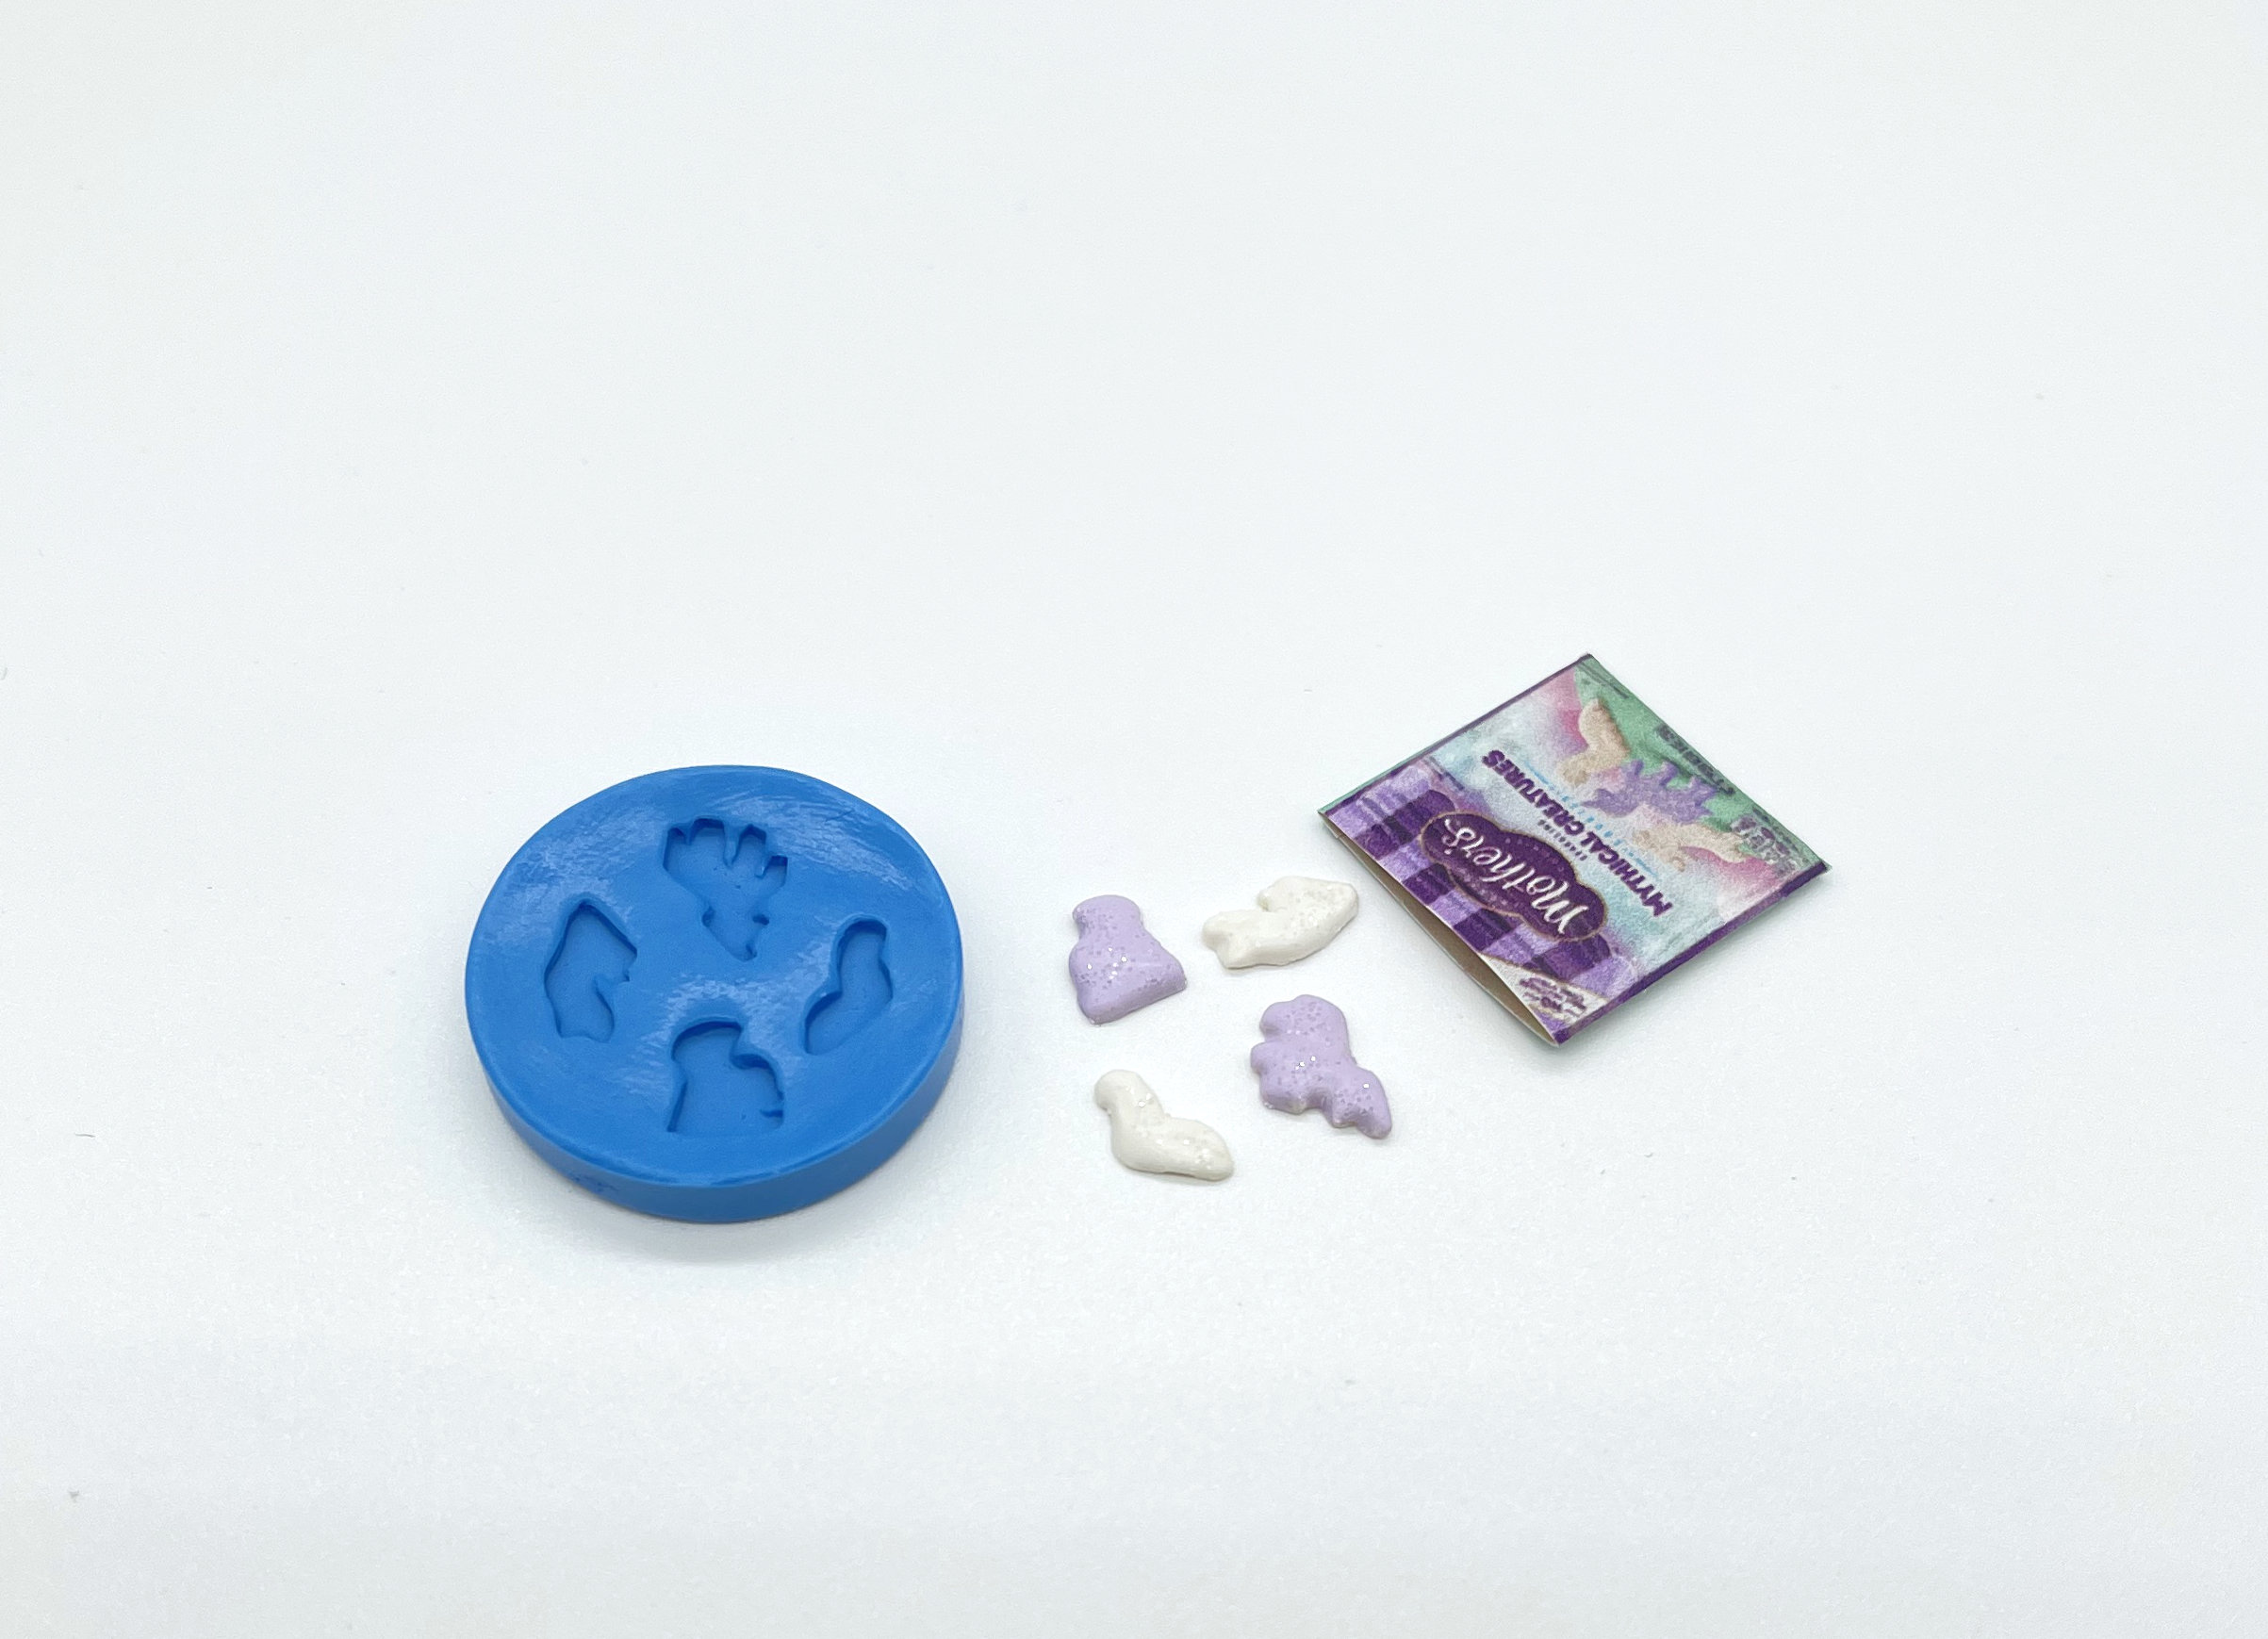
Today I have a quick and easy tutorial for frosted cookies! First off, you can get the cookie mold here, in either 1:12 scale or 1:6 scale.
You can now get all three styles of frosted animal cookie molds together in a discounted set! Get the 1:12 scale set or 1:6 scale set.
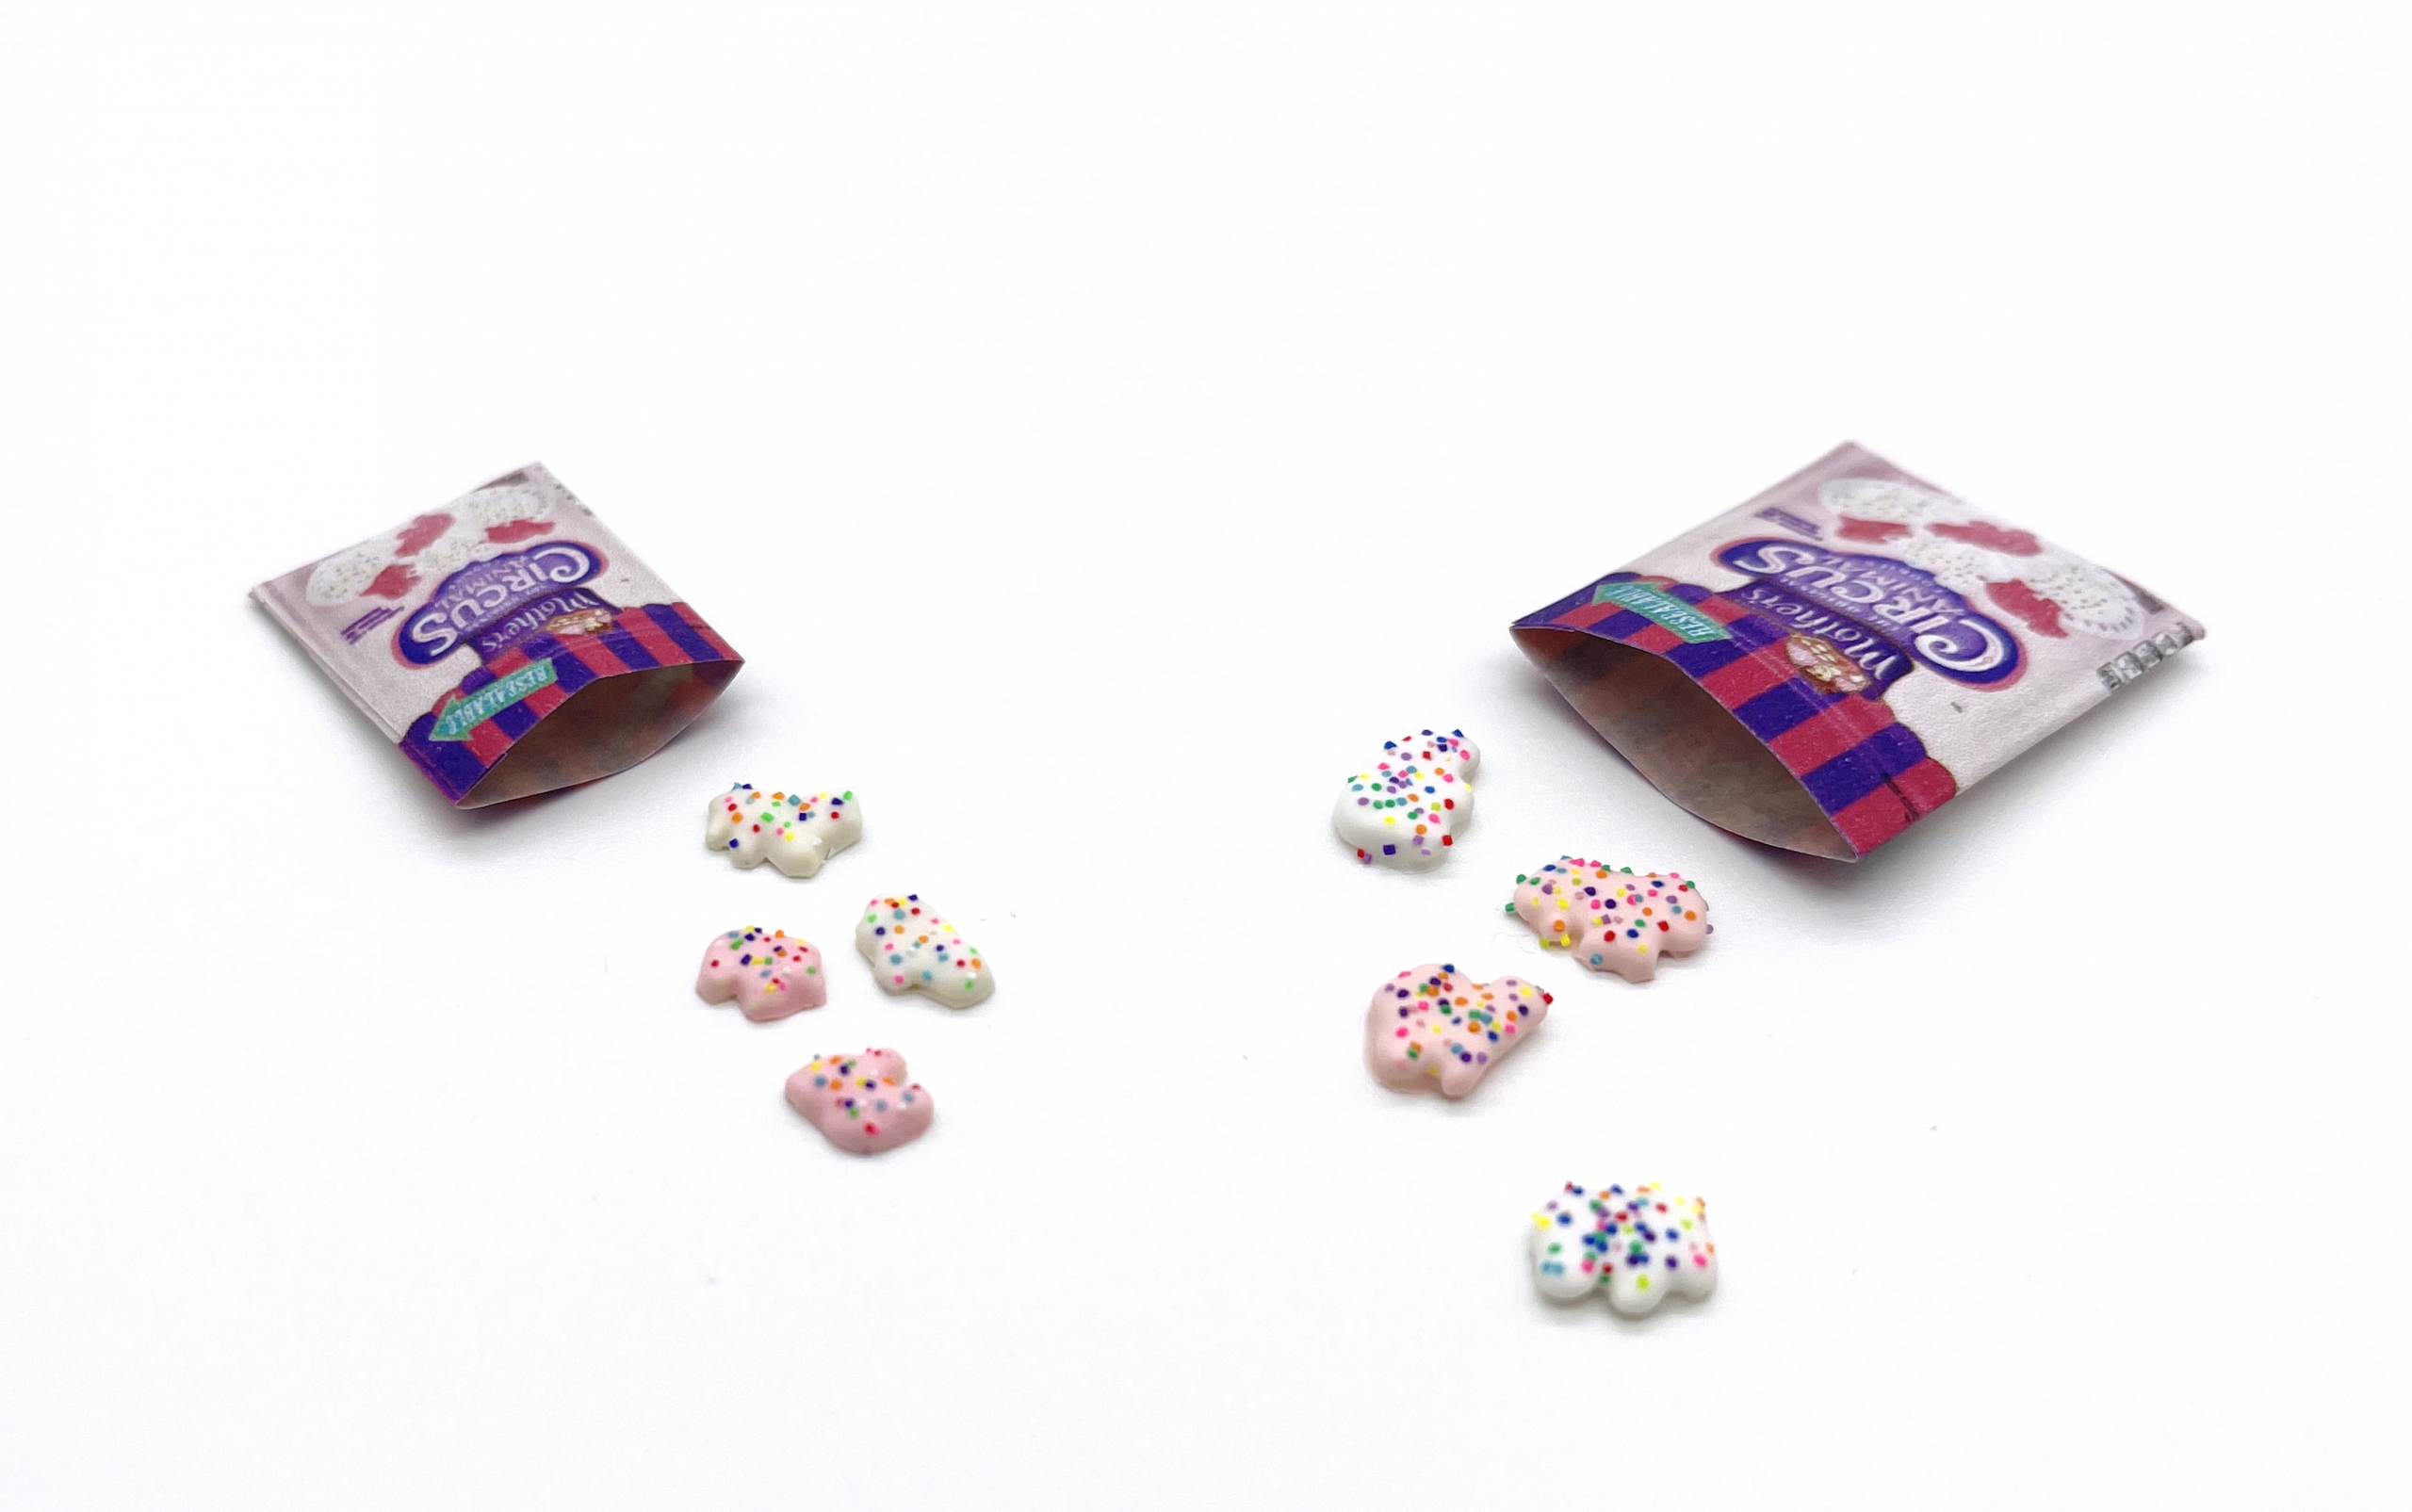
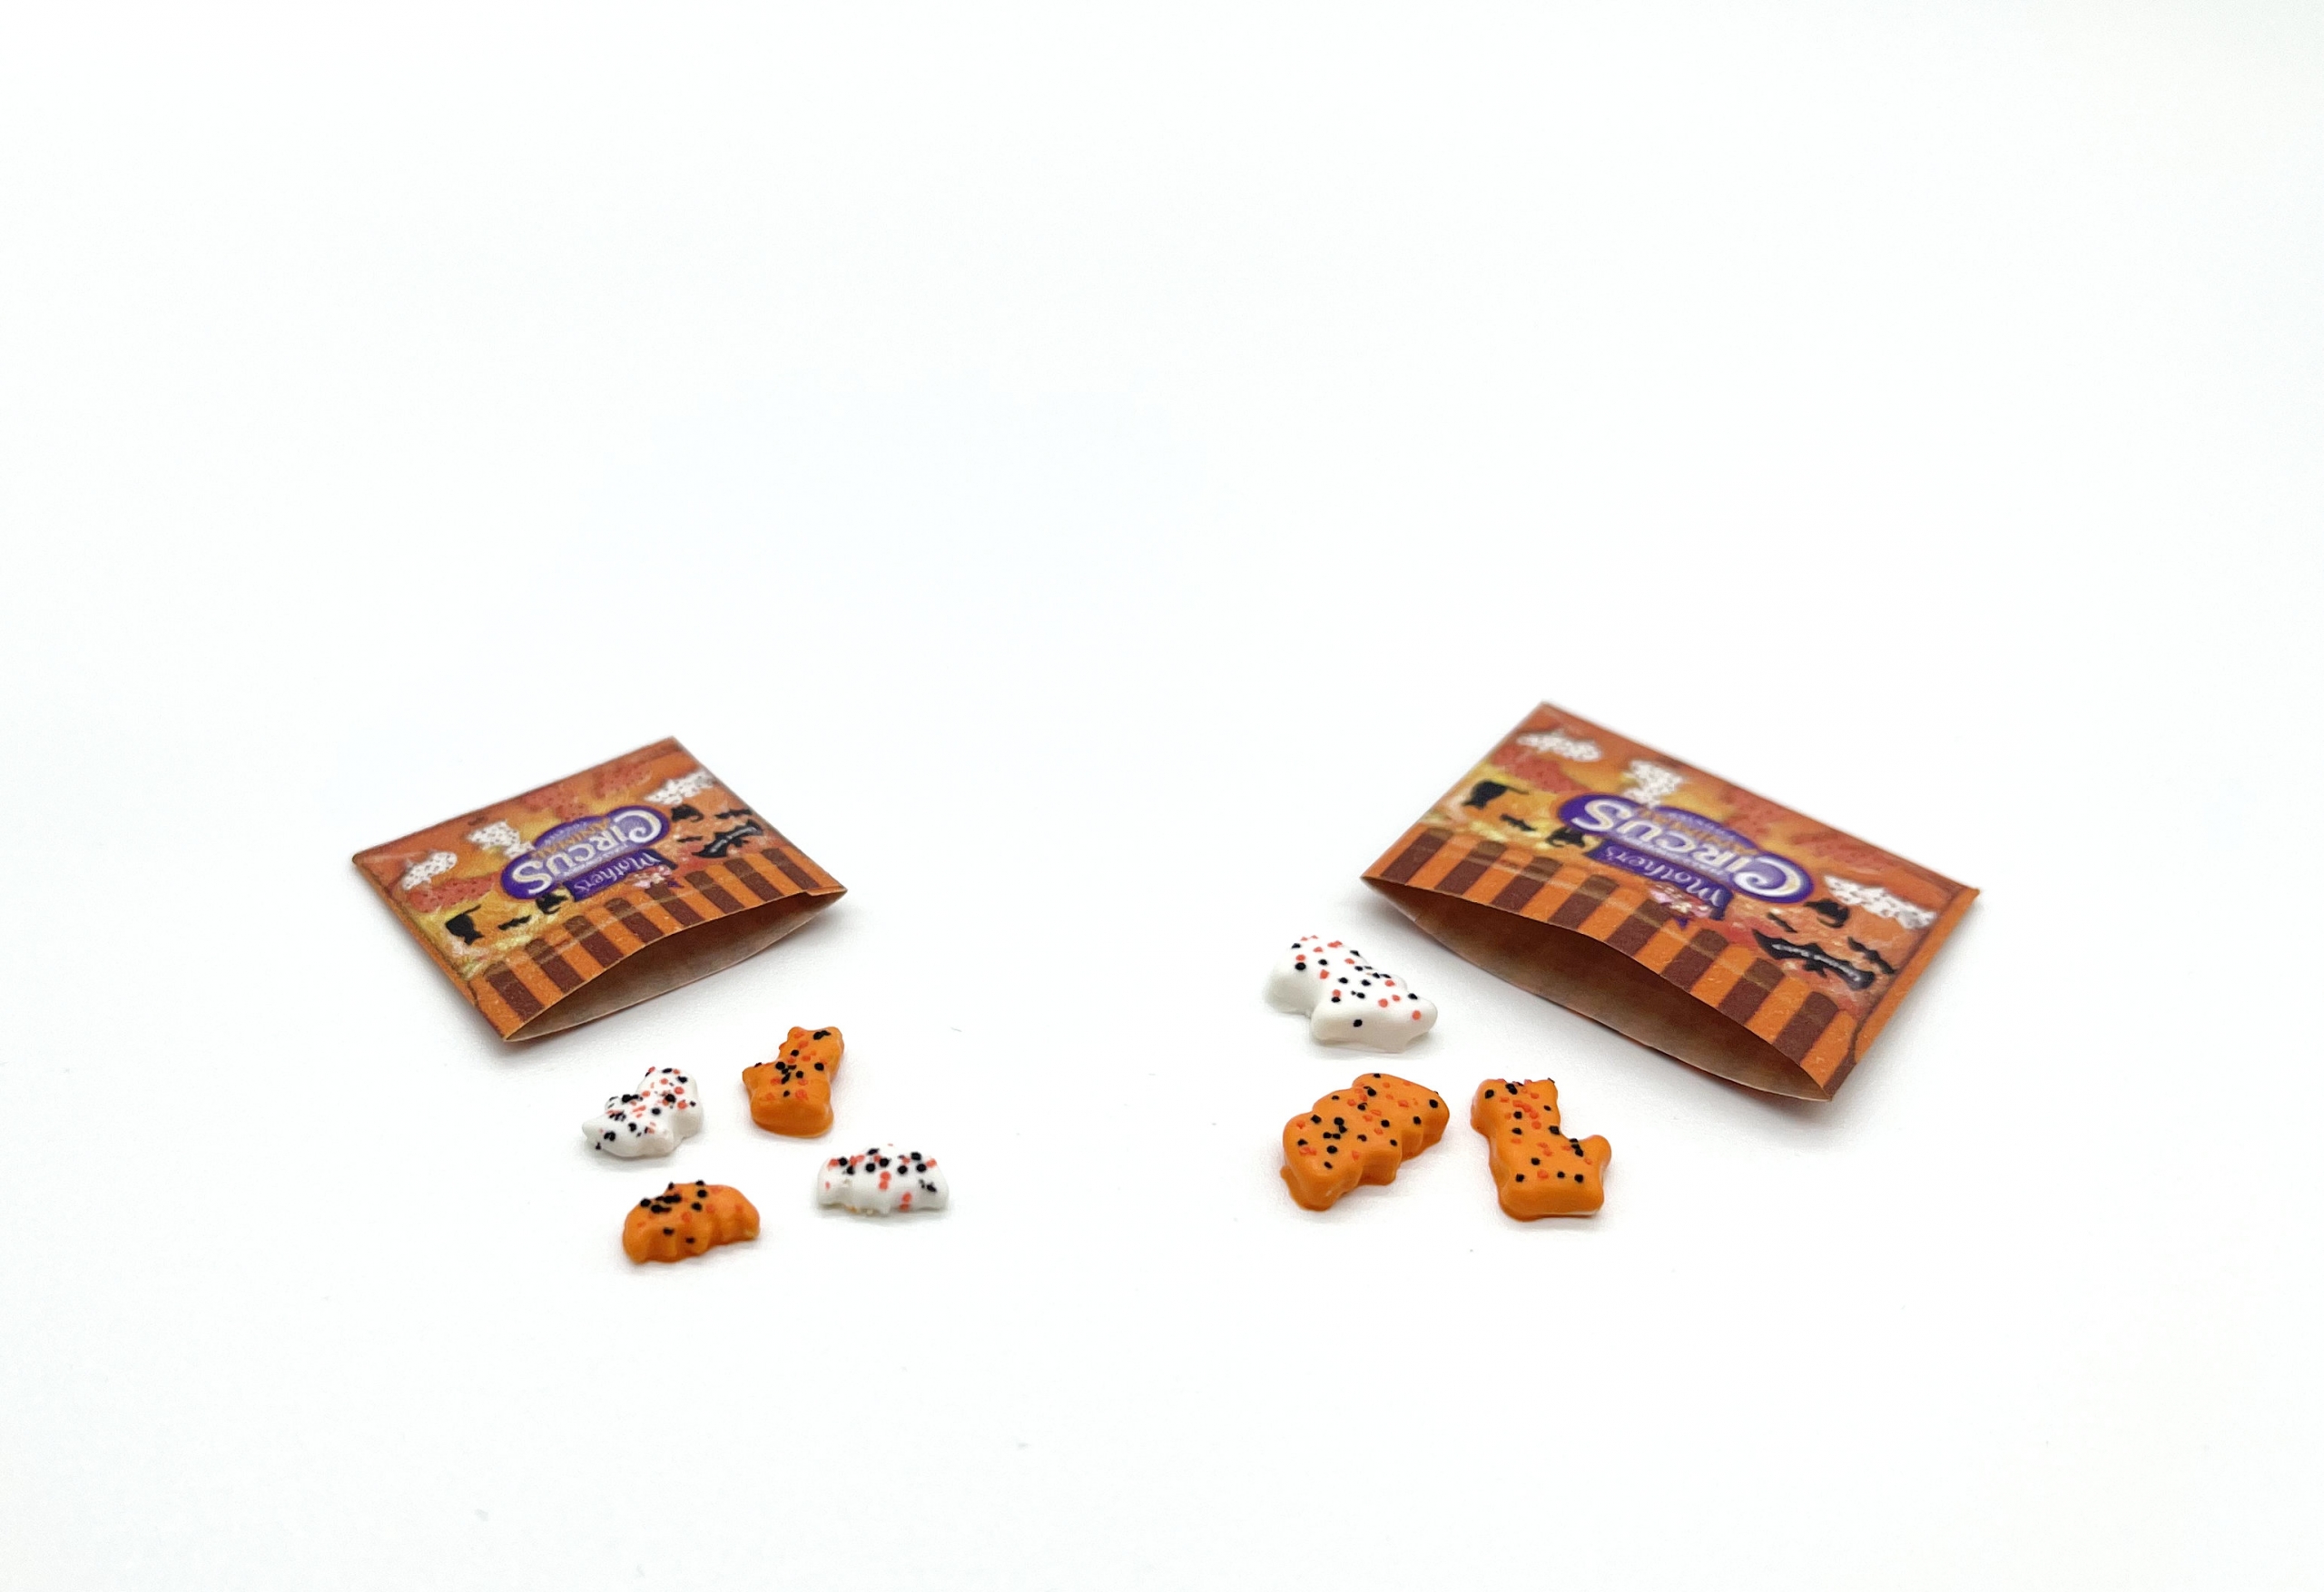
And if you’re looking for the regular (i.e. non mythical) animal cookies or the Halloween animal cookies, you can find those here.
Supplies
polymer clay for the cookies (see step 1 for color options), plus white clay for the frosting
cookie mold (1:12 scale or 1:6 scale)
baking tile (you can usually find inexpensive ceramic tiles at hardware/home improvement stores, available singly)
chalk pastels to tint the frosting in the colors of your choice
small bowl for mixing frosting (set aside exclusively for clay use)
toothpicks, wooden popsicle stick
parchment paper
razor blade
Step 1. Knead whatever clay color you’re using for the cookies, so it’s pliable and ready to use.
Here, I’m using a pale ecru mix that I use for all of my baked goods, because I had some laying around, but you can also use clay colors that match your frosting if you plan to display the cookies where the underside (i.e. the unfrosted side) will be visible. If you’re matching my frosting colors, that would be a white and a light purple clay.
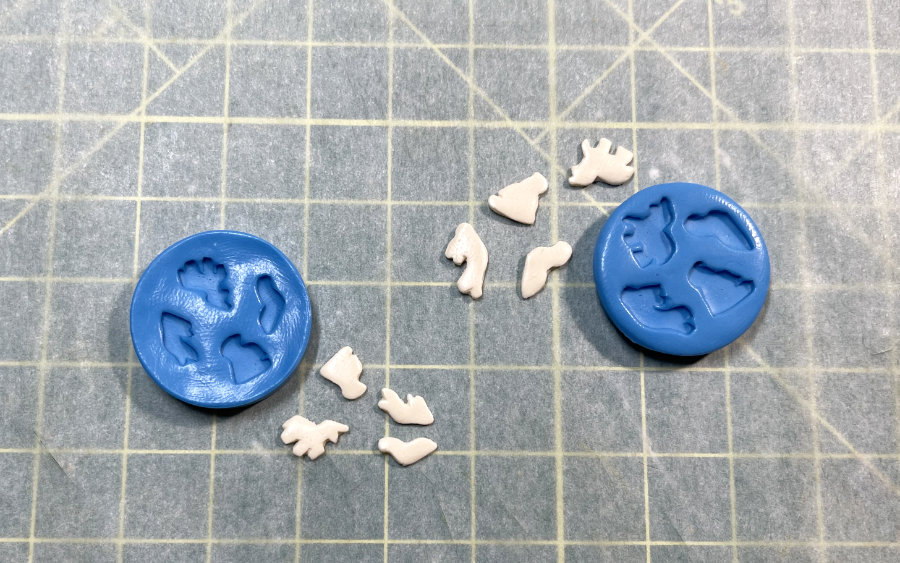
Step 2. Take a small chunk of clay and press into the mold, working it into every nook to capture the complete shape.
If you find the clay is sticking to your hand and releasing from the mold before you’re ready, try lightly dipping your finger in a little cornstarch.
Flex the mold to release the cookie. If it sticks, pop the clay-filled mold in the freezer for a few minutes and try again. The cold clay should pop out easily.
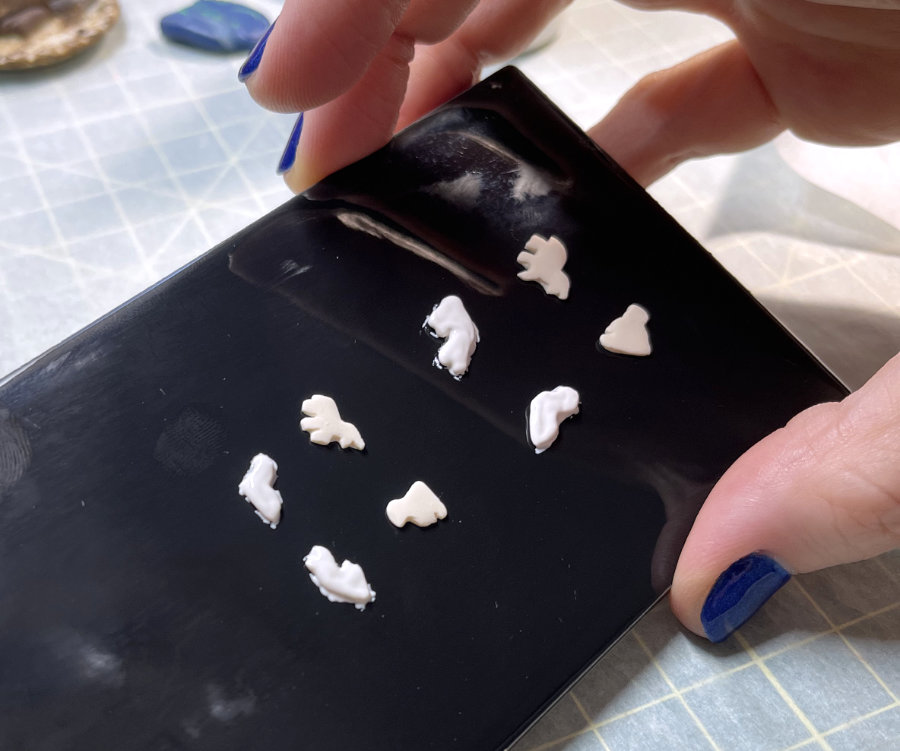
Step 3. To make the cookies easier to decorate, you’re going to temporarily attach them to a ceramic baking tile using translucent liquid clay.
Using a toothpick, dab a little translucent liquid clay onto the shiny side of your baking tile, one dab per cookie. Make sure they’re spaced far enough apart that you’ll be able to ice each cookie without getting frosting all over its neighbors.
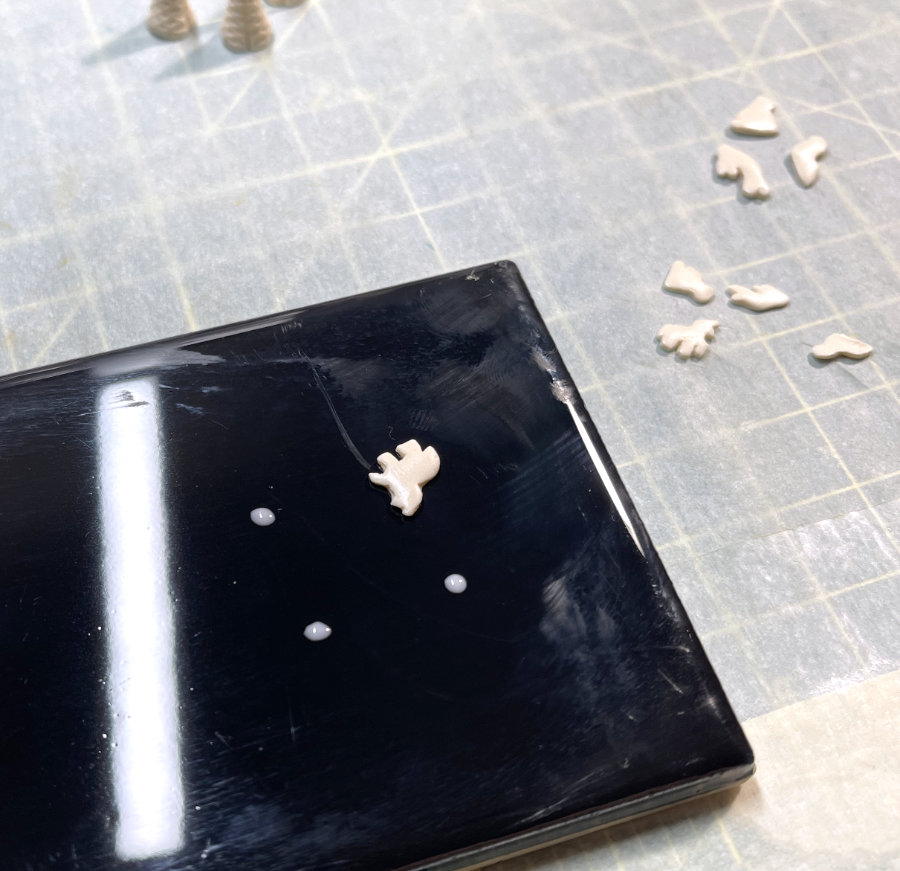
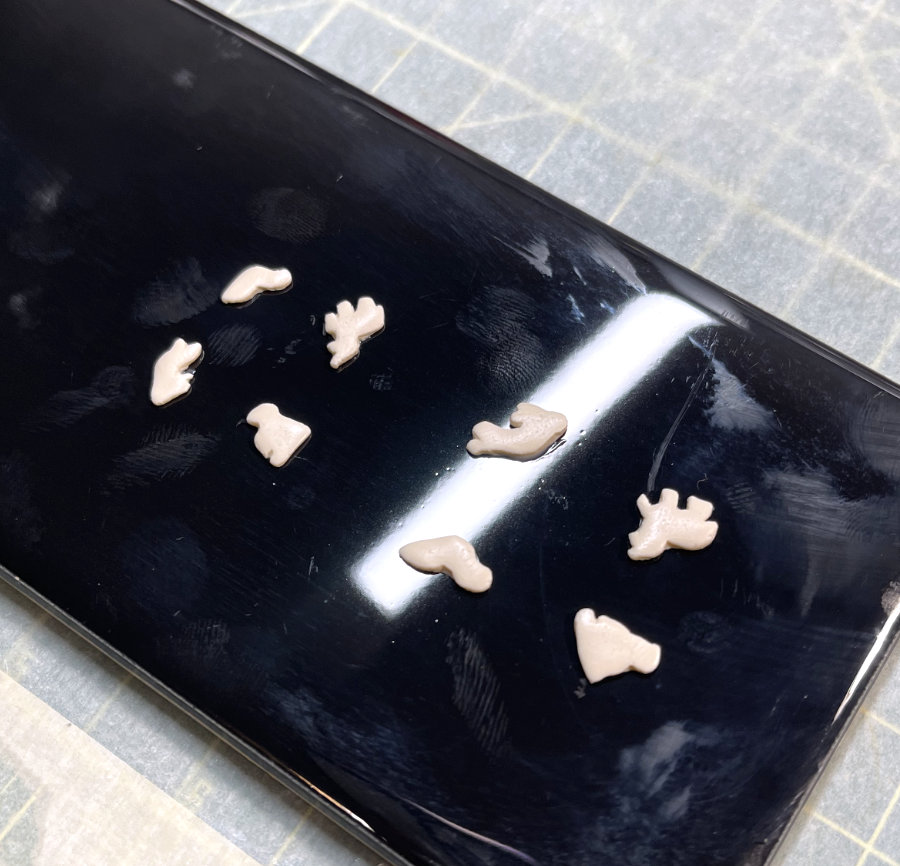
Step 4. Place a cookie on each of the liquid clay dabs, then bake in a preheated oven (check your clay package for the appropriate temperature) for five minutes and let cool.
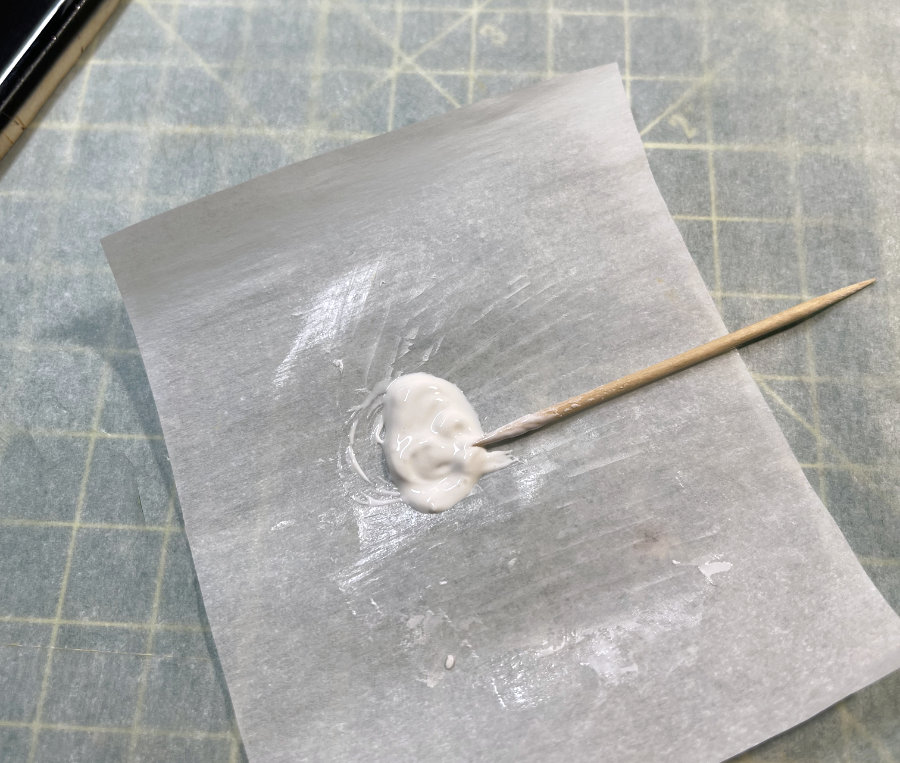
Step 5. Meanwhile, prepare the frosting. Chop up white clay and place in a small bowl. Add roughly an equal amount of translucent liquid clay (you can eyeball this ratio), then use a wooden popsicle stick to smear and mash the liquid and solid clays together to form a frosting-like paste.
I love Sculpey Original in White for frosting. It’s a little too soft for sculpting food, in my opinion, but that softness makes it easier to incorporate with the liquid clay. It comes in a large package, so if you’re only making one project, you can skip it and just use a smaller, 2-oz package of white clay, any brand.
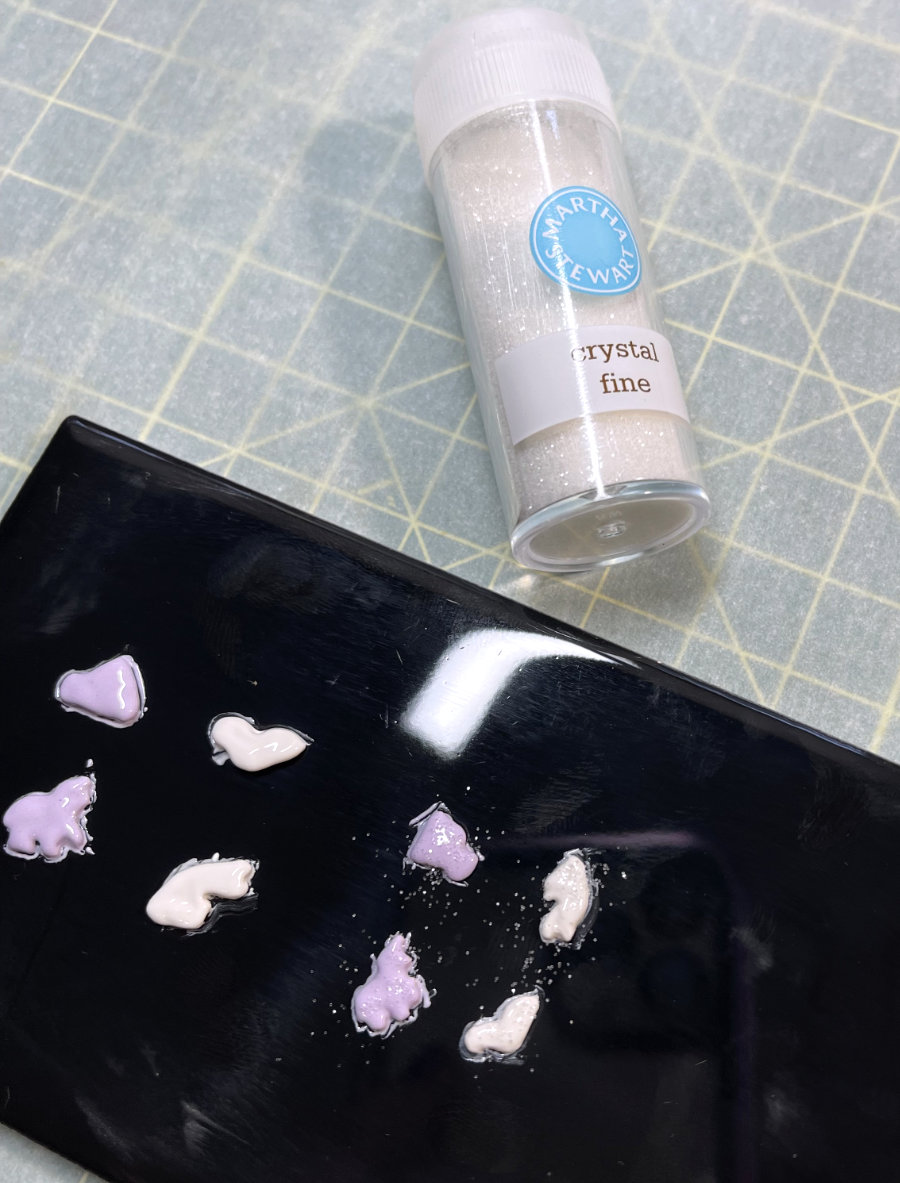
Step 6. Take a small dollop of white frosting and place on a piece of parchment paper. If the consistency is quite thick, like spackle, thin it with additional translucent liquid clay, stirring with a toothpick to incorporate.
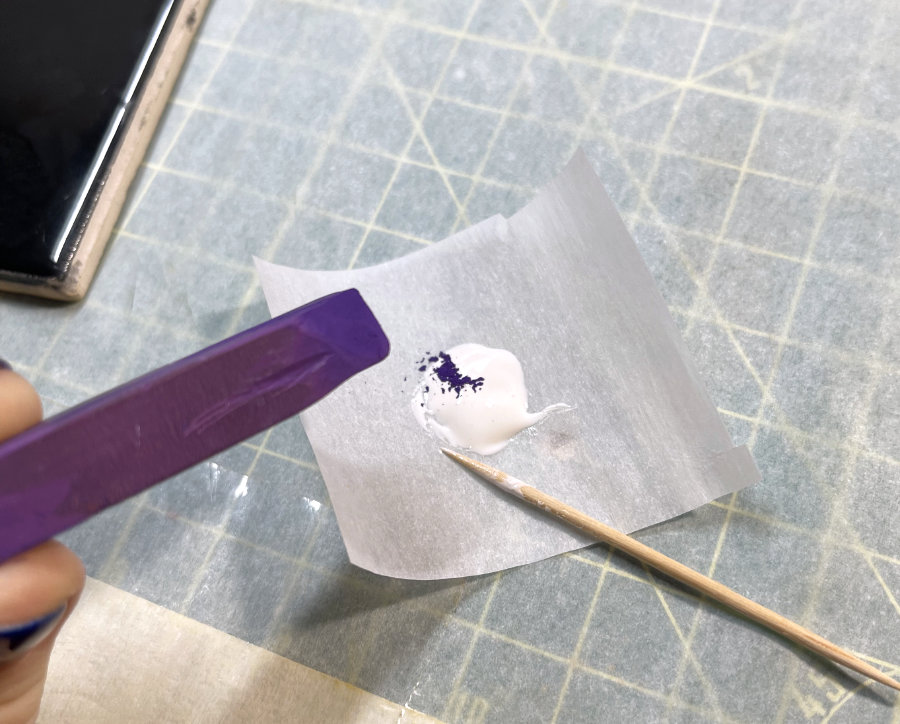
Tint the frosting with chalk pastel by using a razor blade to (carefully) grate pigment off the stick. Stir to fully incorporate the color.
Step 7. Use a toothpick to transfer a little bit of frosting onto a cookie, spreading it neatly over the entire surface and sides. You can use a clean toothpick to scrape away any excess to neaten up the edges. (You can also trim away frosting after it’s baked, but the finished cookies look a bit more natural if you tidy up while the frosting is unbaked.)
Step 8. Sprinkle iridescent white or clear glitter on top.
Step 9. Bake for seven minutes in a preheated oven and let cool. Carefully slide a razor blade underneath the cookies to remove them from the tile.