


The mice and I are getting ready for Easter, and we have some adorable treats for you!
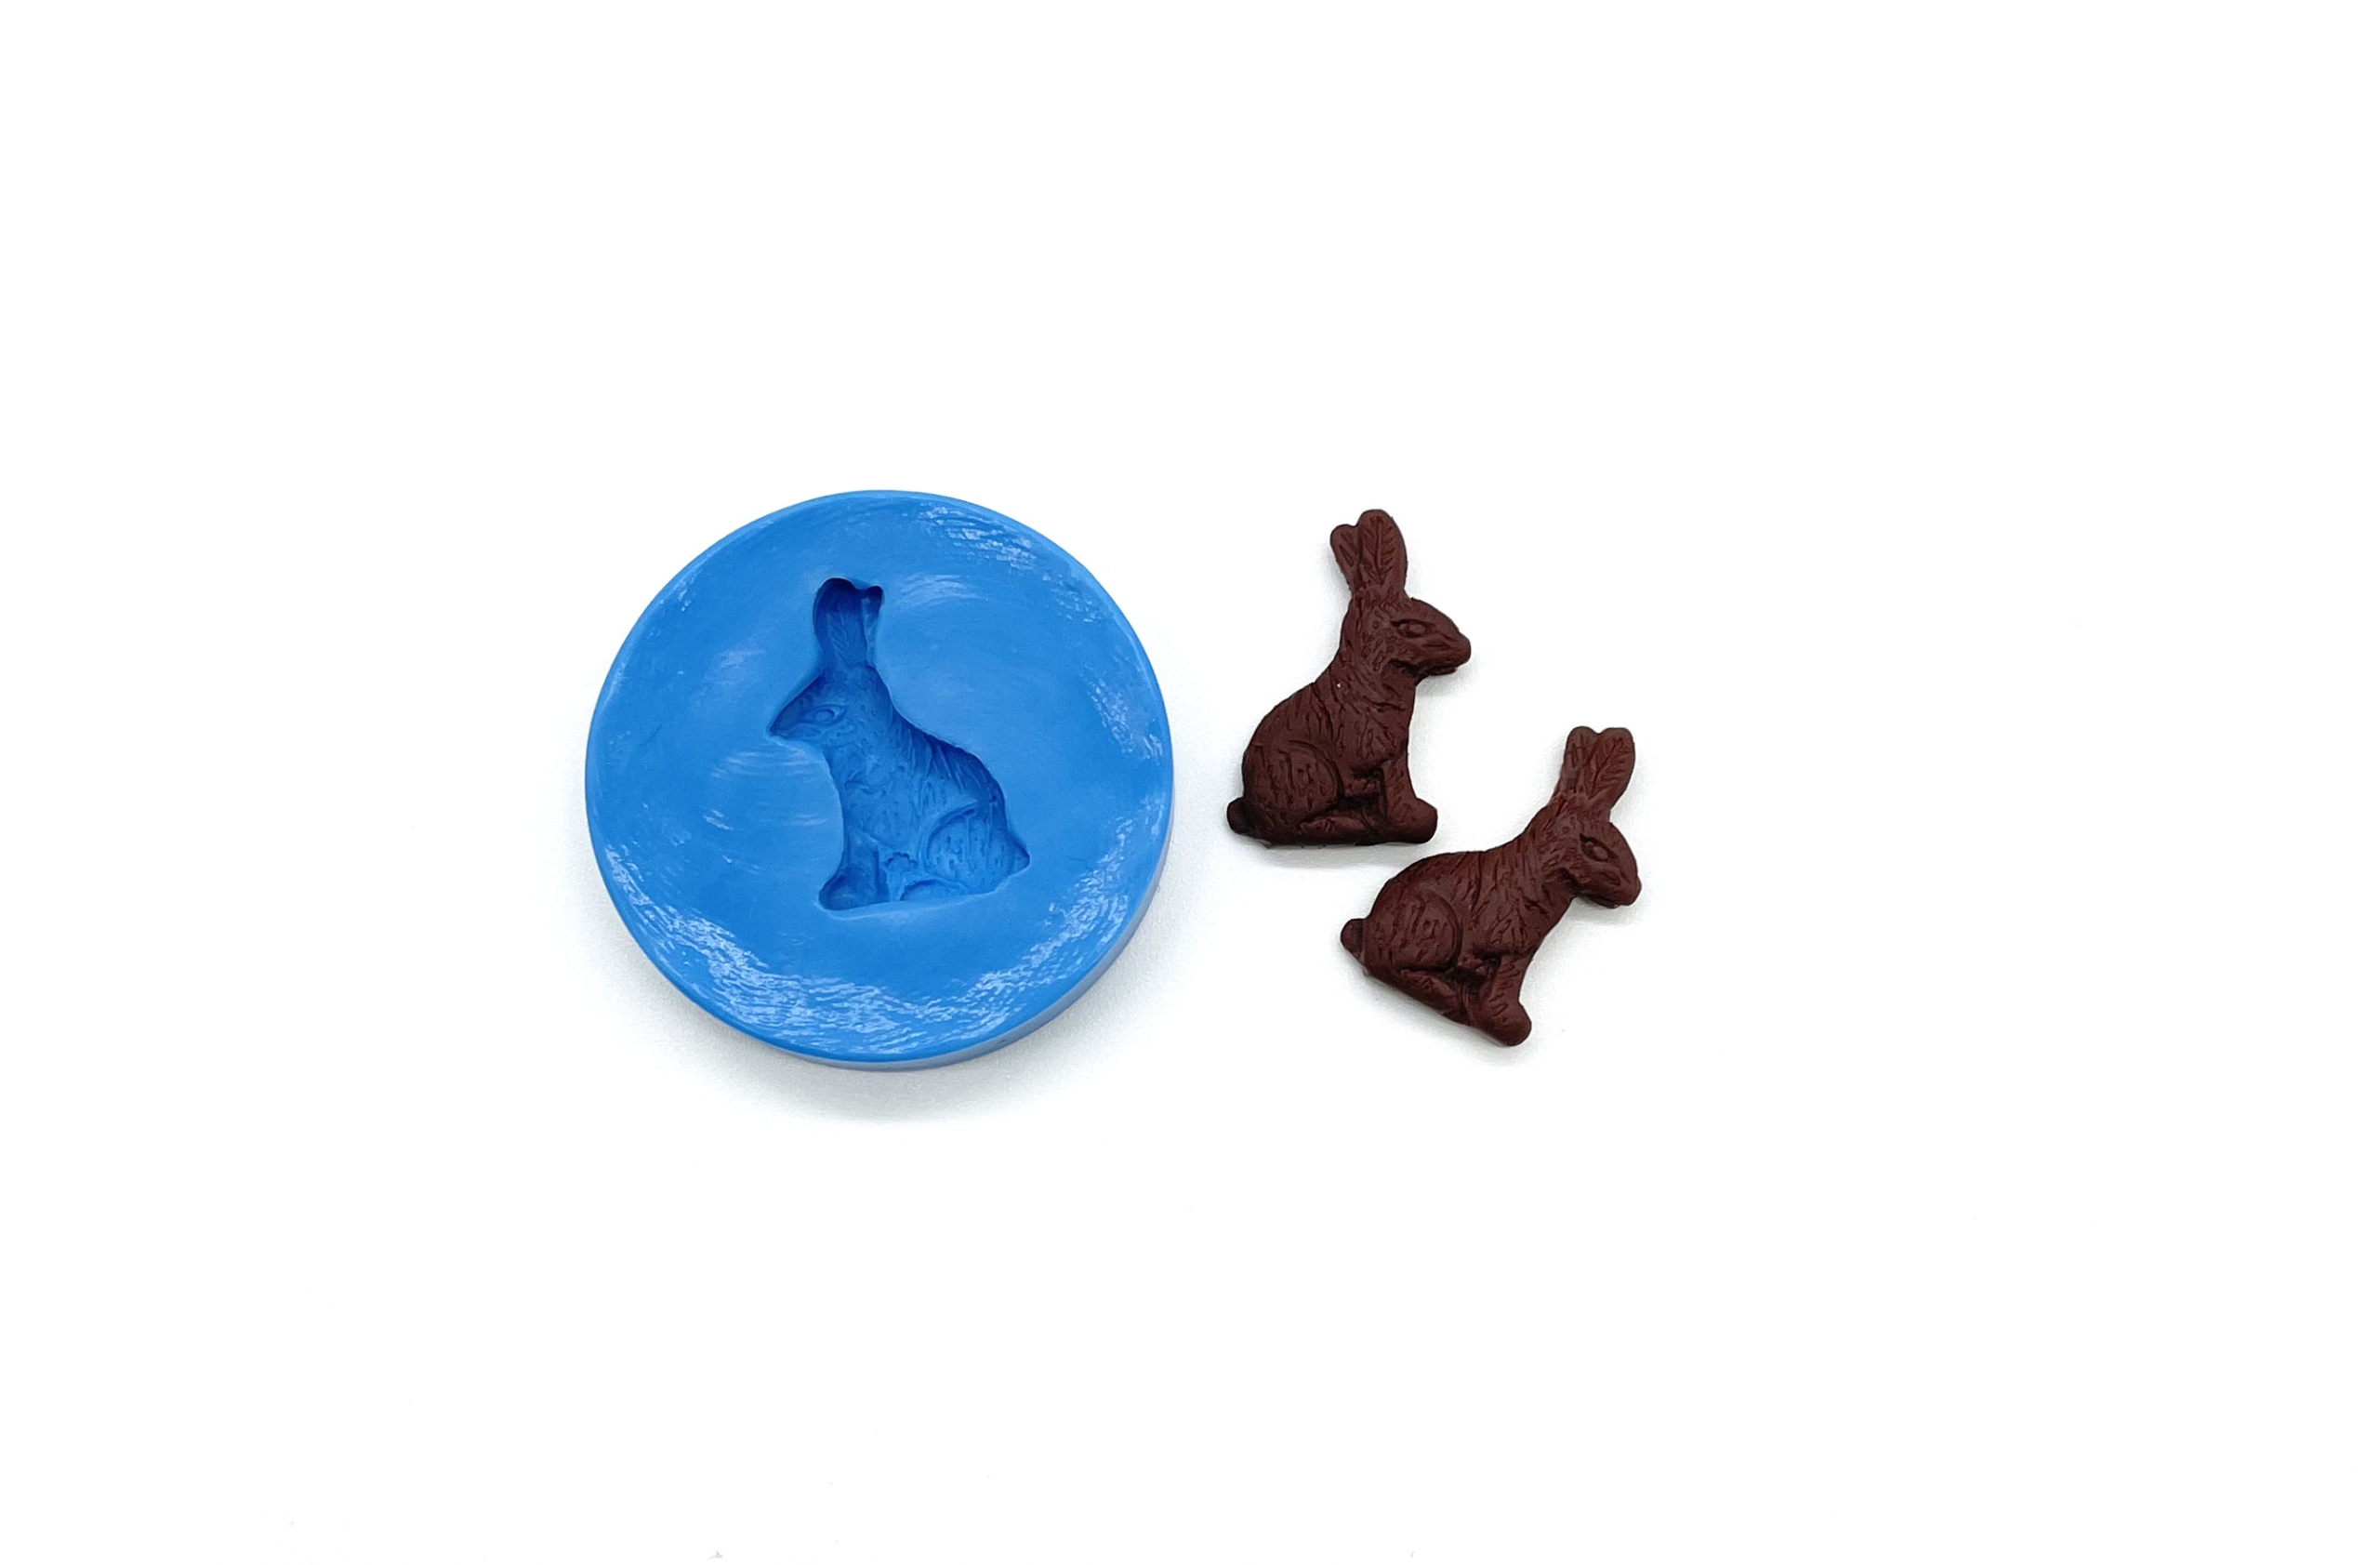
First off, I’ve made a chocolate bunny mold, perfect for tucking into itty-bitty Easter baskets.
You can get the mold on its own here, or save 15% when you purchase it as part of a mold bundle: Set A or Set B.
I also have two new tutorial boxed sets for Easter, a two-pack and a three-pack! Click on the images below to jump to the listing.

Easter Coloring Book: Free Printable
Want to make your own coloring book to tuck into miniature Easter baskets? Below you’ll find instructions and a free printable!
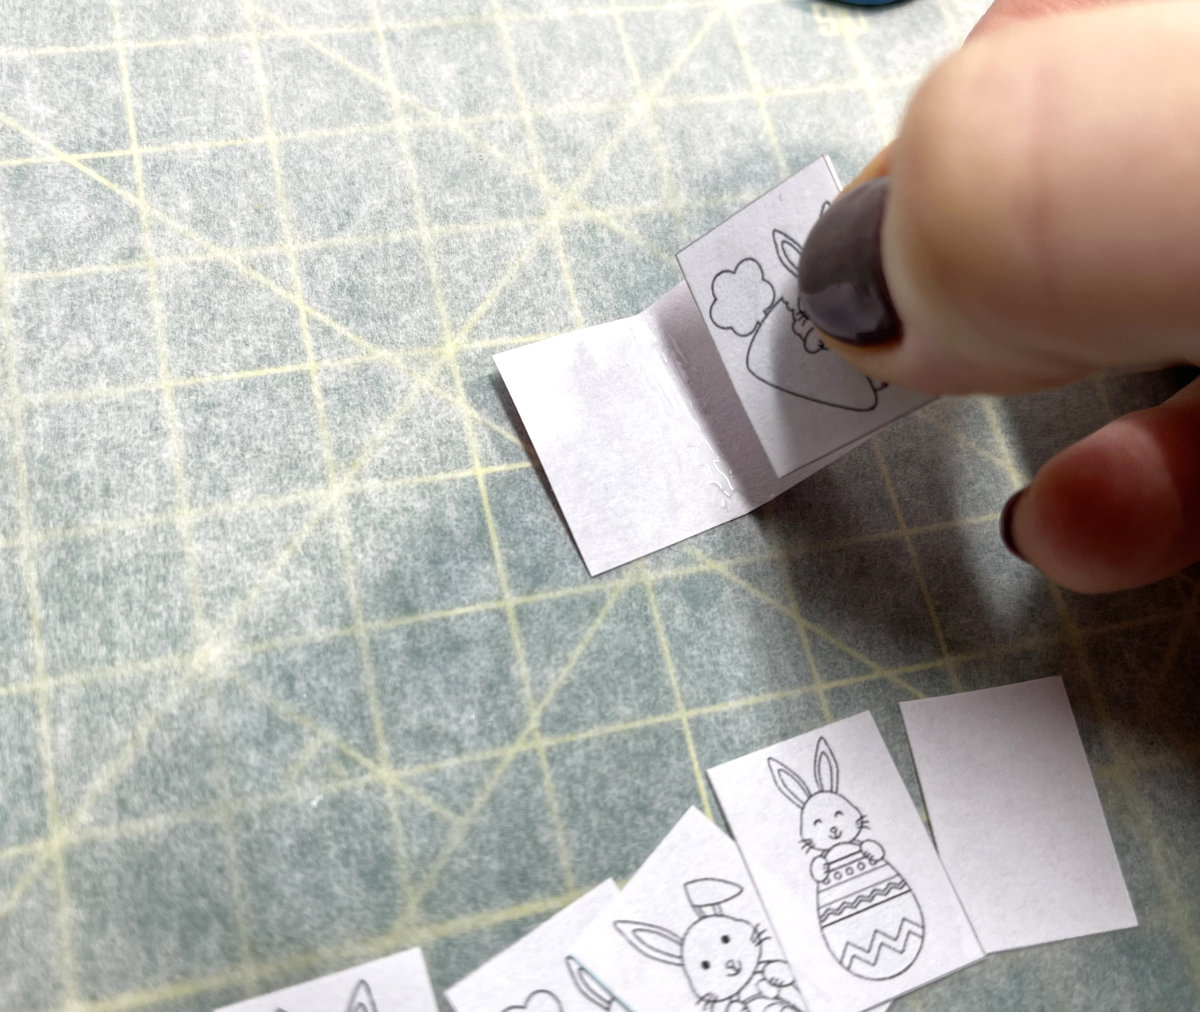
Print the design onto regular printer paper, then cut out each coloring book strip:
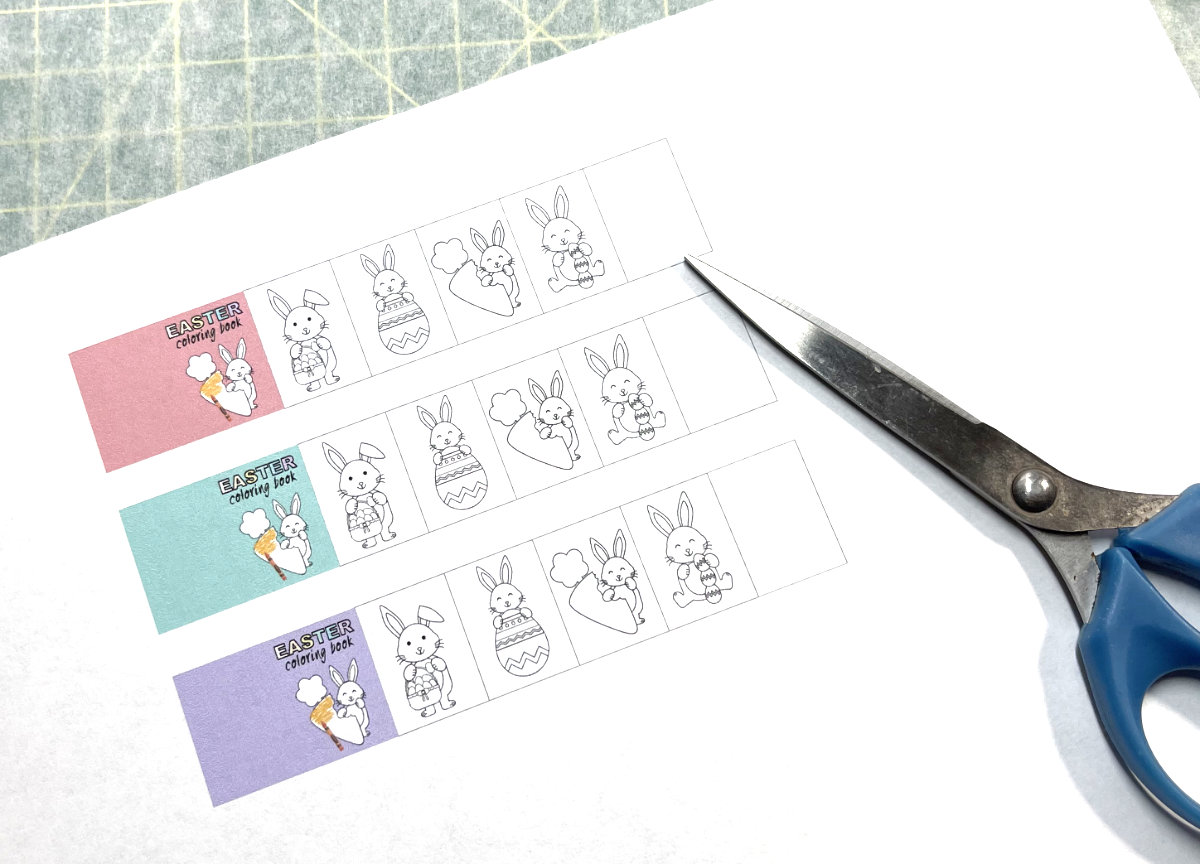
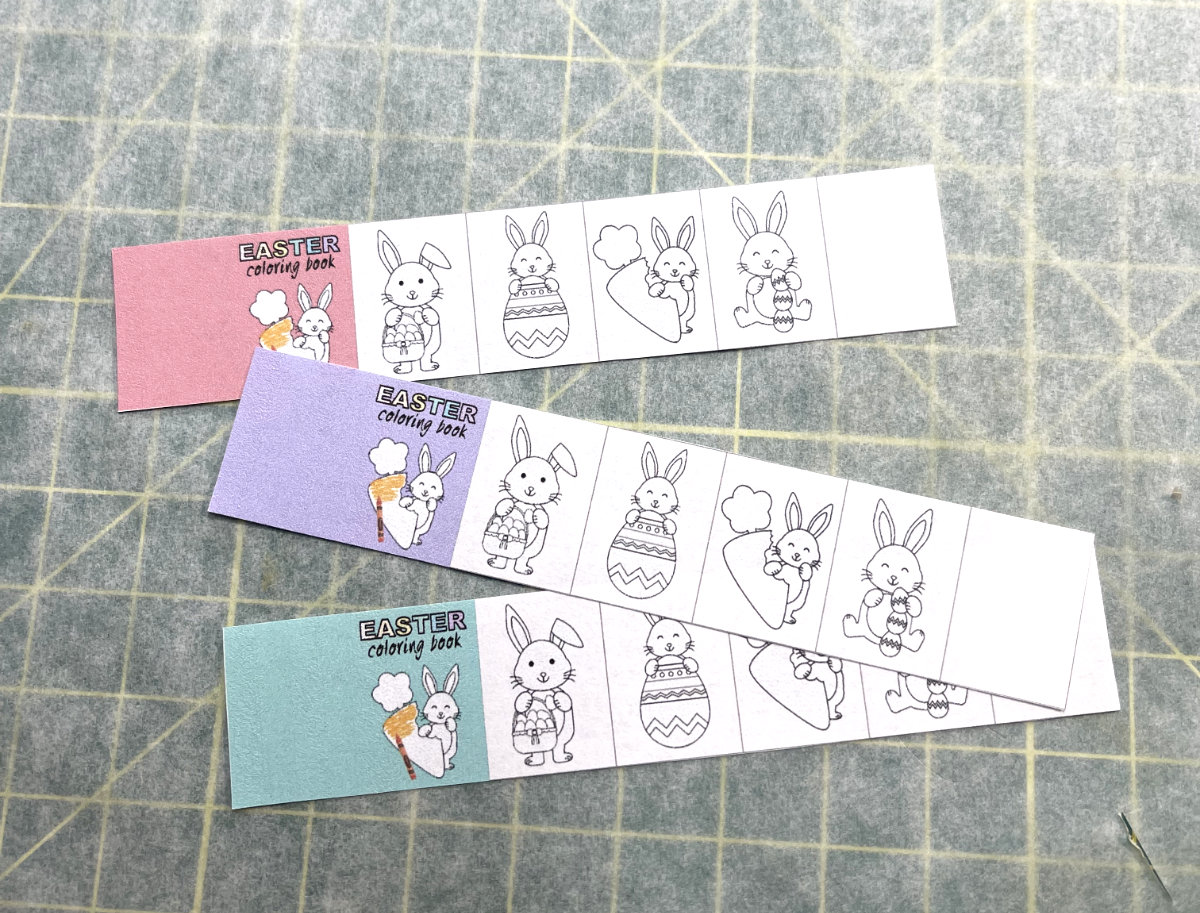
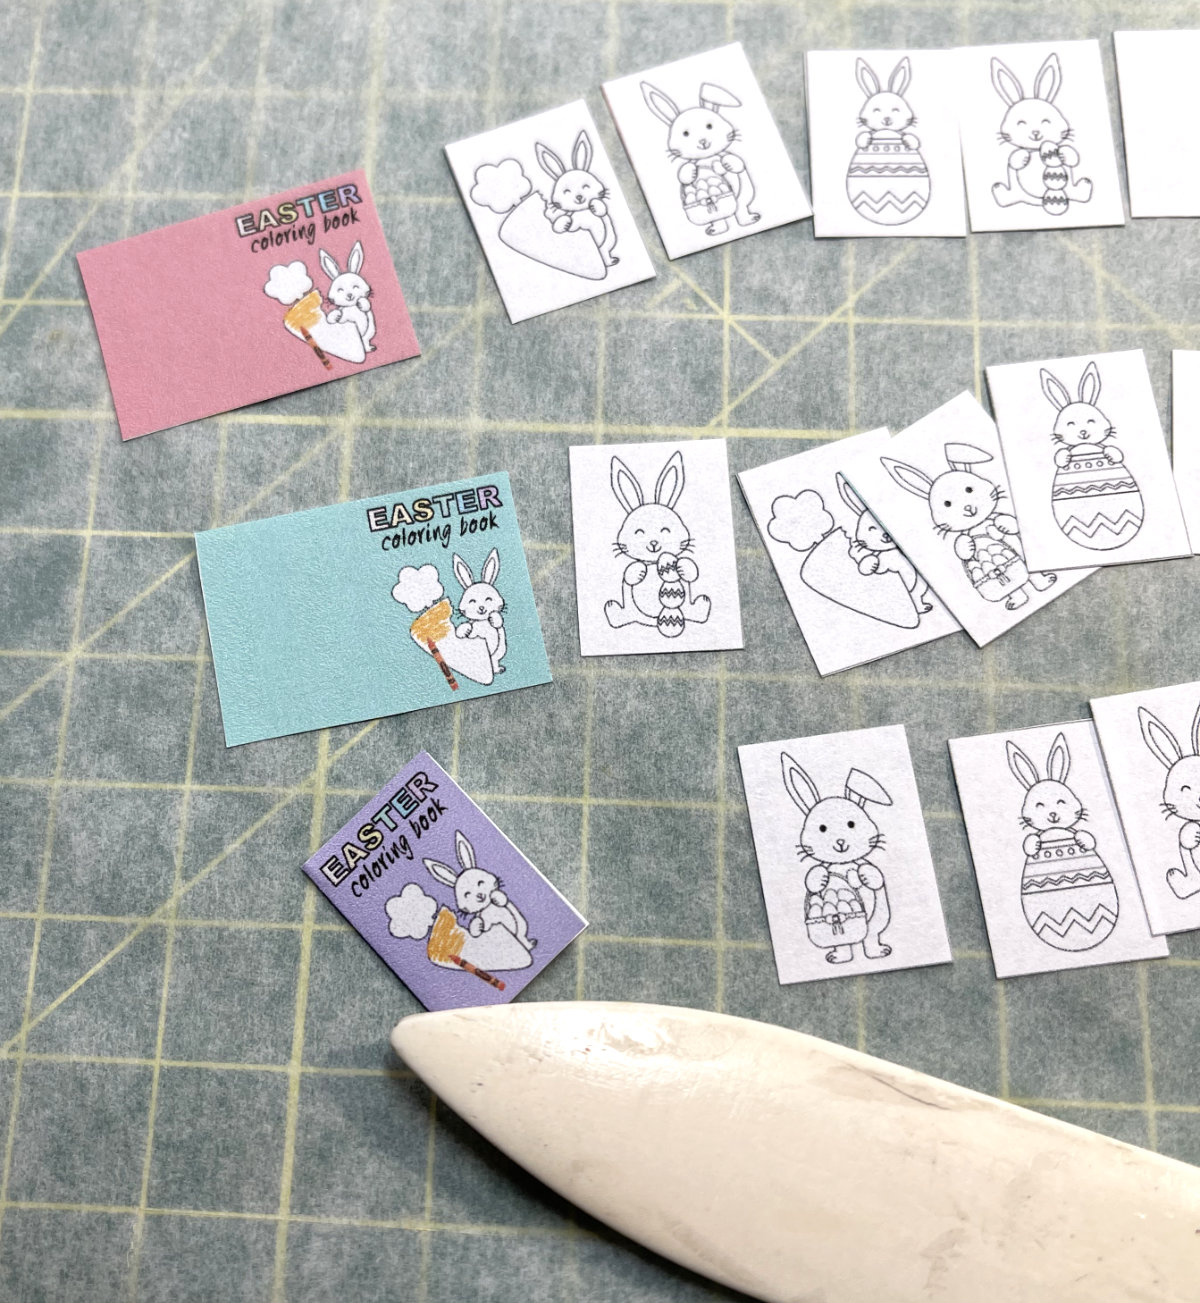
Cut the interior pages apart, but leave the cover (the colored section) in one piece. You might not need the extra blank interior page, depending on how thick your paper is, but I included it just in case your book needs a little more bulk.
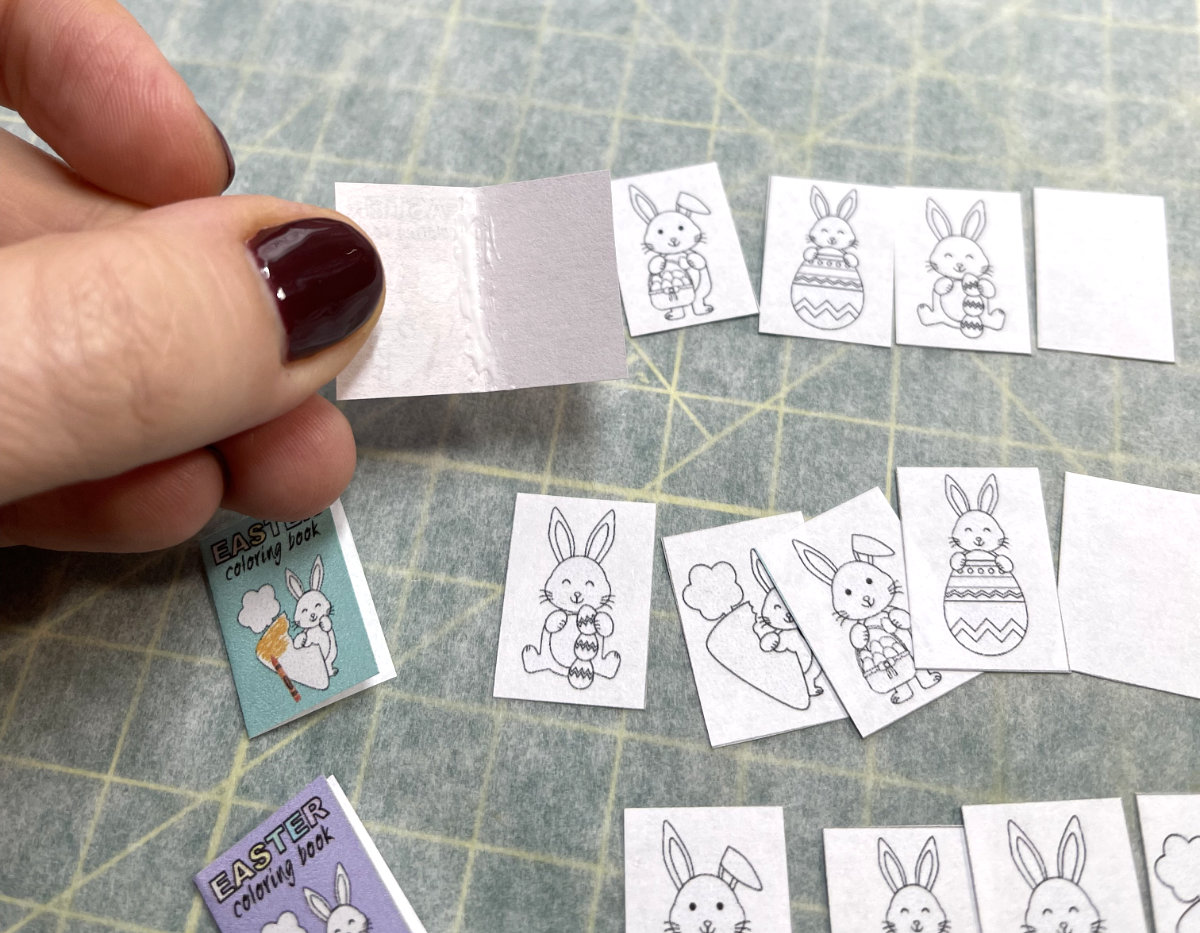
Fold the cover in half, and if you have a bone folder, use it to create a tight crease.
Stack your interior pages so they’re ready to go. Add a line of craft glue (this is an affiliate link) along the interior spine of the cover and insert your pages in place, closing the book and pressing the spine seam to make sure the pages are properly adhered.
If the pages aren’t 100% even, you can trim any overhang with scissors once the glue has dried.

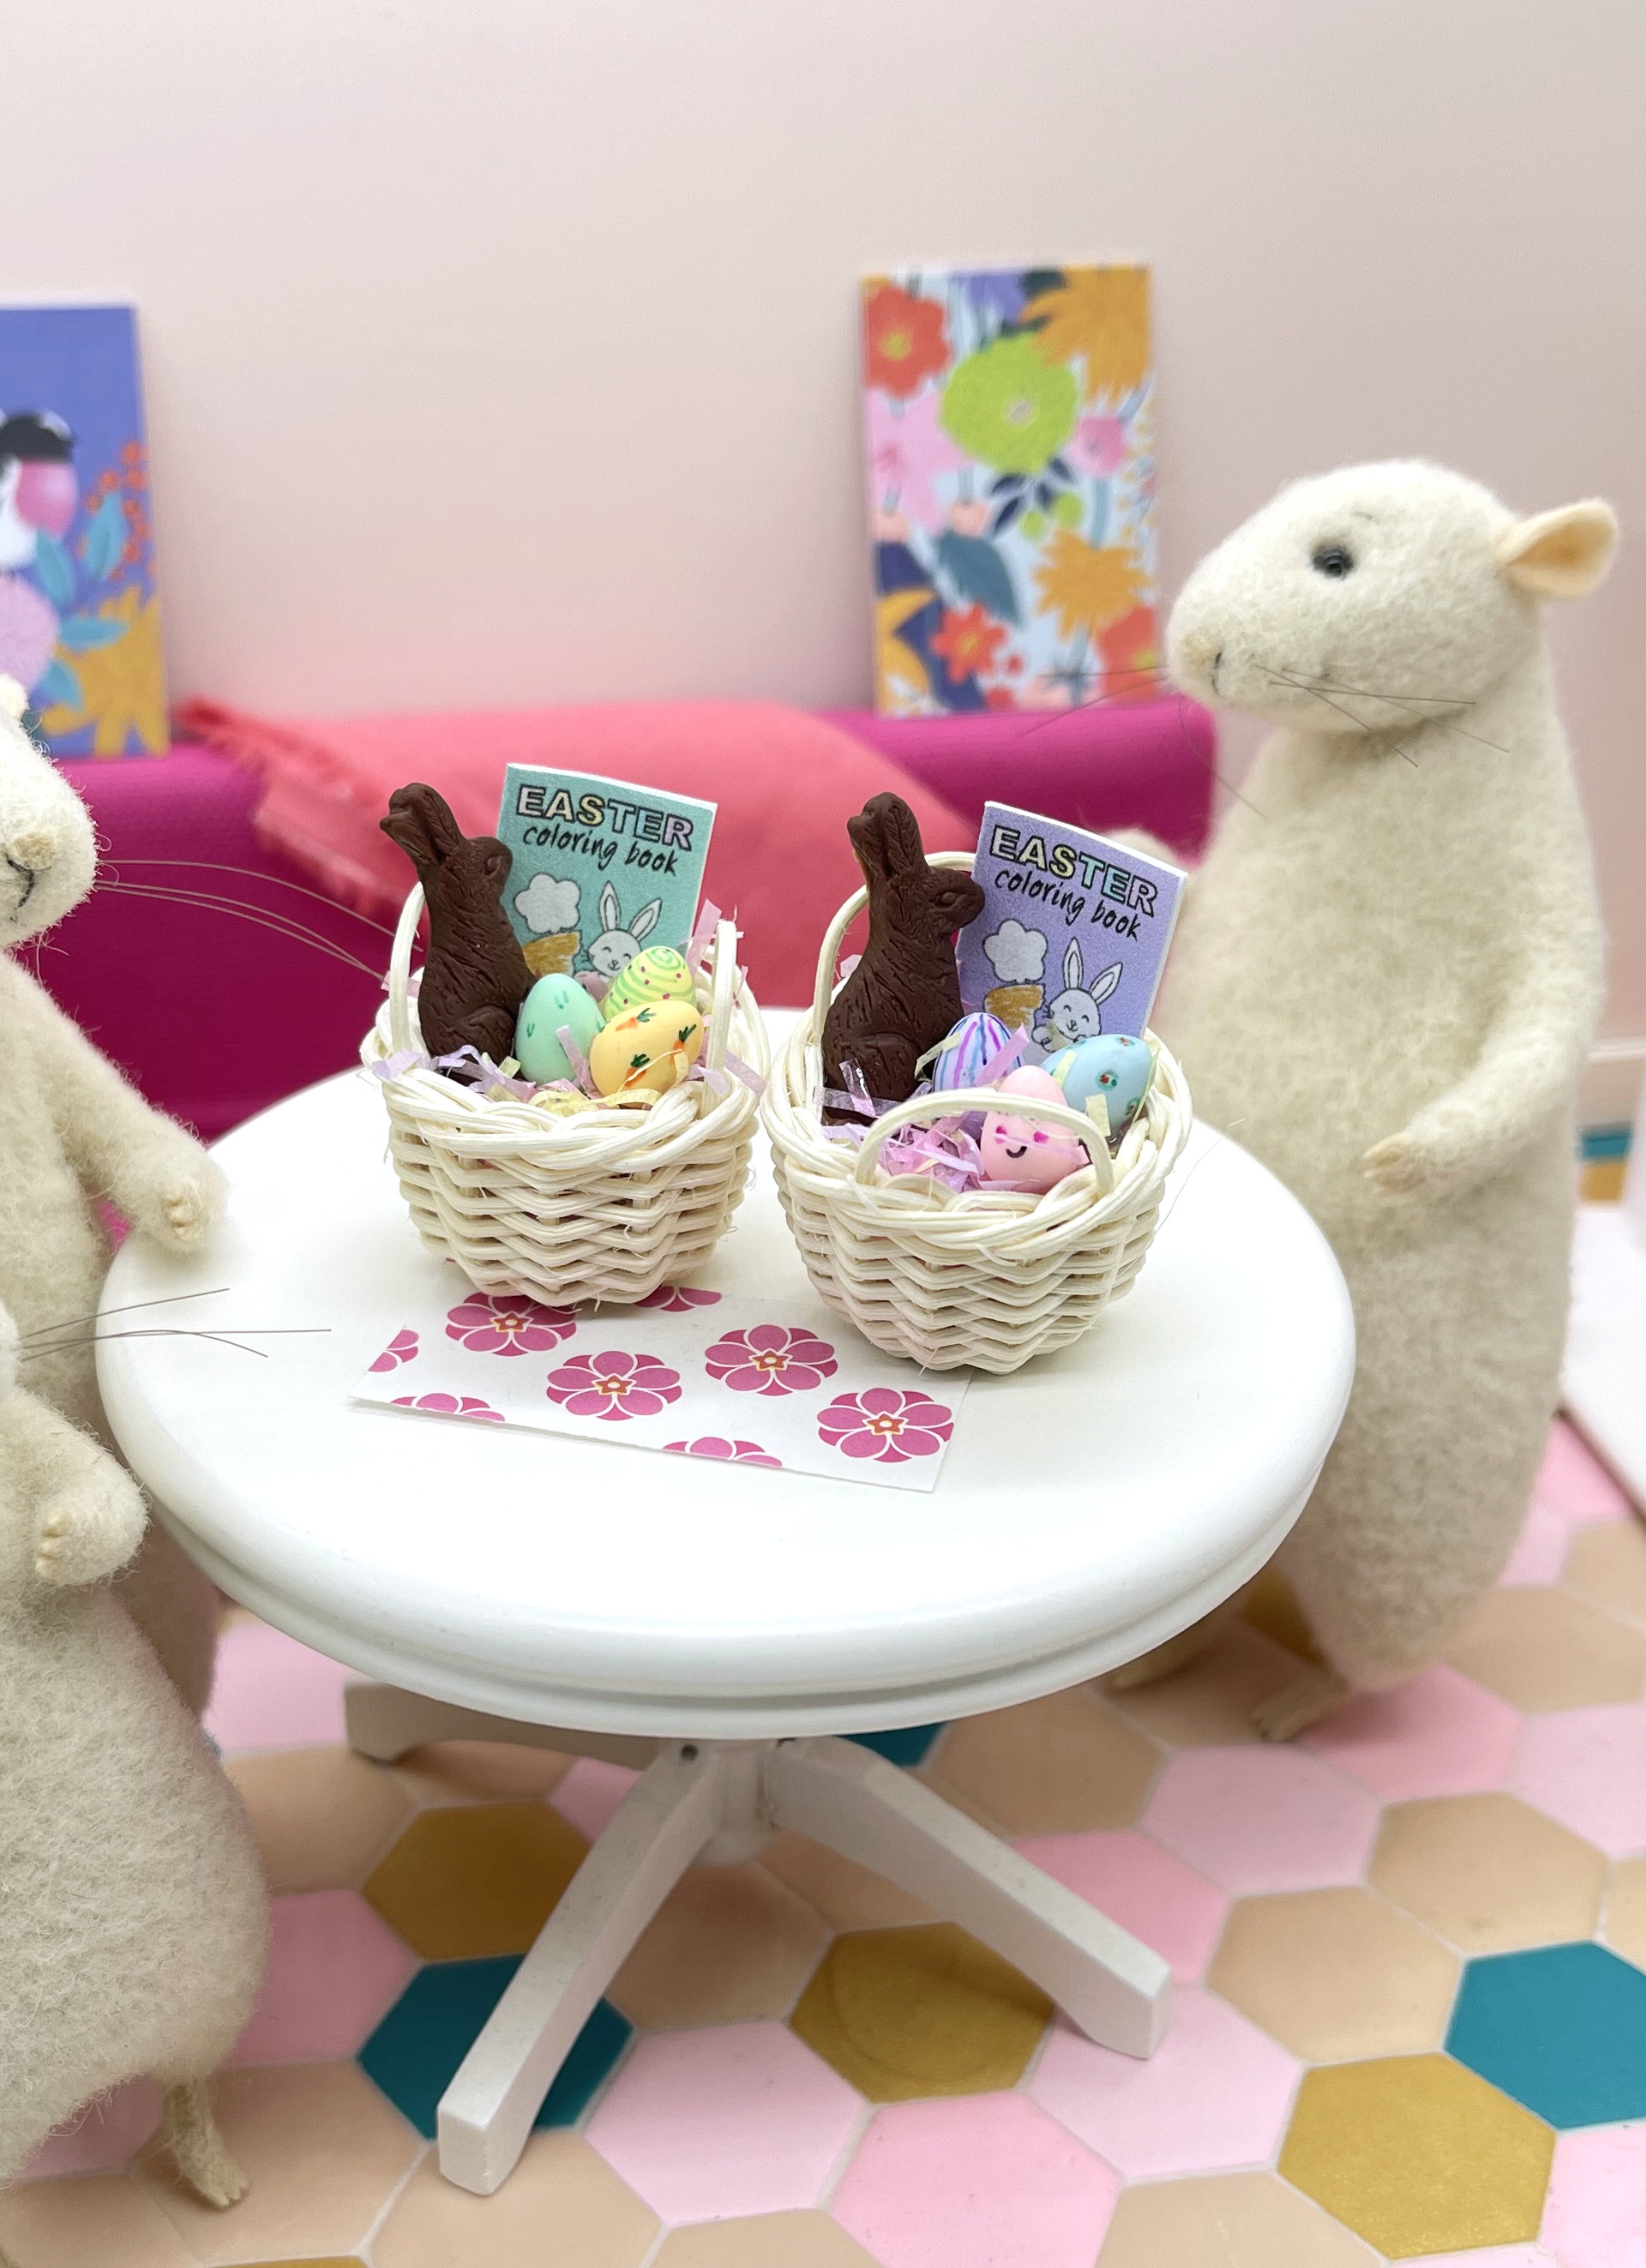
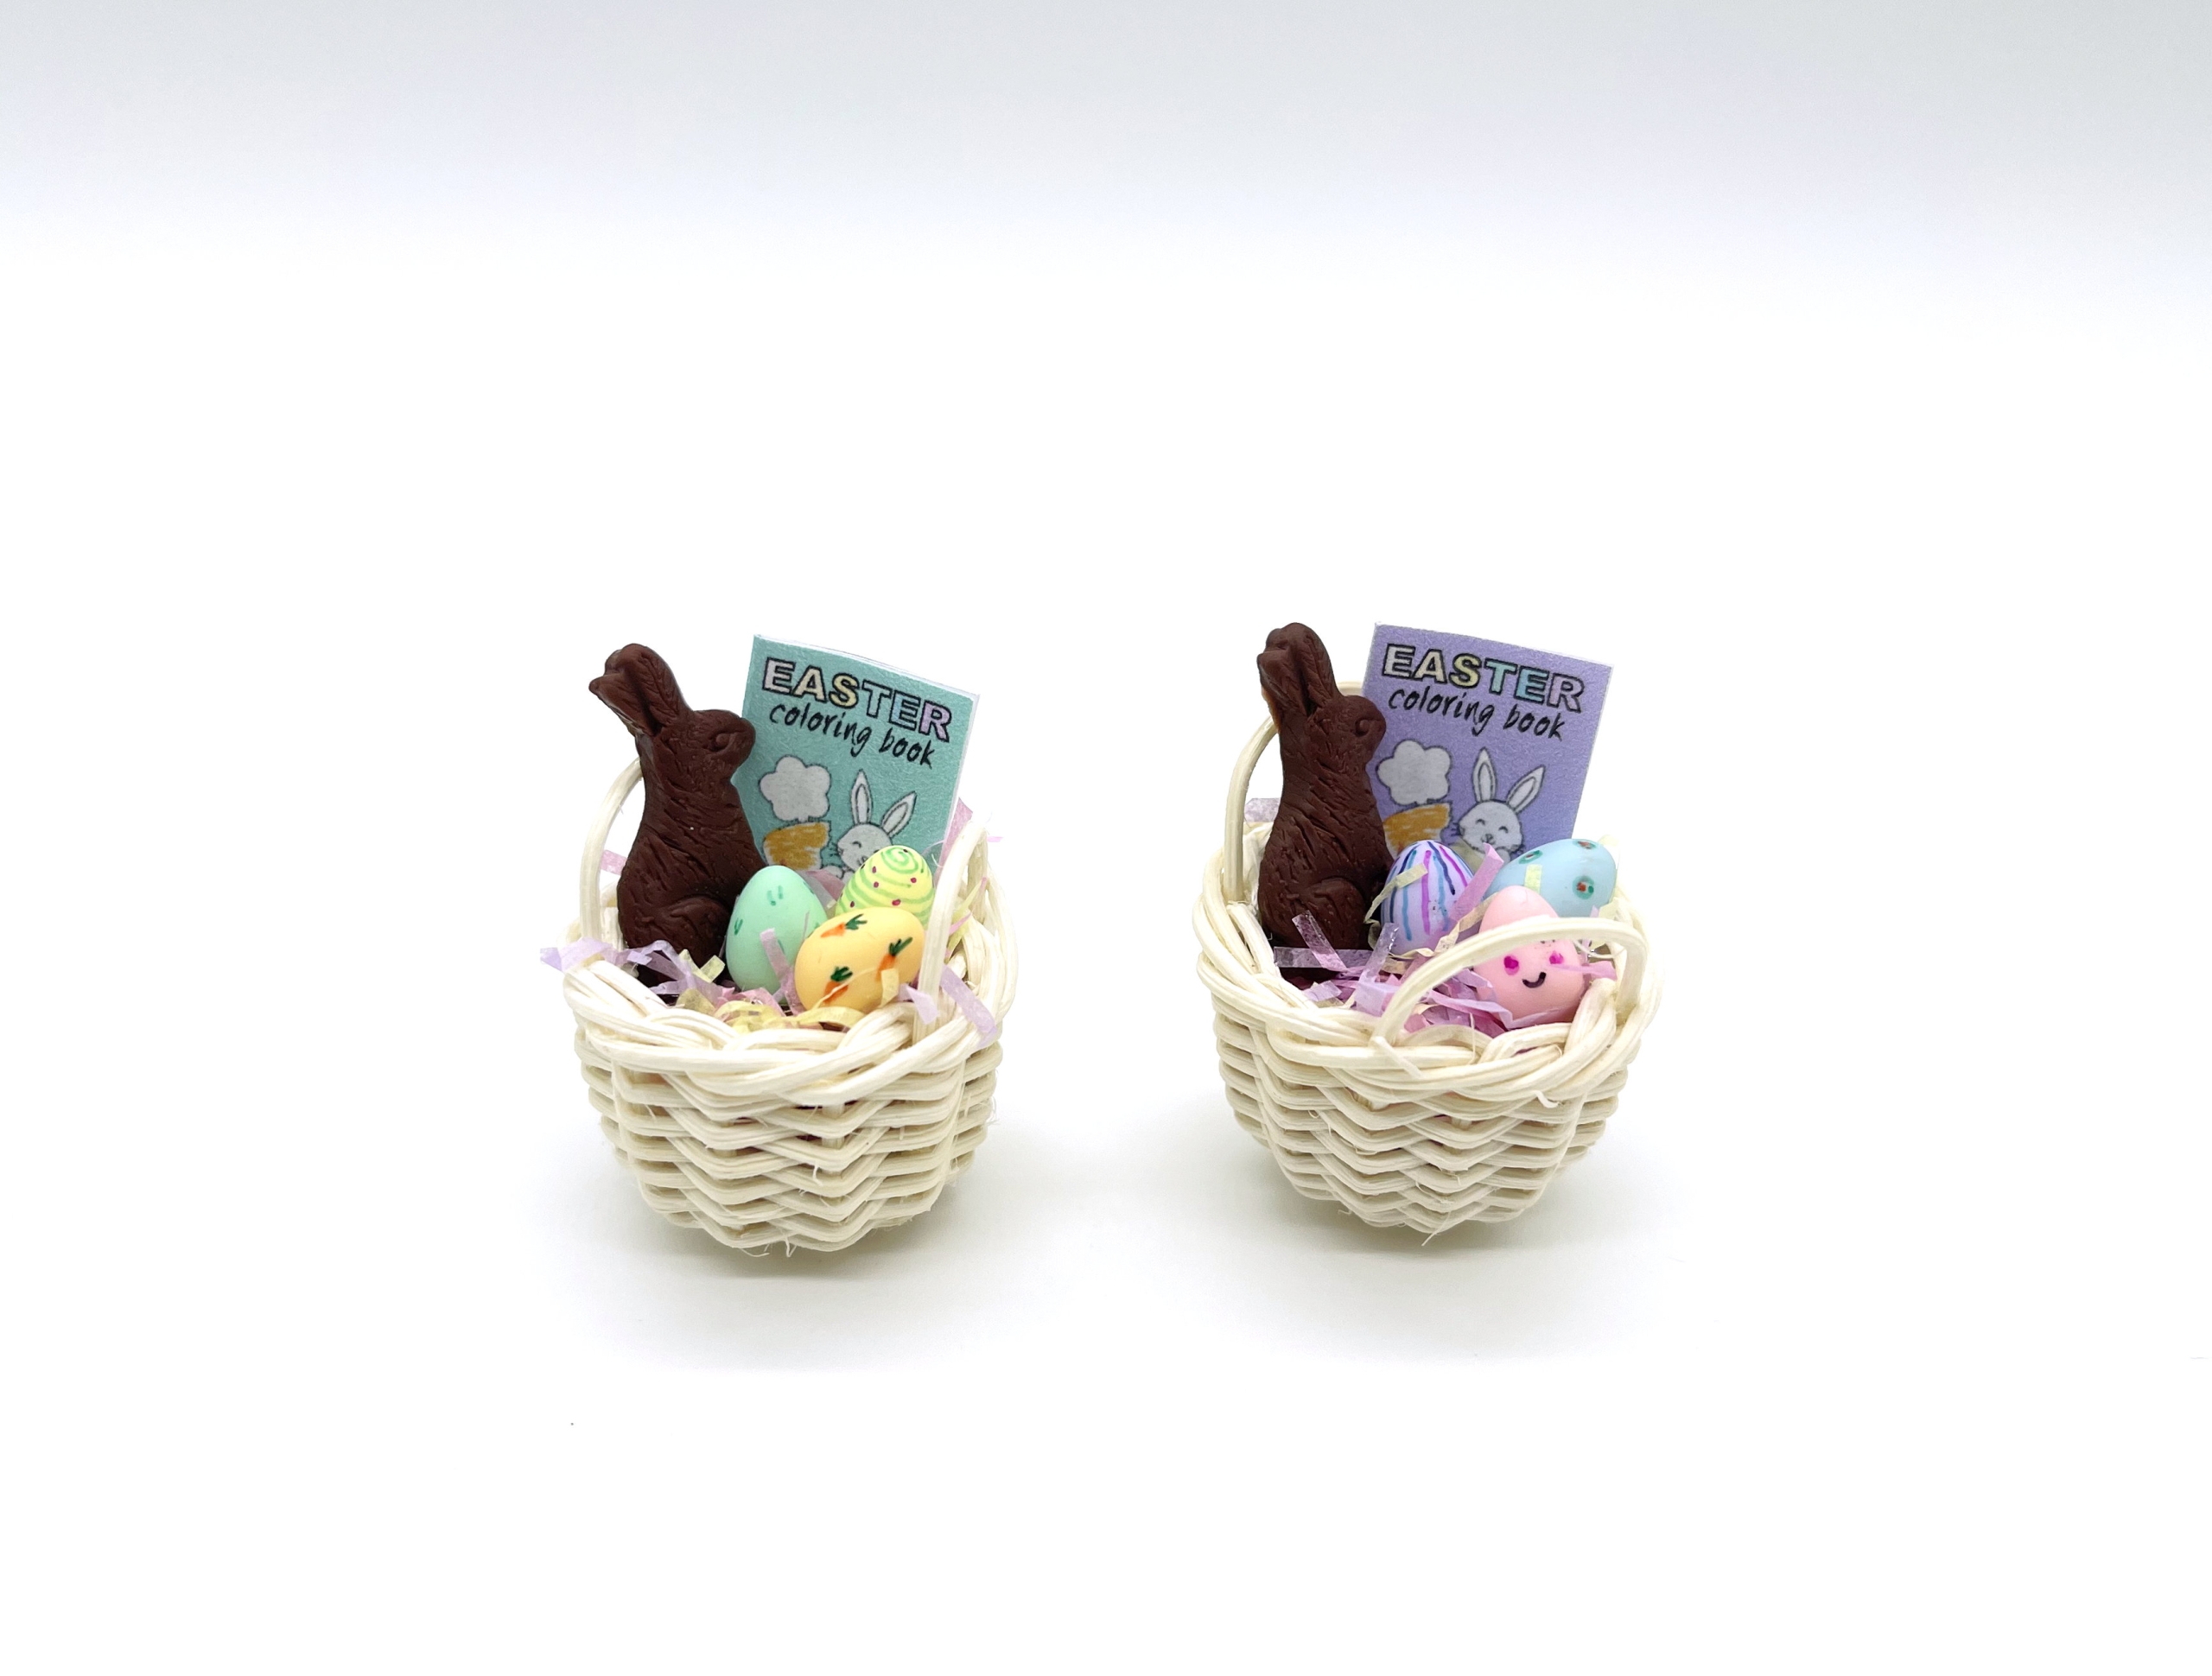
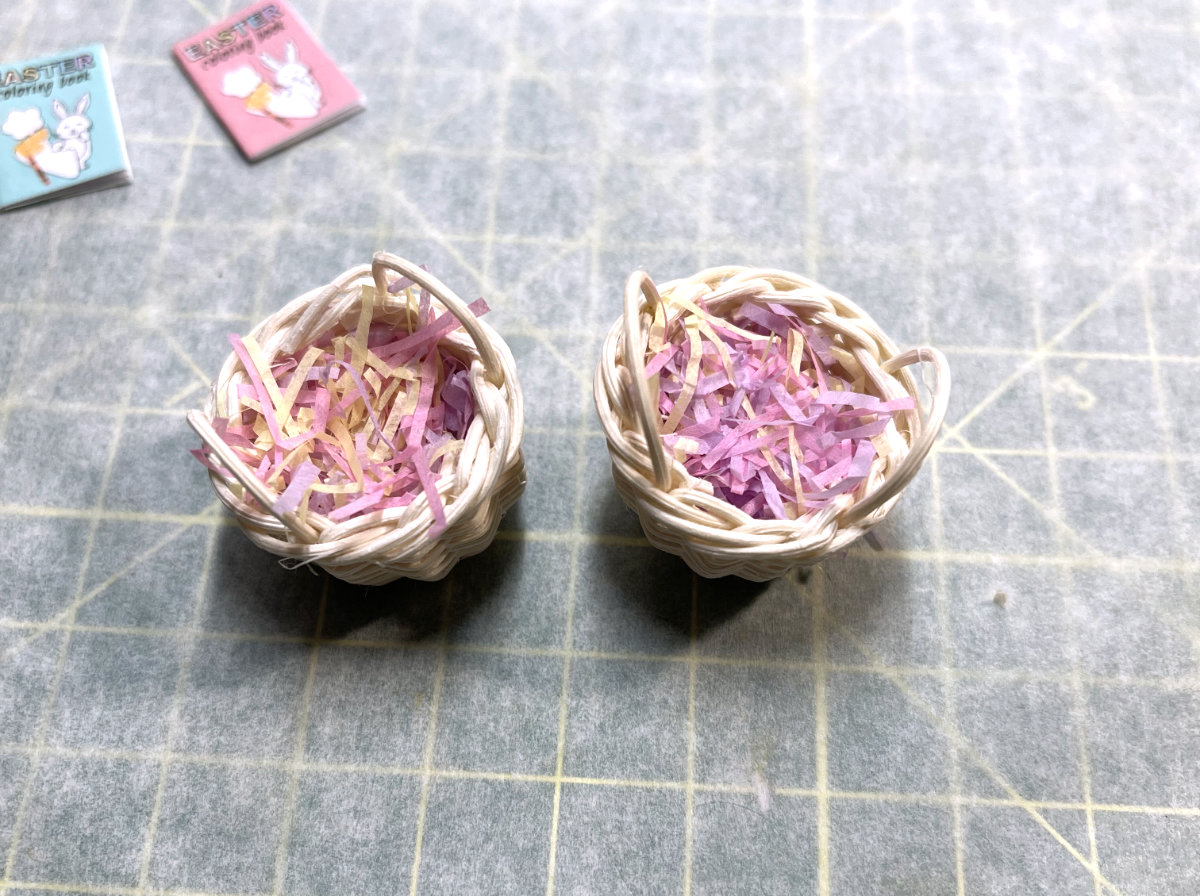
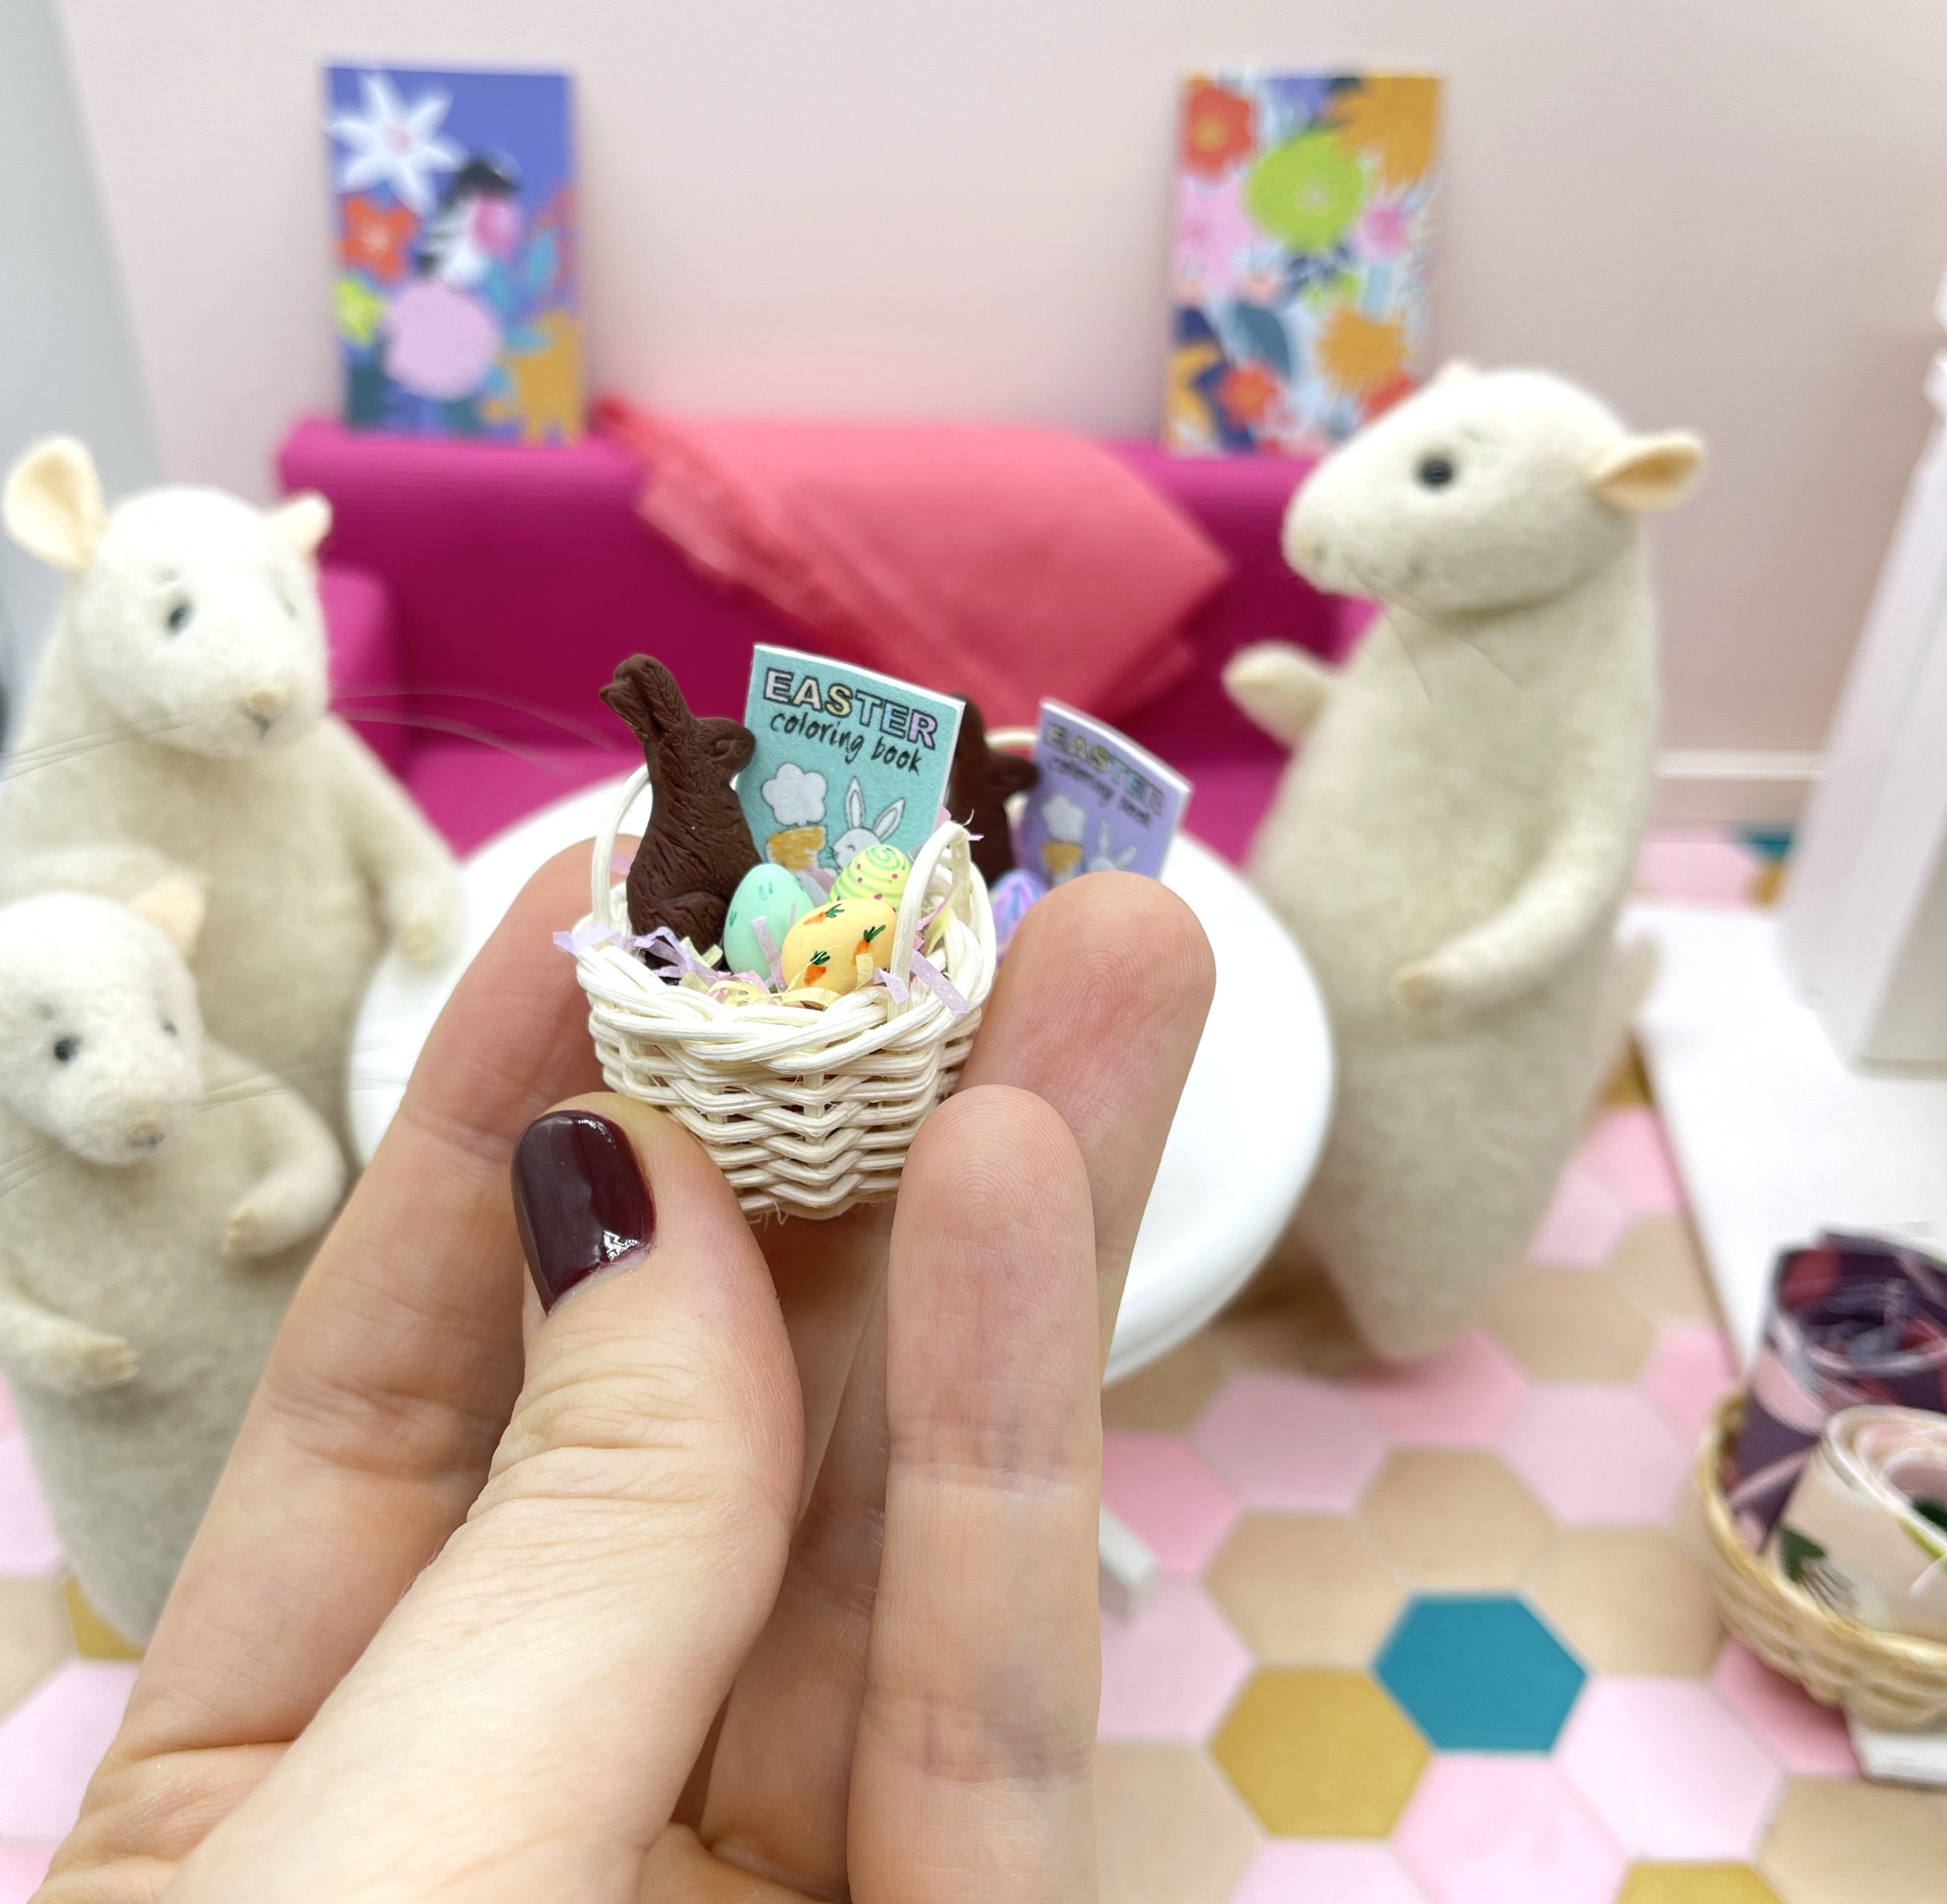
Want to make a miniature Easter basket?
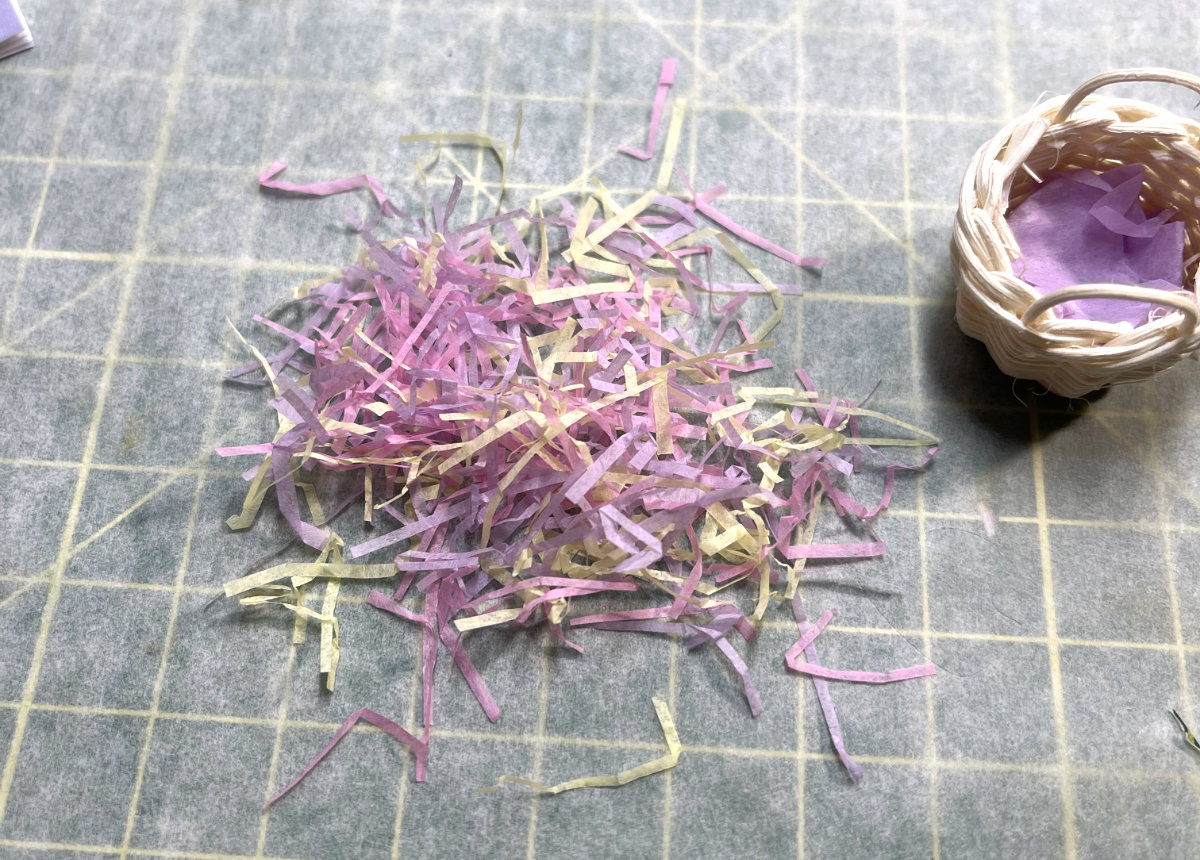
Make “grass” by cutting tissue paper into thin strips. While I used pastel colors, you can opt for green for a more traditional look.
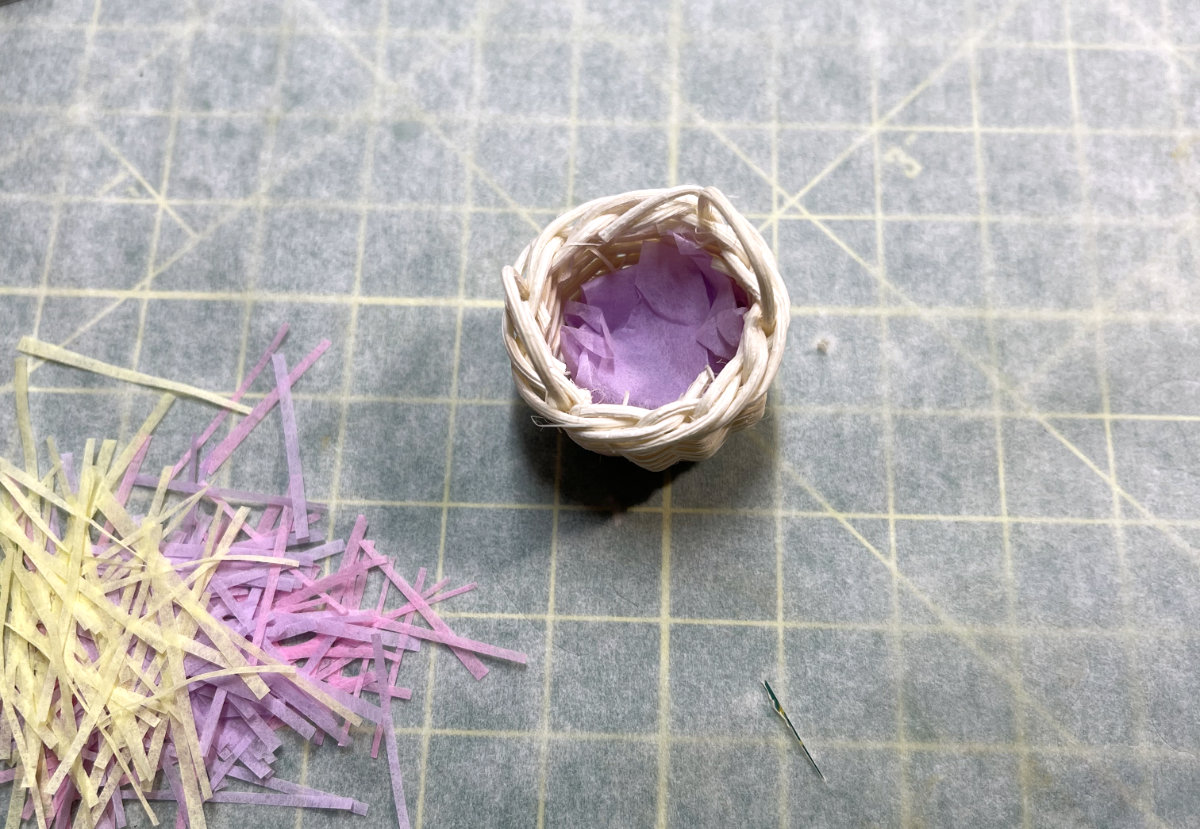
Insert a wad of tissue paper in the bottom of the basket before filling, so you don’t have to make quite so much grass.
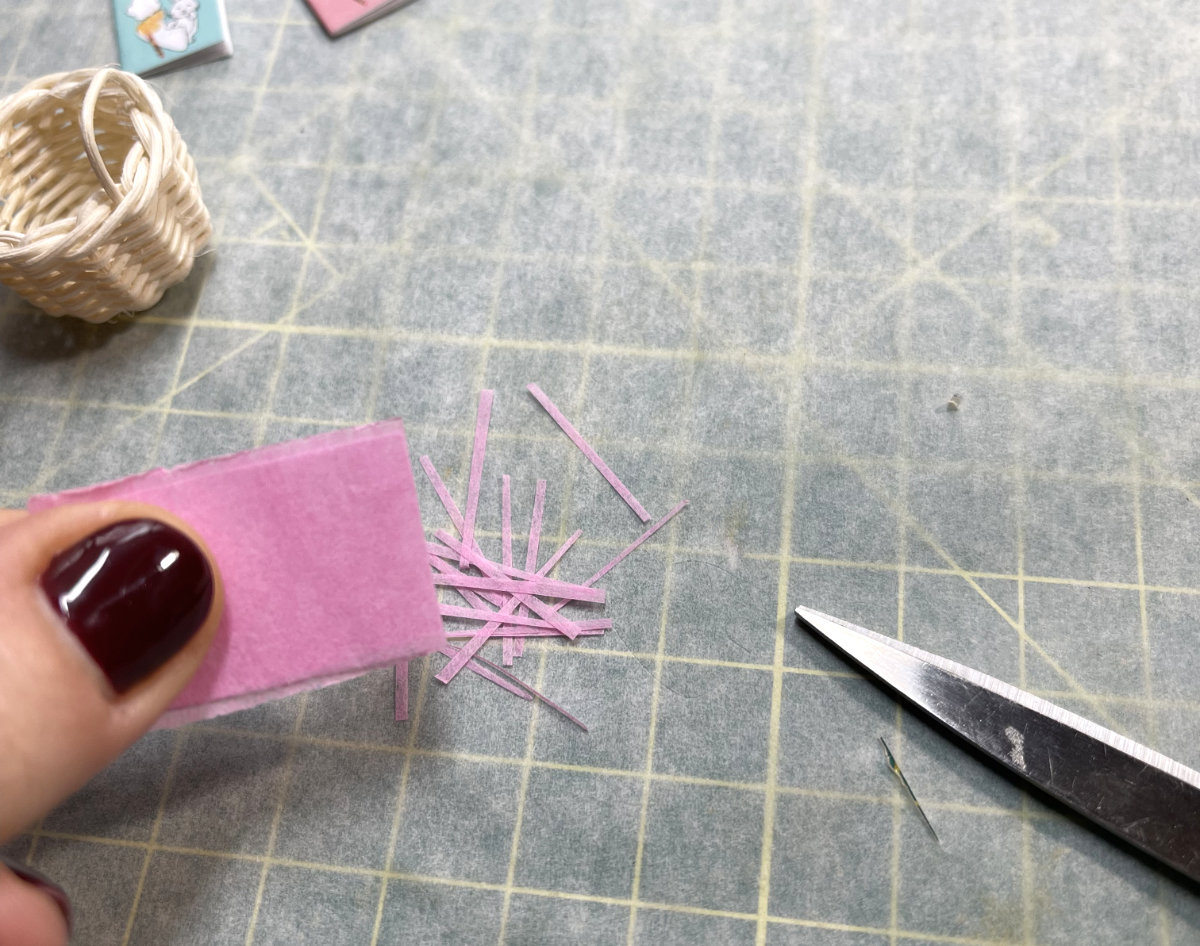
Use your fingers to scrunch the tissue paper strips.
Add the tissue to the basket.
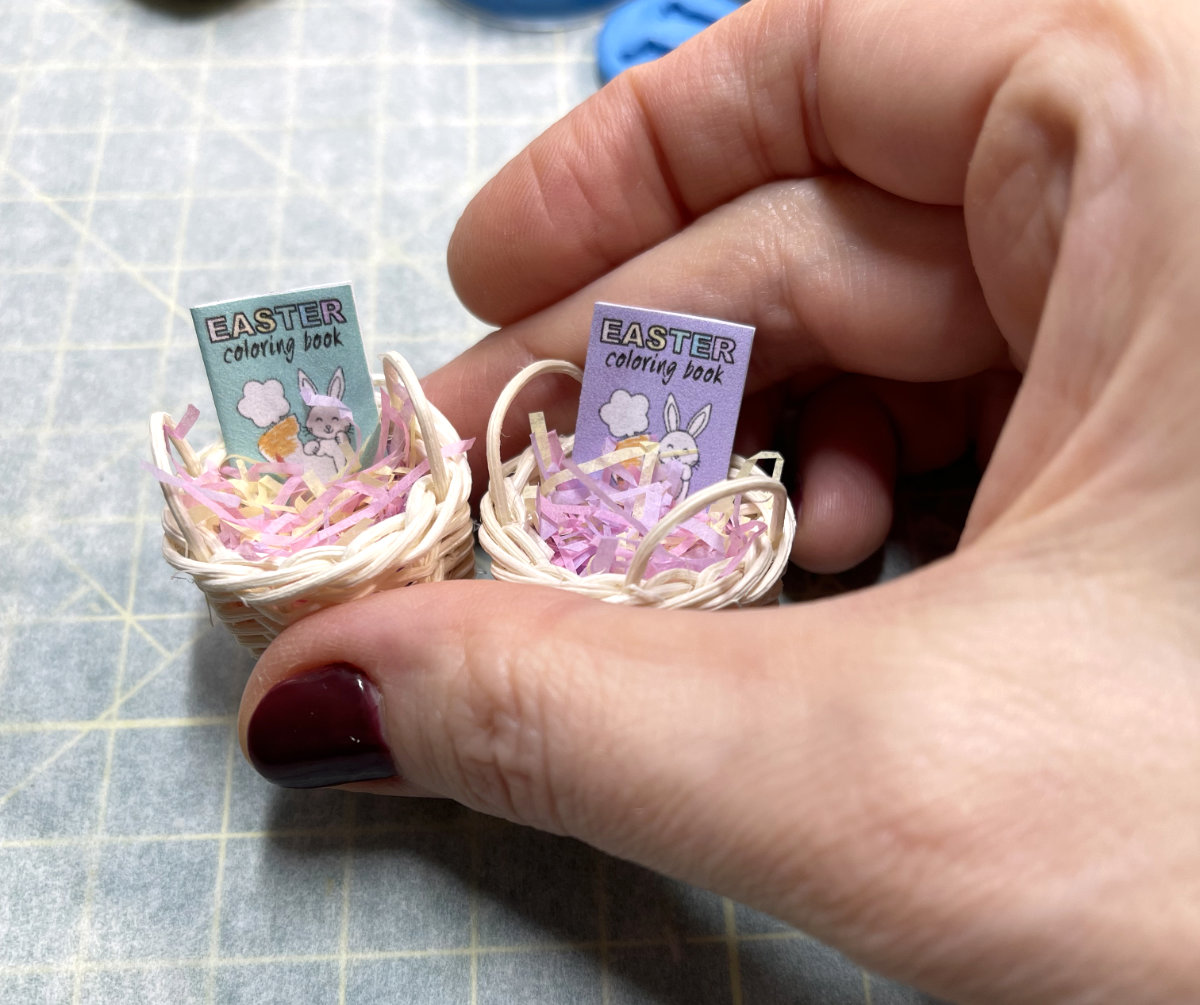
Add craft glue to the back and bottom of the coloring book and add it to the basket.
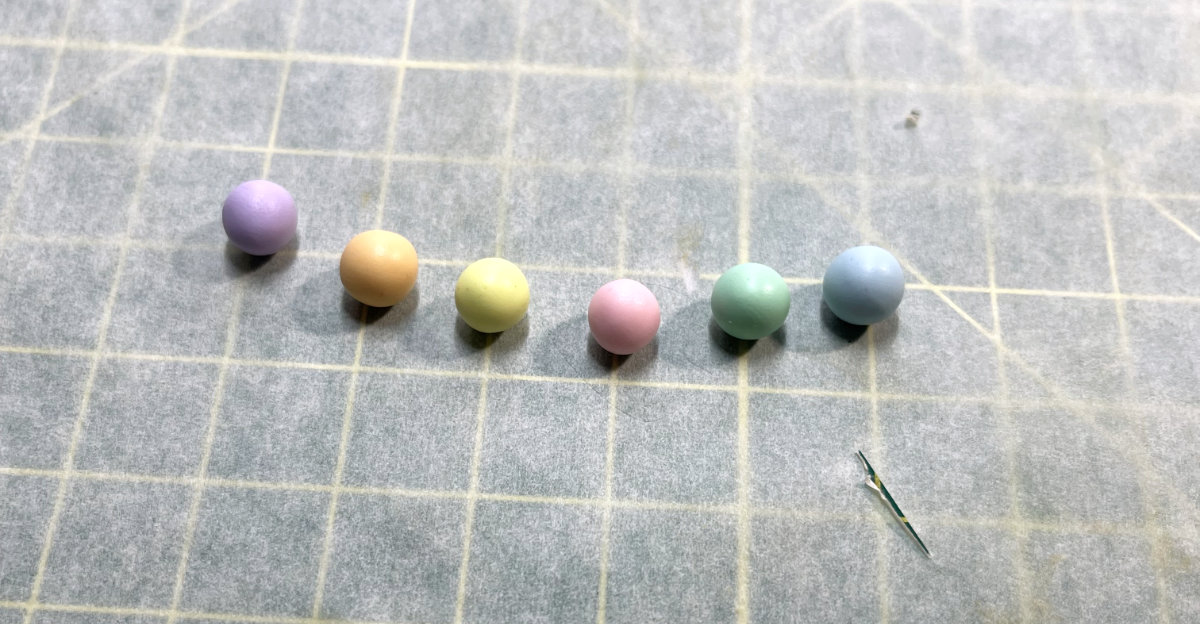
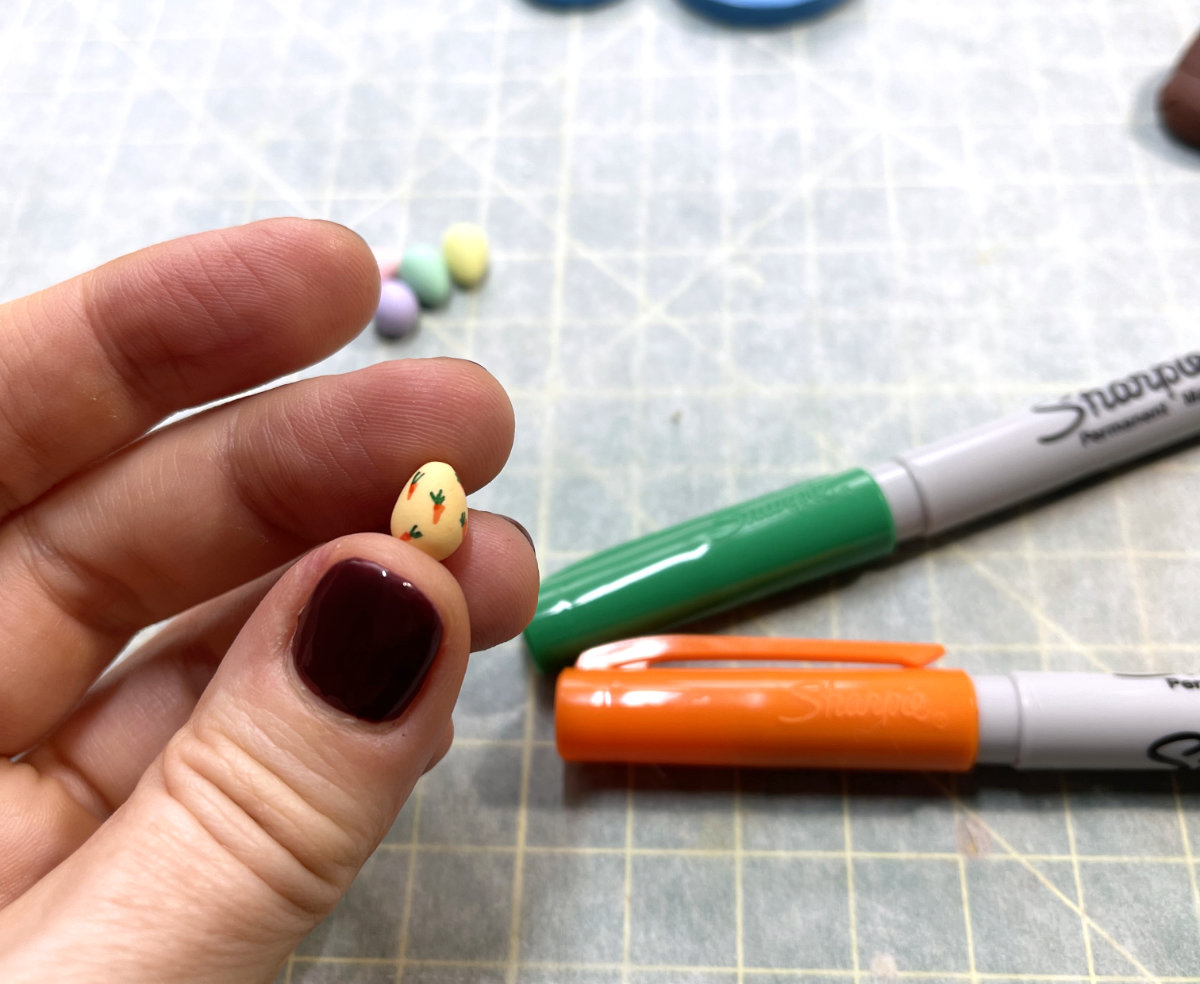
Make eggs by rolling out balls of polymer clay, then shape them into eggs by gently pinching and rolling one end.

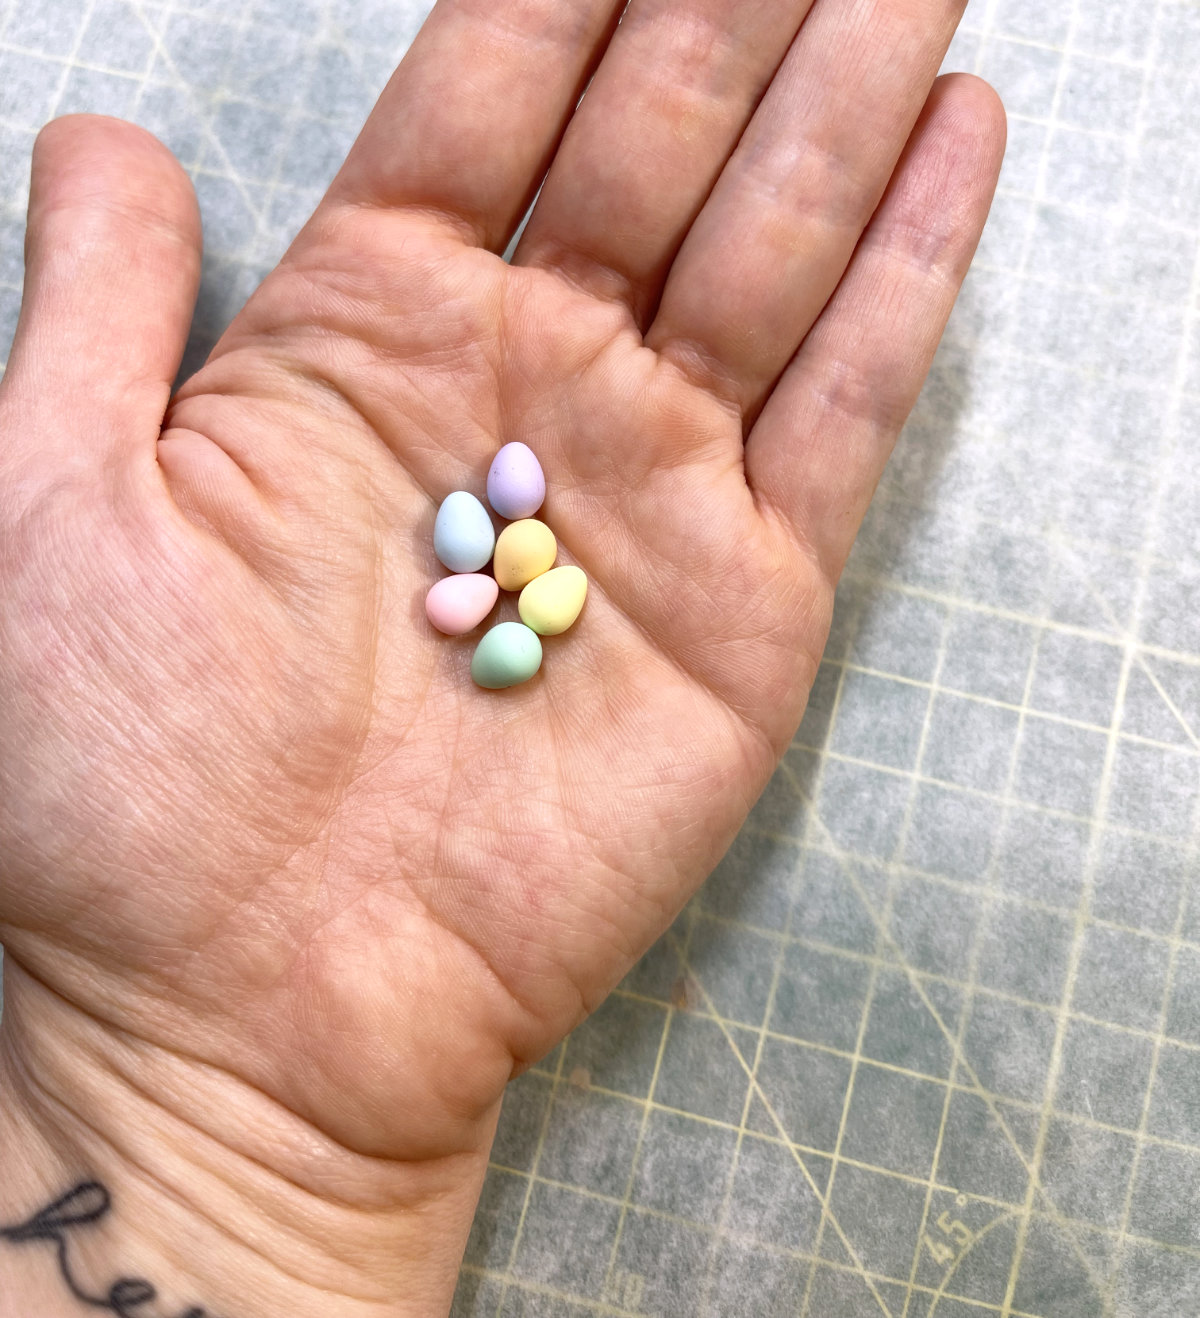
Bake the eggs in a preheated oven on a ceramic baking tile for ten minutes. Let cool, then decorate with permanent markers, if desired.
Use two-part epoxy (I like products that come in two separate tubes or bottles, as opposed to the double-barrel applicator, which is harder and messier to work with, in my experience) or E6000 adhesive (those are affiliate links, just a heads up!) to secure the eggs in the basket, making sure to glue at least one of them to the basket side and gluing all of the eggs to each other.
If you’re adding a chocolate bunny, use the same adhesive to secure it to the basket as well.
Have fun! 🙂