


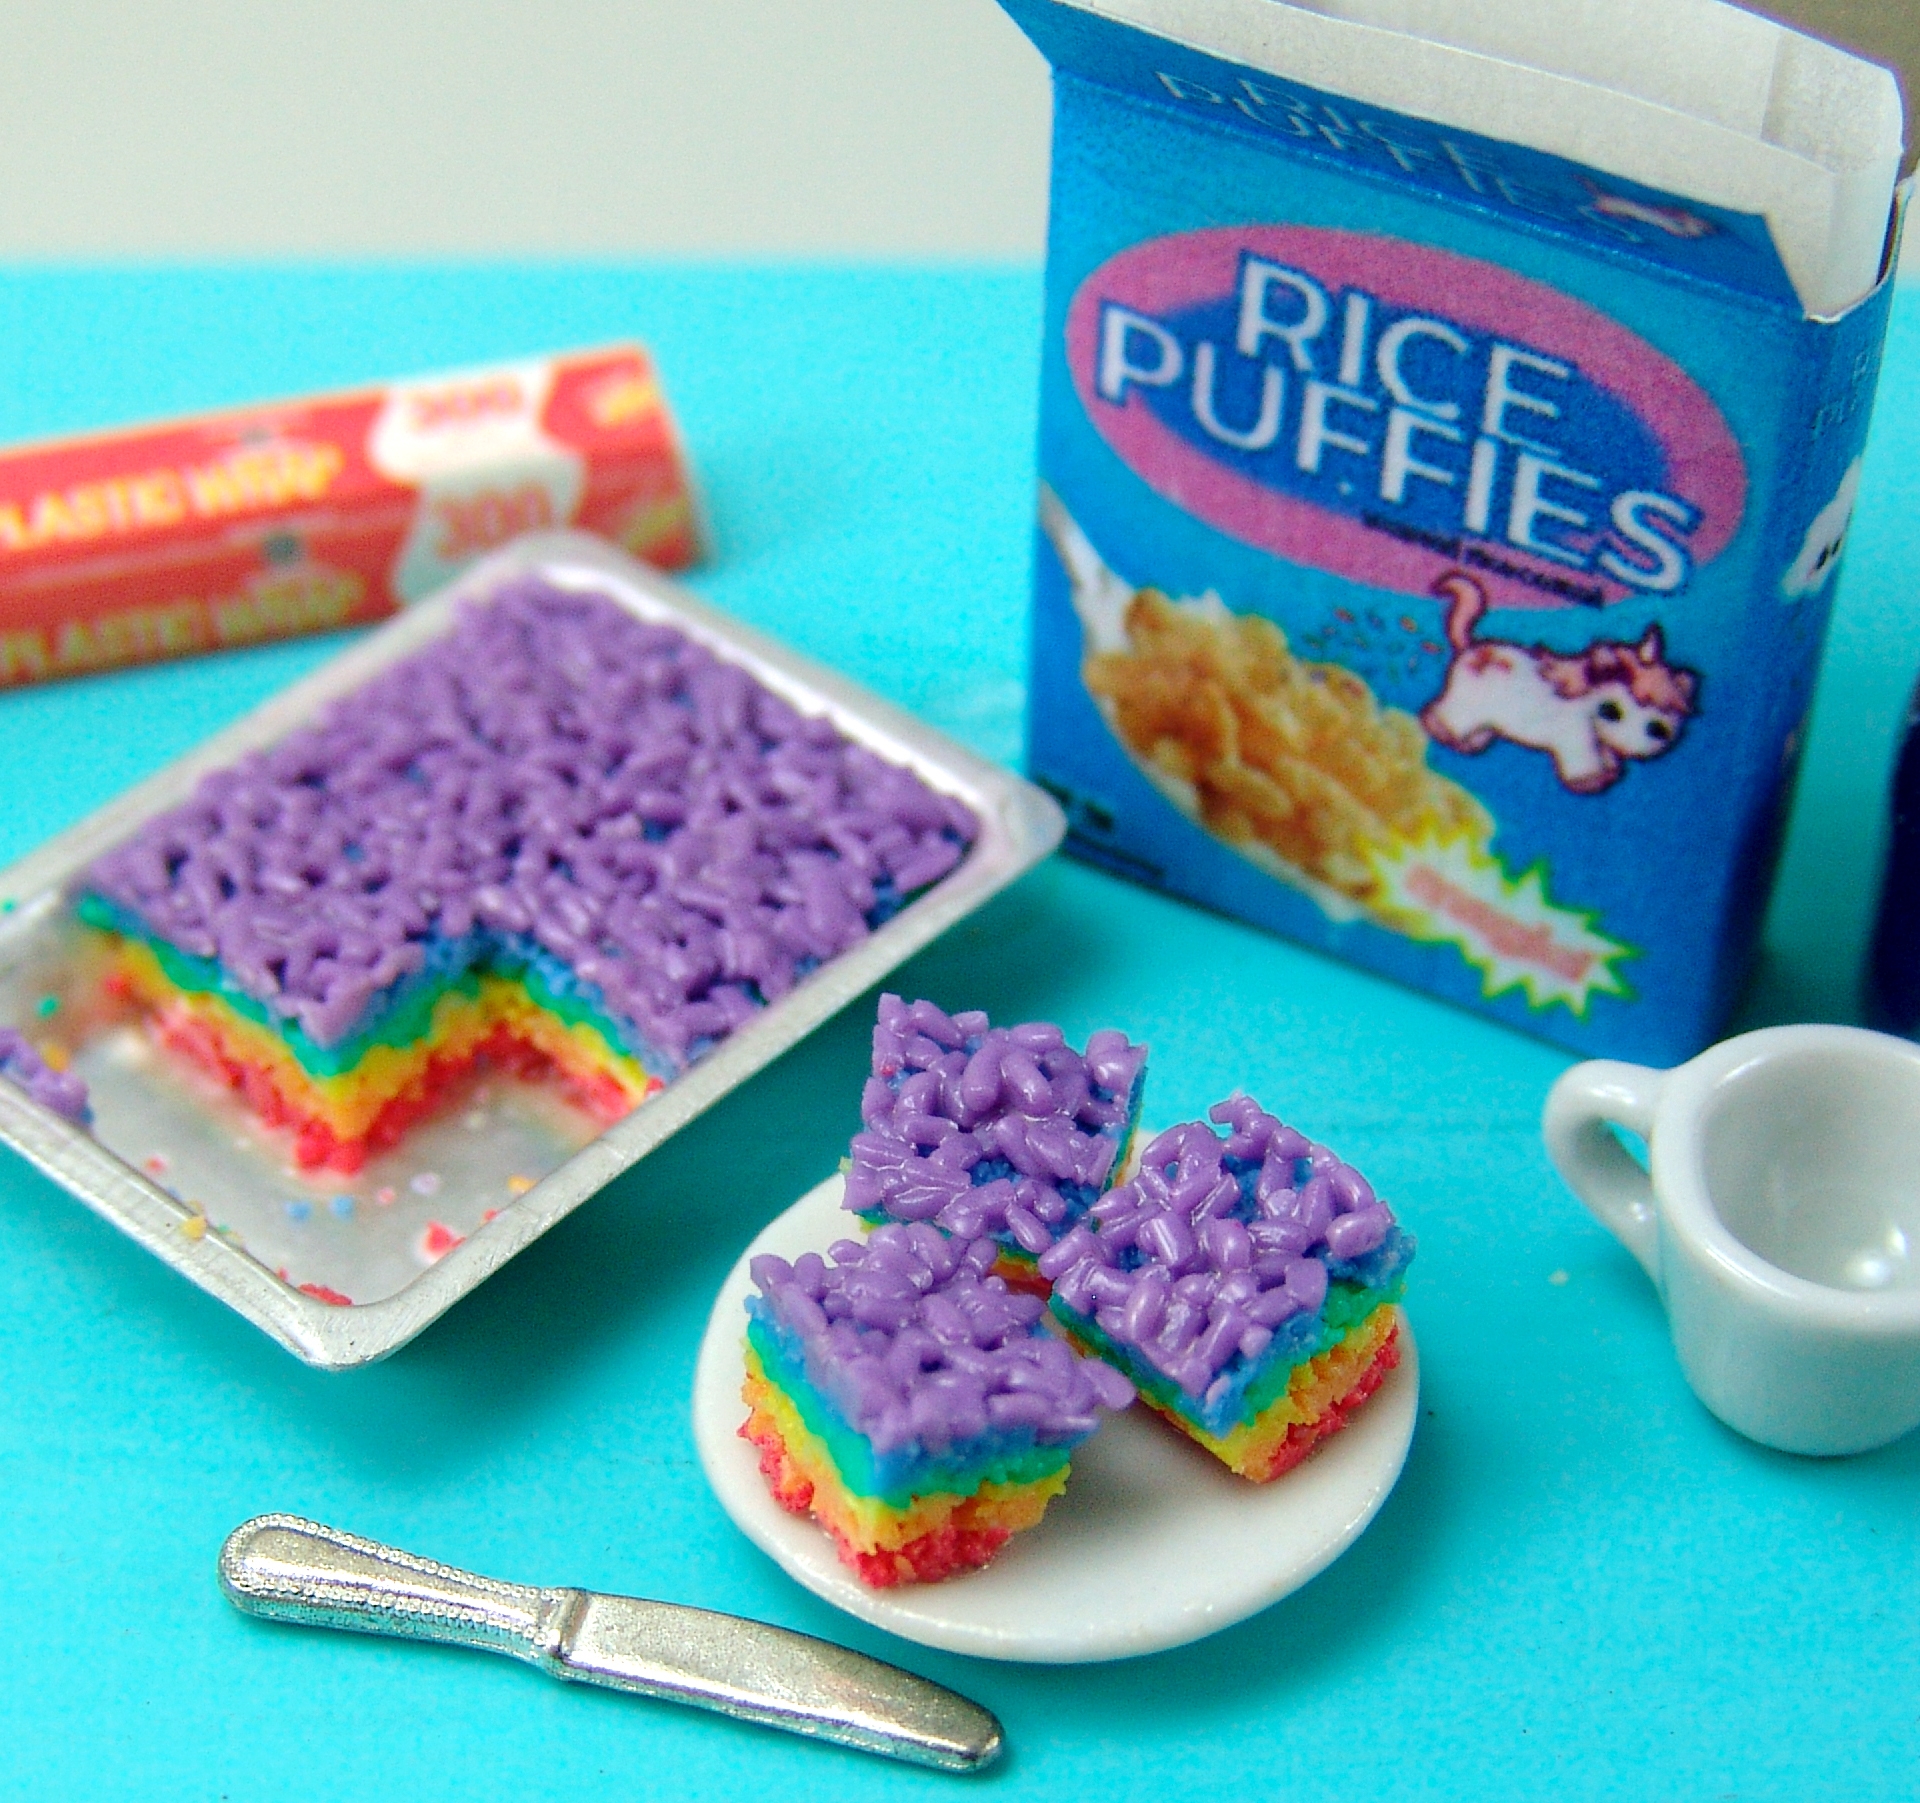
In today’s post, I want to show you how to make two variations of miniature Rice Krispy treats: classic and rainbow.
Quick note: For those of you have been following the Mouse for awhile, you might know that I had originally intended this tutorial to be part of a new tutorial book. The short version: Life has taken a different turn in the last nine-ish months (all good stuff), so the book project has been set aside. However, that just means I can now share that original material on the blog for free. Yippee!
Tools and Supplies
- polymer clay (for classic, you’ll need white, ecru and translucent; for rainbow, you’ll need all of the rainbow colors, plus translucent)
- translucent liquid clay
- white liquid clay
- needle tool
- clay blade
- dollhouse baking pan
- polymer clay satin glaze
- adhesive (I like E-6000)
If you’re making the cereal box, you’ll also need:
- printer
- card stock
- bone folder, optional
- craft glue
- vellum, optional
For the classic version
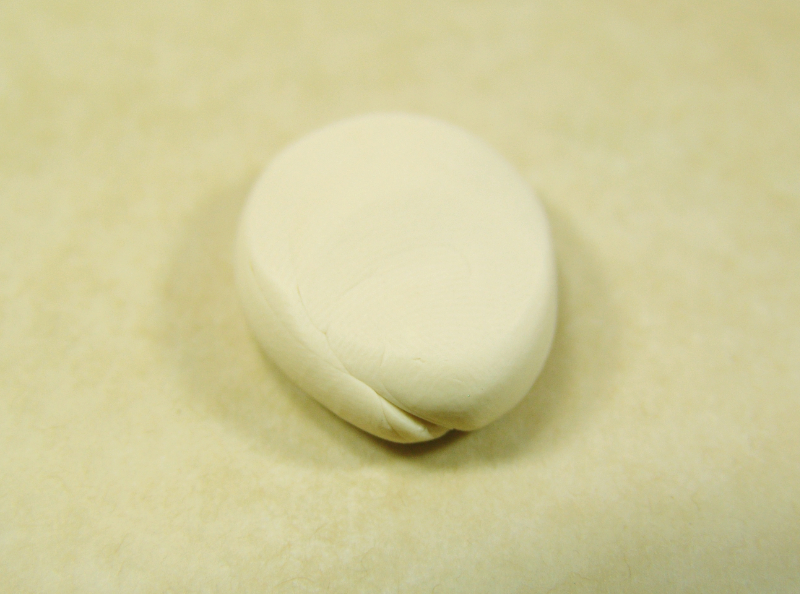
1. Mix your clay. Combine one part ecru with two parts white, kneading thoroughly to combine. Then, mix this light ecru with an equal amount of translucent clay, again kneading thoroughly to combine.
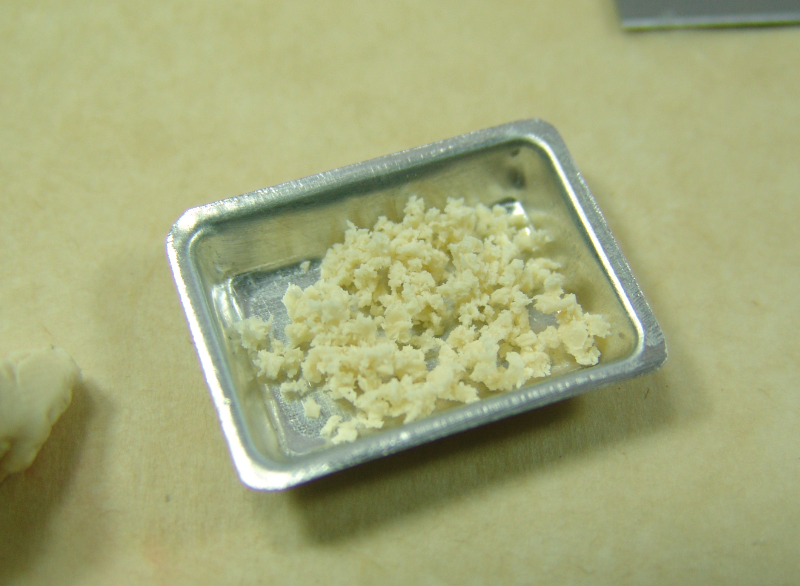
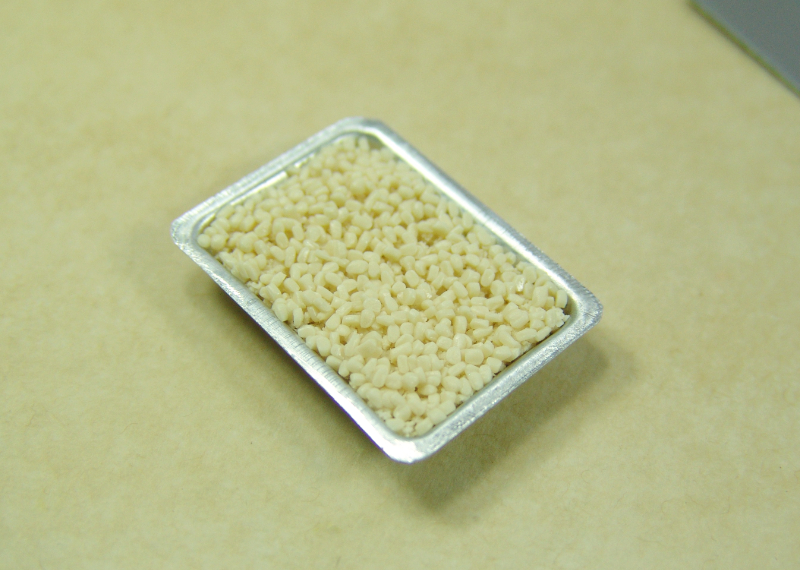
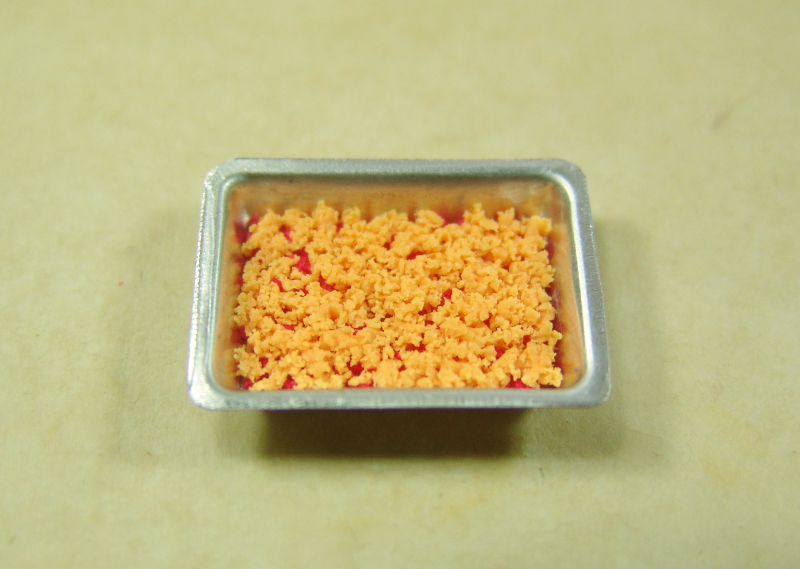
2. Using a needle tool, tease off crumbs of clay and layer them into your oven-safe dollhouse baking dish. As you work, gently press the crumbs together with your finger, not hard enough to smush the crumbs but enough to help them stick together. Continue until the dish is almost filled.

3. For the top layer, you’re going to do something a bit different. Start by rolling out a thin snake of clay and cut off small bits from this snake.
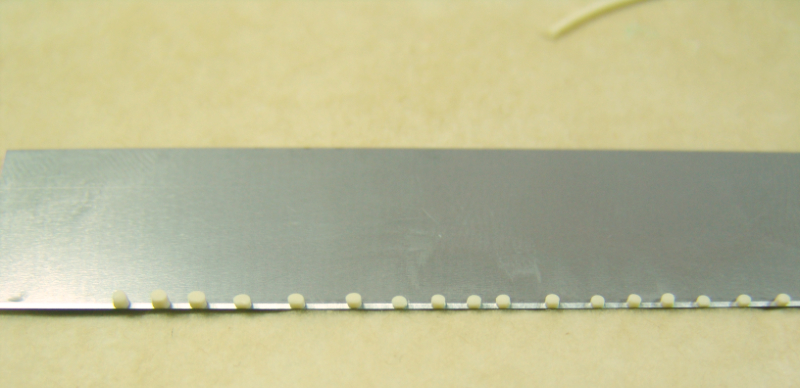
4. Roll each bit into an oblong shape. I find it easiest to do this by leaving the bits stuck to the clay blade. Then, I roll the bits off the blade with my finger pad (remember to roll AWAY from the sharp edge!), simultaneously removing the bits from the blade while rolling them into an oblong shape. Depending on how widely spaced the bits are, you can usually roll off a few at a time.

5. Layer these oblong bits on the top of the pan, pressing gently to help them stick to the underlying clay.
6. Bake the piece in a preheated oven for five minutes and let cool.
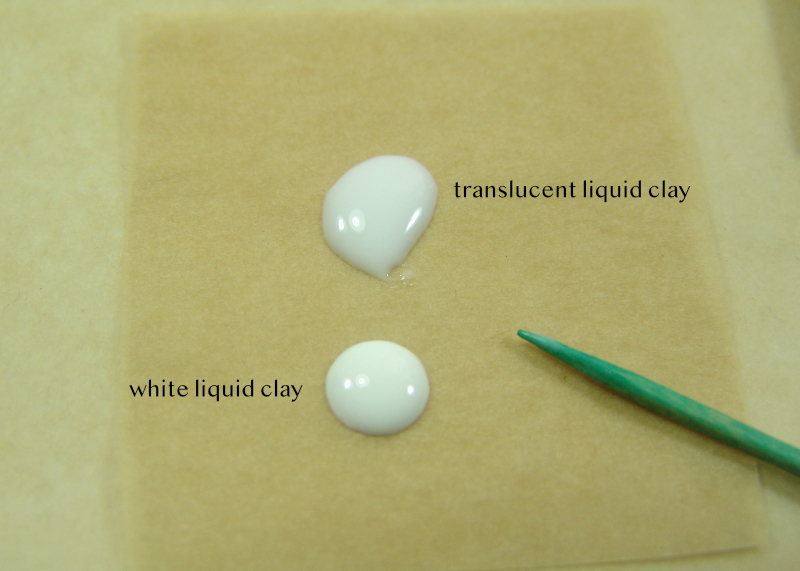
7. Meanwhile, prepare the marshmallow sauce. Simply place a dollop of translucent liquid clay and a dollop of white liquid clay onto a piece of parchment paper. You’ll be drawing from both piles as you work, giving the marshmallow coating a variegated appearance. The patches of opaque white are like the partially dissolved marshmallows that are visible in the edible version.
8. When the Rice Krispy clay has cooled, pop it out of the baking pan using either the corner of a clay blade (be careful!) or a needle tool. It shouldn’t be hard to remove.
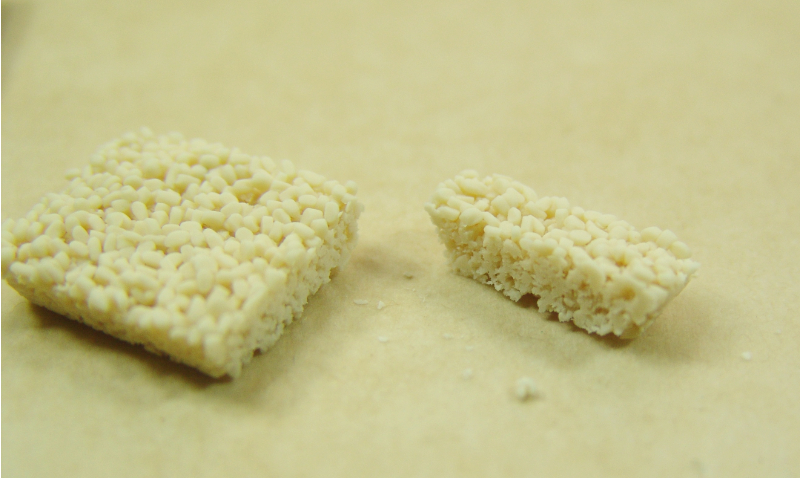
9. Cut into the desired number of slices.

10. Use a stiff paint brush (I have one set aside specifically for working with liquid clay, as it gets pretty gummy and unusable for other applications) to spread the liquid clays, drawing a little from one pile and then the other, on the top of the Rice Krispy treats and any cut-away exposed surfaces.
11. Place the non-sliced portion back into the pan, and smear some of the marshmallow sauce on the exposed portion of the pan bottom. The process of cutting the clay likely produced little crumbs, and you can sprinkle those back into the pan, making sure there’s enough marshmallow sauce to help them stick.

12. Bake the non-sliced portion in the pan and any slices in a preheated oven for seven minutes and let cool.
13. Pop the non-sliced portion out the pan once more, and use E-6000 (or a two-part epoxy) to permanently glue it to the pan.
For the rainbow version
The process is largely the same, so I won’t go through every step here.
1. Start by mixing each of your colors with an equal amount of translucent.
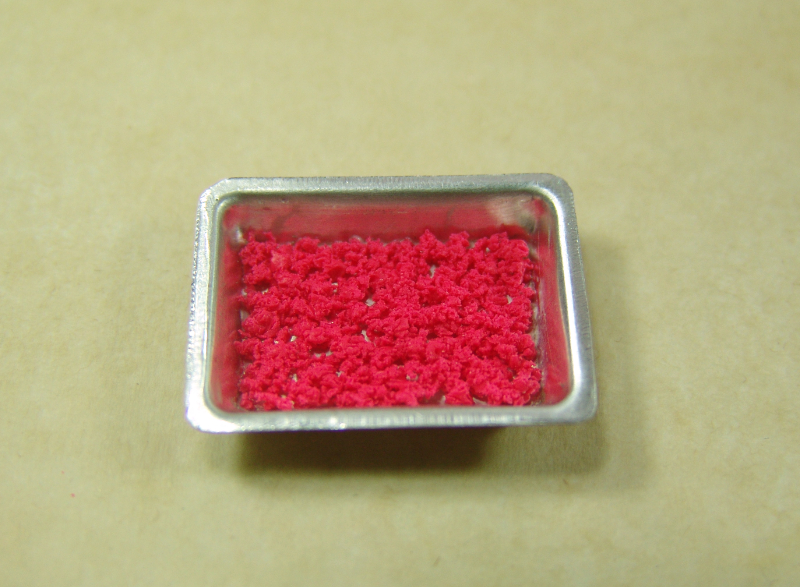
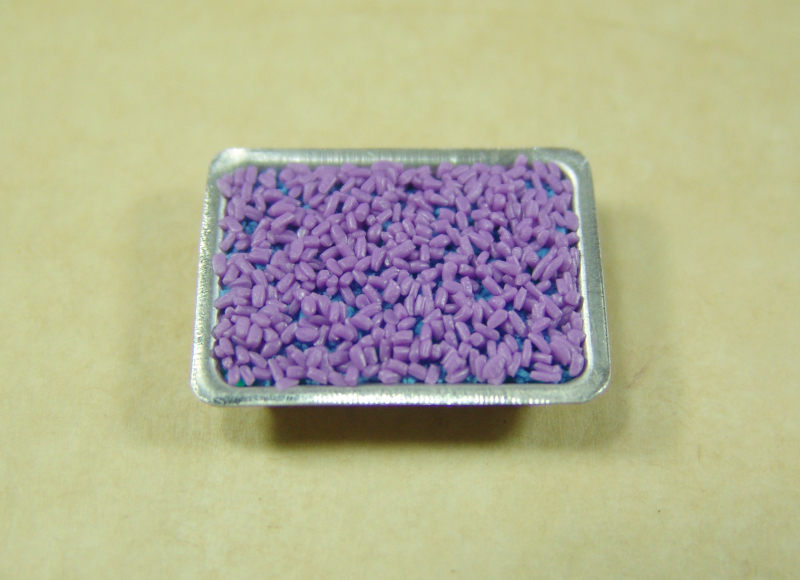
2. Use a needle tool to tease off crumbs of red, layering them into the pan. Repeat with the rest of the rainbow colors, minus the top purple layer.
3. For the purple top layer, you’ll use the method outlined above for creating little oblong bits.
4. Follow the rest of the instructions above to bake, slice, add marshmallow sauce, bake once more, and glue.
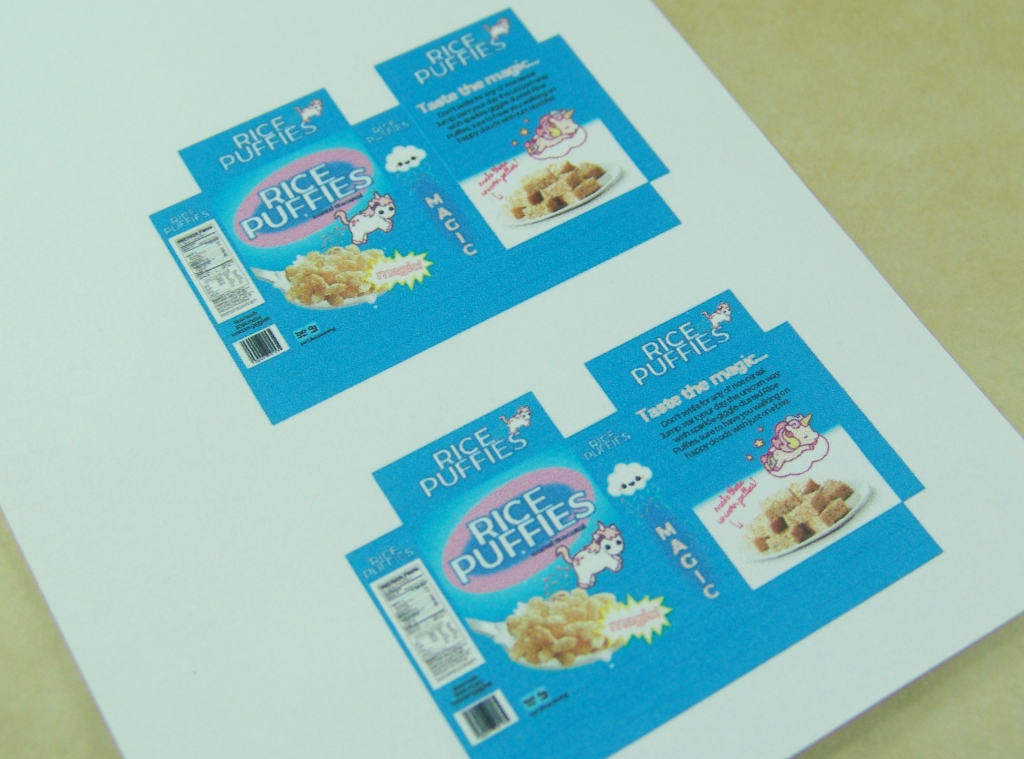
For the cereal box
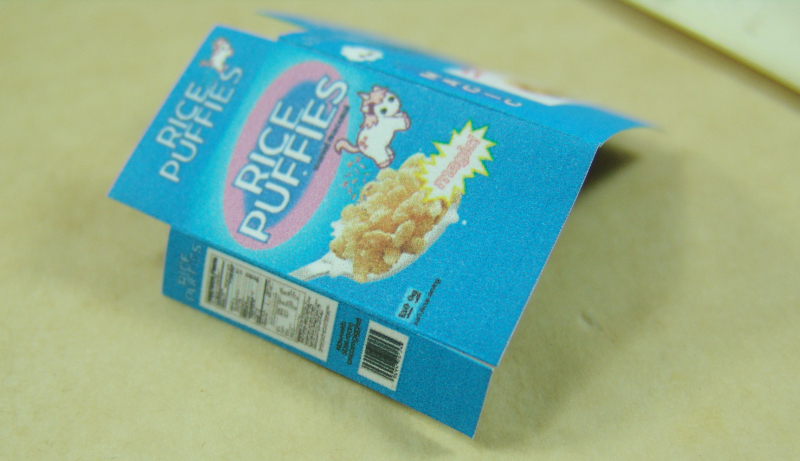
1. Download the artwork (PDF) and print on white card stock.
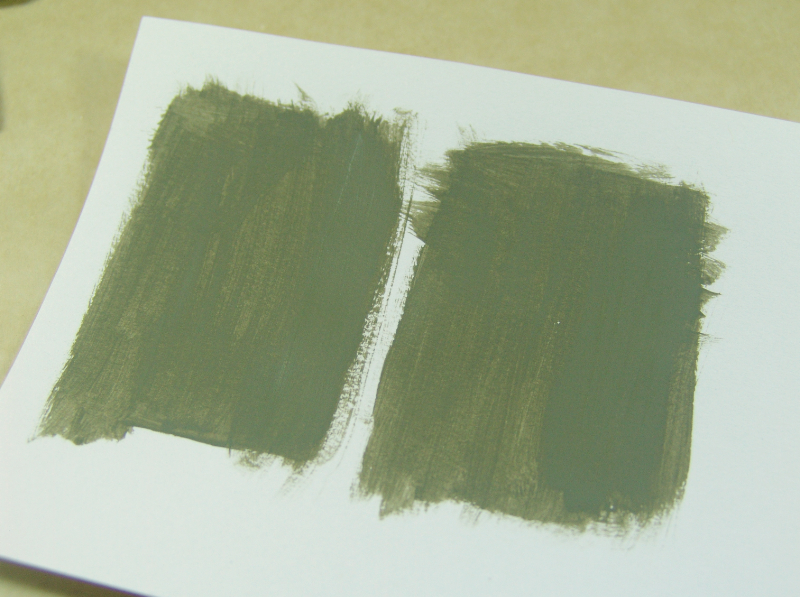
2. This is optional, but I like to give the inside of the box a cardboard appearance. Mix gray paint with a little touch of mustard paint, and apply to the back side of the design. Let dry.

3. Cut out the design and use a bone folder (optional, but handy) to crease the folds.
4. Glue the box panels together. I like to pinch them gently with tweezers to ensure a solid connection.


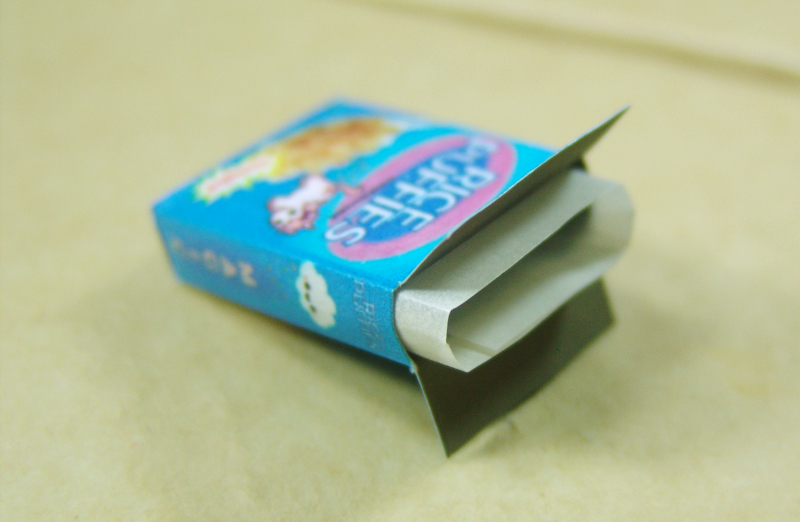
5. Optionally, you can add a vellum “bag” inside the box by cutting a strip of vellum to size. Use a little glue to attach to the inside of the box.
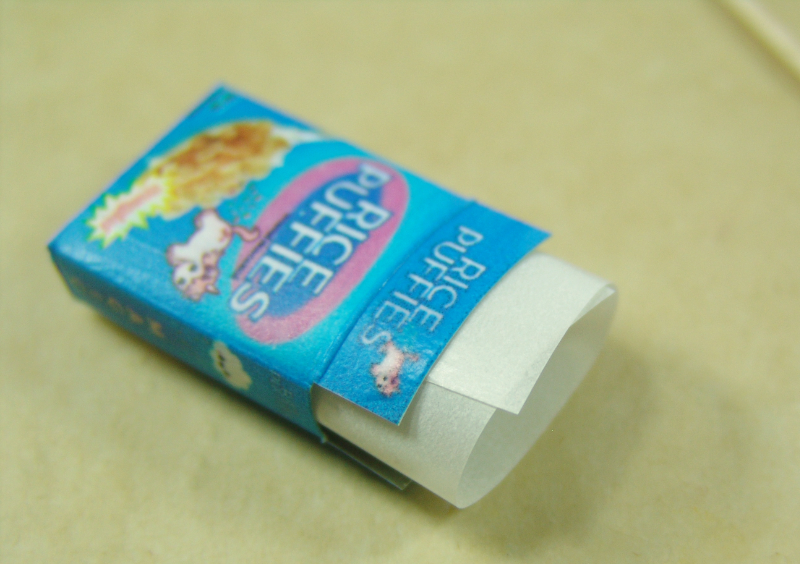
6. Pinch the corners of the vellum to crease into a box shape.
You’re done!


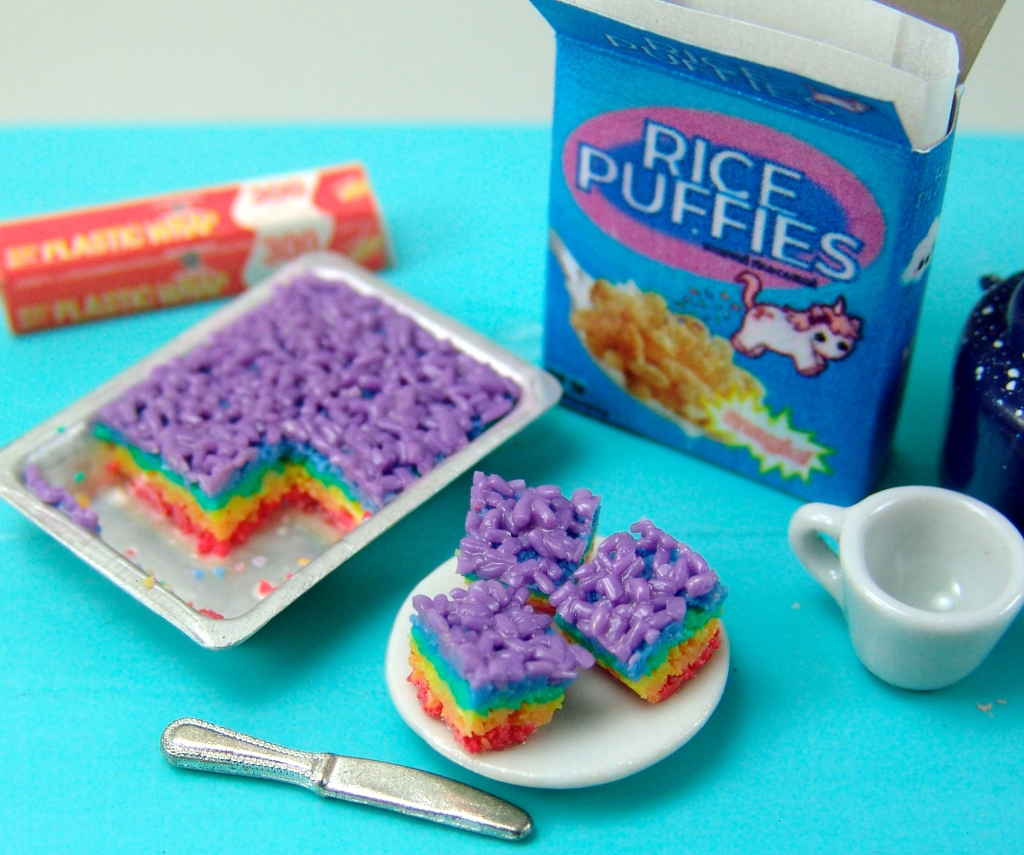
Or…buy the treats
Want the already-made versions? I have one of each here: classic Rice Krispy treats and rainbow Rice Krispy treats.
September 25, 2019 at 3:31 pm
I have several of your tutorials. This one looks like so much fun, as are all of your other tutorials! Thanks very much for sharing this!
September 25, 2019 at 3:50 pm
You bet, Karen! Have fun! 🙂
September 25, 2019 at 8:18 pm
This is great! I will try a Halloween version 🎃
September 25, 2019 at 8:25 pm
Oh, how fun, Donna! If you feel like sending me a pic when you’re done, I’d love to see it! 😀