


The dollhouse project is moving right along, and I would guesstimate that I’ll be done with the entire thing within the next two weeks. And “done” as in, all the exterior details will be completed, but I’ll still have the interior decorating to do, but that’s the fun part, in my opinion, so I’m definitely looking forward to it. The not so fun part? Painting balcony railings. I’ll show you that step, along with other portions of the building that I finished this morning, in today’s photo tour.
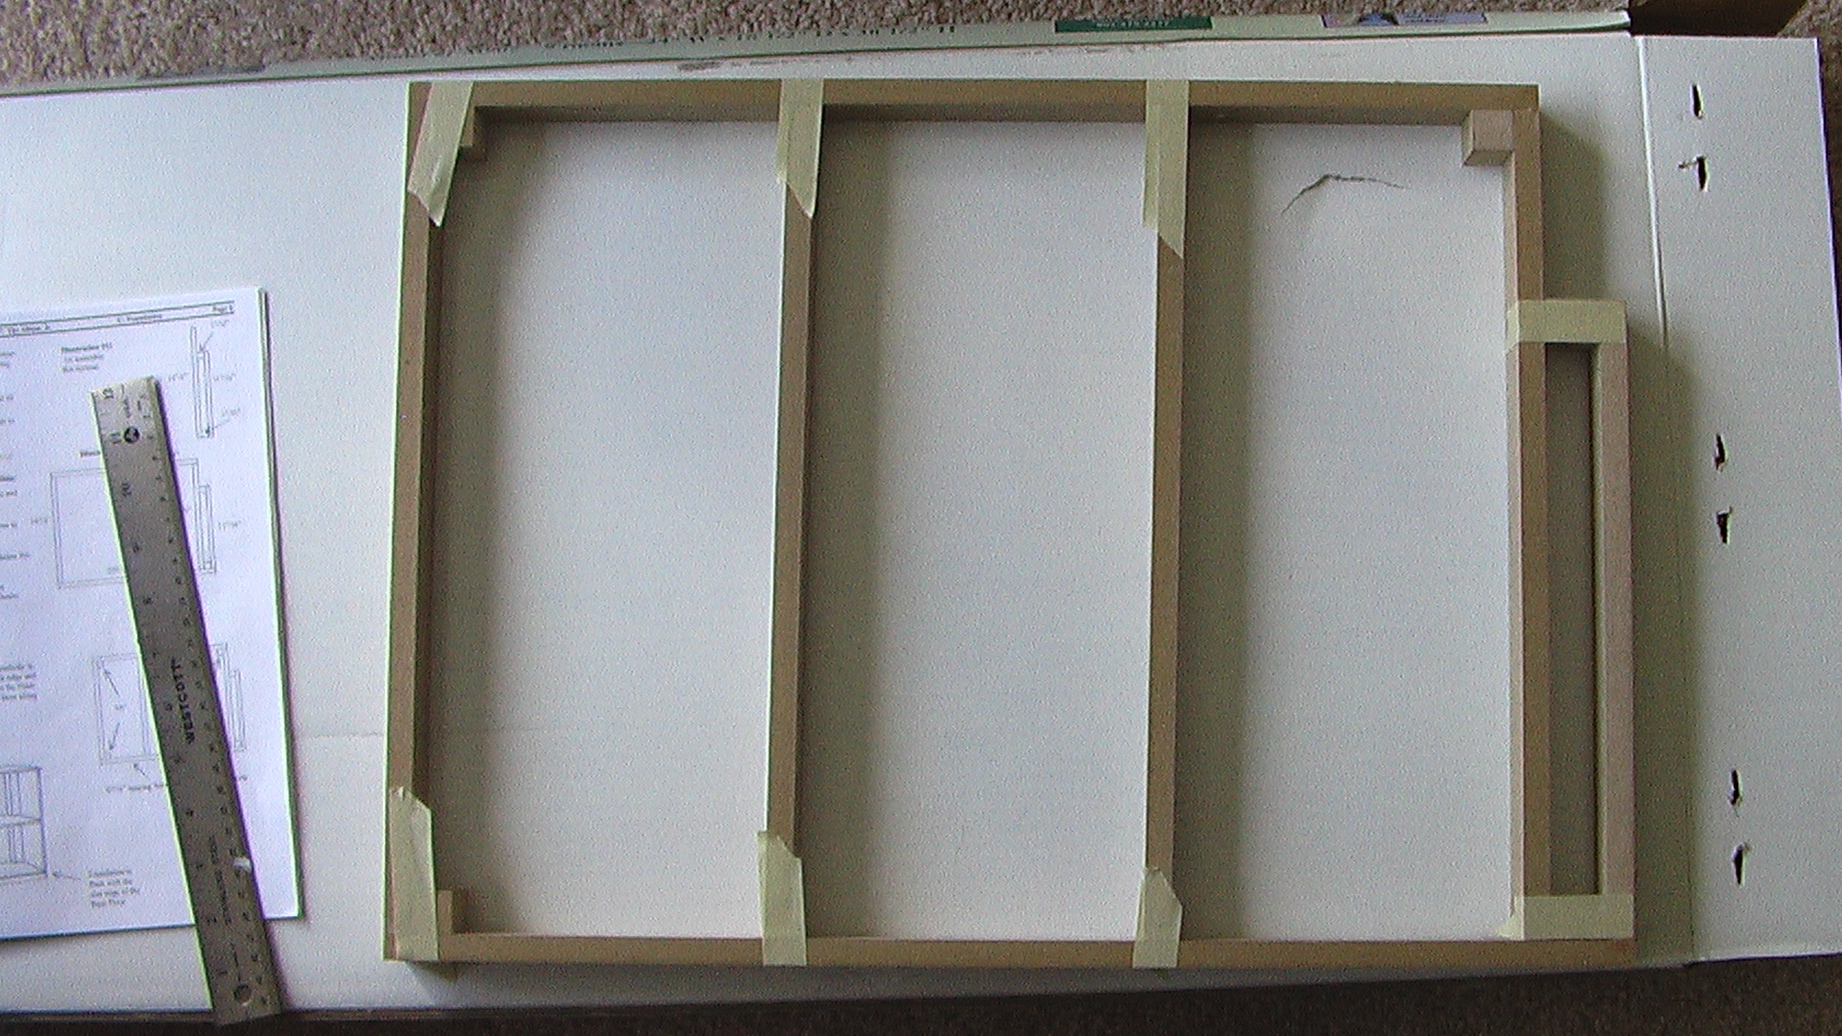

To start, I needed to assemble, paint, and attach the foundation, and the wooden foundation strips were laid out, glued, and taped together until they dried, at which point I painted them white before gluing them to the bottom of the house. The house needed to be weighted down as the glue dried, which you can see in the second picture.


Since I decided to paint all of the interior walls instead of wallpapering, most of the painting was done prior to assembly. In hindsight, I really wish that I had painted the ceilings as well, because that was a considerable hassle to carry out after they were attached to the walls, particularly the little nooks created by the tower at the front of the house. Even more difficult were the white ceilings in the blue bedroom, because I had to tape the edges to avoid getting white paint on the blue walls. I’m not sure why the ceiling painting was not mentioned in the instructions at all, but if I assemble another kit, I’ll definitely make it a point to paint the ceilings first!

Here’s what the front of the house looks like at this point, after the foundation has been attached and I’ve given the entire exterior a third and final coat of light blue paint.


At this point, I have a lot of smaller details to work on, and today, I painted the porch floors and the railings–what a pain! I ended up using a foam brush to give the railings one coat of white paint, and then I went back with a smaller brush and applied a second, more thorough coat. The little grooves at the base of the railing posts were the worst! I suppose you could spray paint these, but I don’t have a good outdoor area in which to do this, so it was hand painting all the way!

The bottom porch floor was glued in place, and I weighted it down with a paint can after taking this photo. Once it’s dry, I’ll turn the house on its back and glue the second-story porch in place, followed by the railings and porch posts.
After the porch is finished, I need to settle on a darker color of paint for the exterior gingerbread trim, and then it’s time to install the roof. Join me on the blog tomorrow as a I post more pictures of the final stages of the exterior assembly.