I’ve been a dollhouse-building maniac this weekend, and the house is nearly finished. I did have to make one more hardware store run for a different type of glue appropriate for shingling, which brings us to our final cost tally:
- amount from last tally: 119.90
- another bottle of craft paint: 1.99
- tube of Liquid Nails: 3.99
- Total: 125.88
The weekend started with a great deal of painting, and I went back and painted the trim strips that I had glued to the edges of the house earlier in the week. The strips cover the exposed joints of the exterior walls, which look a little unfinished without the strips in place.
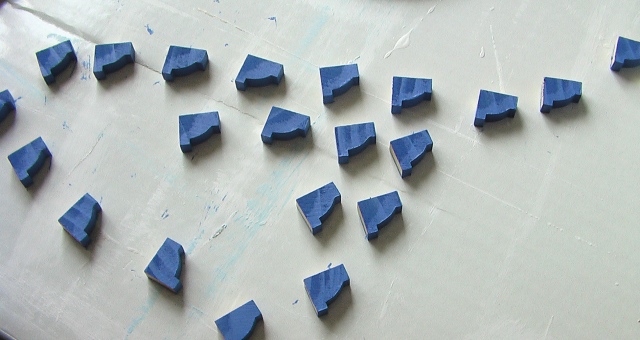
Next, I set about painting all of the little brackets that would then be glued to the underside of the roof overhangs. I used the same Martha Stewart craft paint in Greek Tile that I used for the gingerbread trim on the porch.
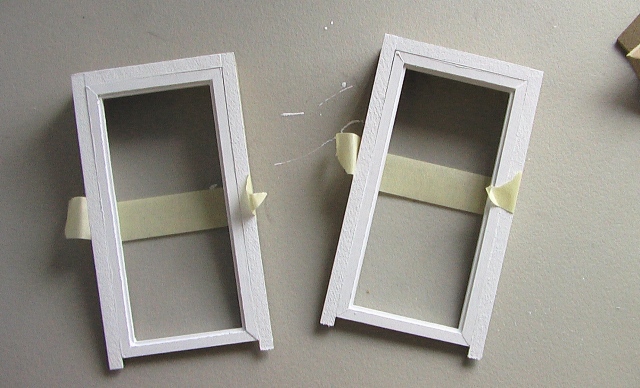
While the brackets dried, I began the rather time-consuming task of assembling the windows. The instructions recommend gluing the window frames together and then rubber banding them as they dry, and I managed to do that for one window before giving up. The rubber bands are incredibly hard to place around the window frame without the entire thing snapping and flying into pieces, and I didn’t have an extra set of hands that day. Luckily, all of the windows turned out just fine without the bands, and I saved myself the headache of fussing over every single one. After the glued dried, I painted all of the windows white, inside and out.
At this point, the brackets were dry, so I turned the house upside-down and began gluing the brackets to the underside of the roof overhang, evenly spaced.
Since I wouldn’t need to turn the house upside-down again at any point in the construction, it was now time to glue the tower roof in place, and I taped and weighted it down while the glue dried.
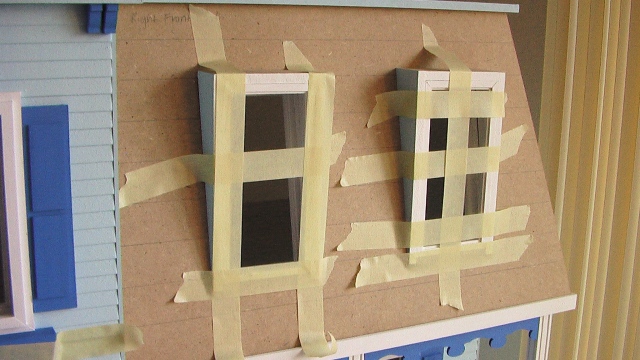
As I was preparing to glue the window frames in place, I realized that I had overlooked something during my original wall painting. The interiors of the window cut outs were unpainted, and I suspected that that area would still be quite visible when the frames were in place, so I went back and painted all of the window interiors white. In your projects, I strongly, strongly recommend that you paint this portion when you are doing your exterior or interior wall painting–don’t wait until you’ve already assembled the house, because it becomes much more difficult to access these spots! You can see the area I’m referring to in the photo below.
You may also notice that my windows don’t have any panes. Those were included in the kit, but because I’ll be taking a great deal of photographs of the house for my storybooks, perhaps through the windows at times, I didn’t want to introduce any strange glare, but if you are using panes in your house, you would set them in place before you glue the interior window frame to the wall.
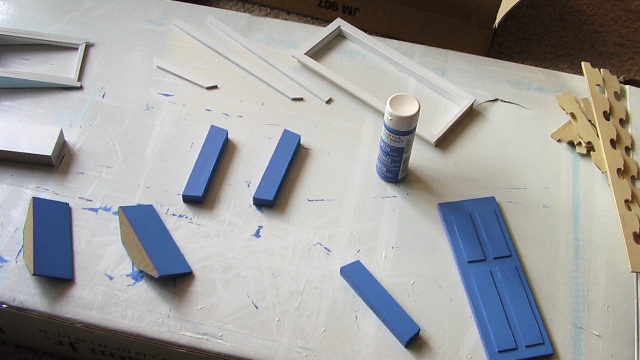
While the window frame glue was drying, I painted the shutters, dormer roofs, door, and window boxes, all in the Greek Tile craft paint. The door frame was painted white.
Then, I glued and taped the dormer frames together; these are the little boxes that enclose the two third-story windows.
When the glue dried, the dormers were painted, and the dormer window frames were inserted and glued in place.
Before shingling, the instructions recommended that I install the dormer windows, minus their little roofs, so I did that next.
The shutters and flower boxes were glued and taped as well.
Finally, I had reached the step that I’ve been nervously anticipating throughout the entire project: shingling. The instructions specified that Liquid Nails be used, in lieu of the craft glue that I’d been using for the rest of the project, and I started with the bottom row , working all the way around the entire roof before moving up to the next row. There weren’t very clear instructions on how to shingle around the dormer windows, so I kind of made it up as I went along, cutting shingles with a pair of scissors to fit into any odd shapes. Every other row of shingles was started with a half shingle, to create the effect of alternating shingles, rather than all of them lined up in even columns. For the corners, I had to cut angled shingles, again using scissors.
I added the bright blue dormer roofs after all of the shingling had been glued and allowed to dry.
Last but not least, I installed the little door, which still needs a door knob and perhaps decorative house numbers.
Today, I’m going to finish the last of the shingling and add the few remaining trim pieces to the roof, and then…that’s it! The house will be completed! Join me tomorrow as I share the final photos of the construction process.


