For some reason, the mice and I have been in a serious Christmas mood this week.
We’re talking cranking up the Christmas jazz (sorry, husband!), drinking hot chocolate, and obsessing over Christmas miniatures.
Here’s the vibe in my studio right now:
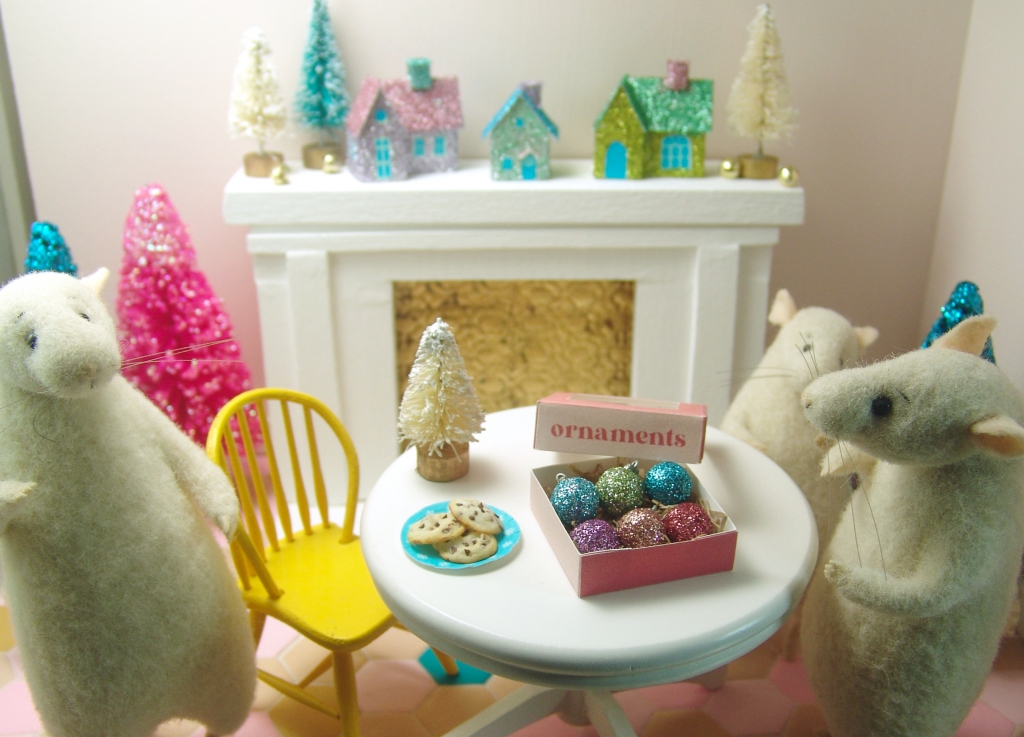
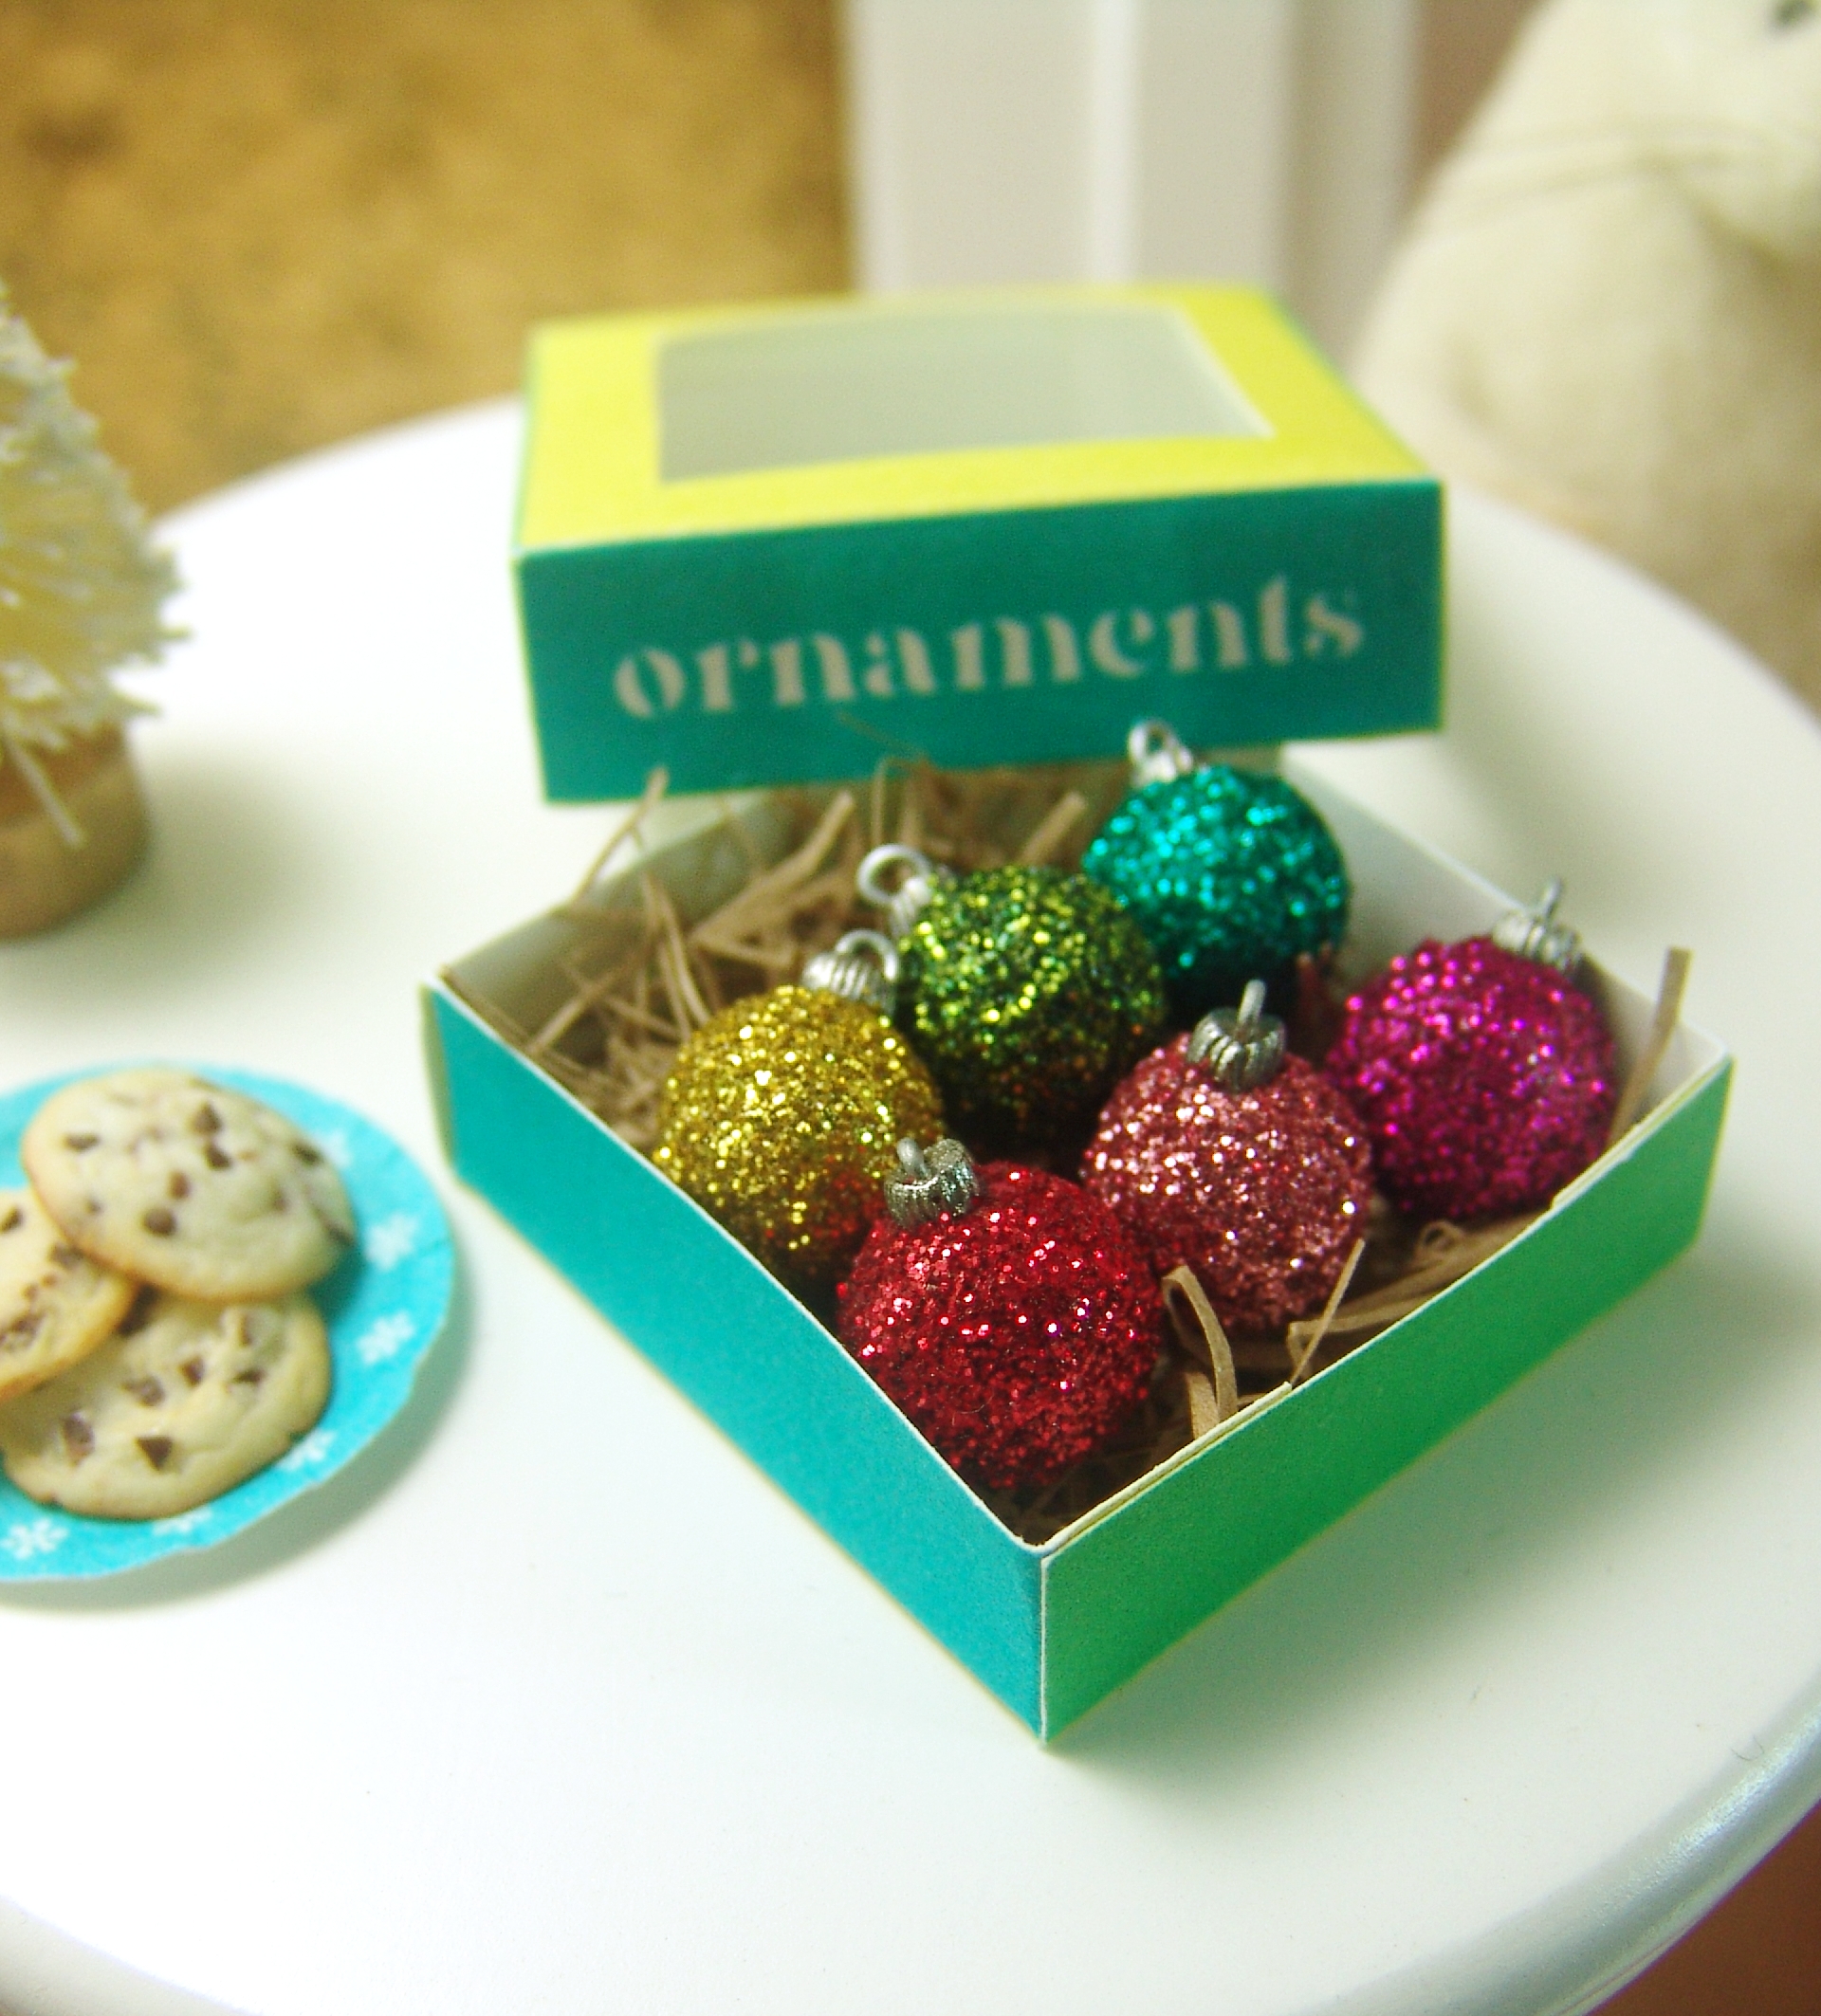
The little ball ornaments (still awaiting their glittering in the above video) are something I’ve been wanting to make for quite awhile.
I made three sets, which, if they’re still available, you can find here.
How to make the Christmas ornaments:
First, I sculpted the balls out of colored polymer clay, choosing colors that were close to the glitter I planned to use, to help camouflage any accidental gaps in the glitter.
Then, I used silver polymer clay, rolled out into a snake and cut into shorter bits, to create the “caps.”
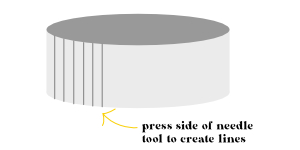
I pressed these caps onto the clay ball, and then I used the side of a needle tool to press lines along the edge for texture. (This also helped anchor the cap to the ornament.)
I used thin wire, bent into little loops with needle-nose pliers, for the hanging bit.
It was easier to work with a longer length of wire, bend the end into a tiny loop, and then clip that loop off with wire cutter, as opposed to trying to bend a super short length of wire.
I used the pliers to insert the loop into the raw clay of the silver cap.
The silver clay wasn’t quite as silvery as I’d hoped, so I dusted the raw clay with metallic FIMO power before baking the ornament. (Unfortunately, I’m not sure where to get this powder in the US; my bottle is from waaaaay back in high school, believe it or not.)
From there, it was time to glitter!
I used a dry paint brush to coat the ball with Mod Podge, sprinkled with glitter and allowed the glue to dry completely, and then I used spray fixative to keep the glitter from rubbing off.
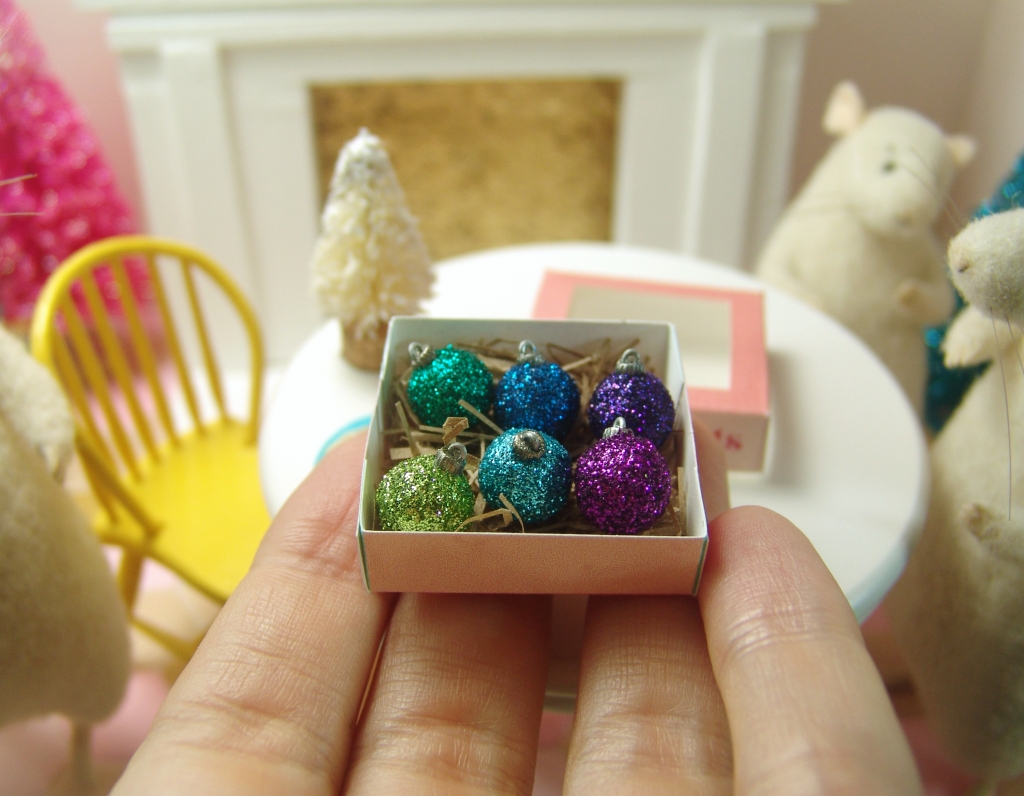
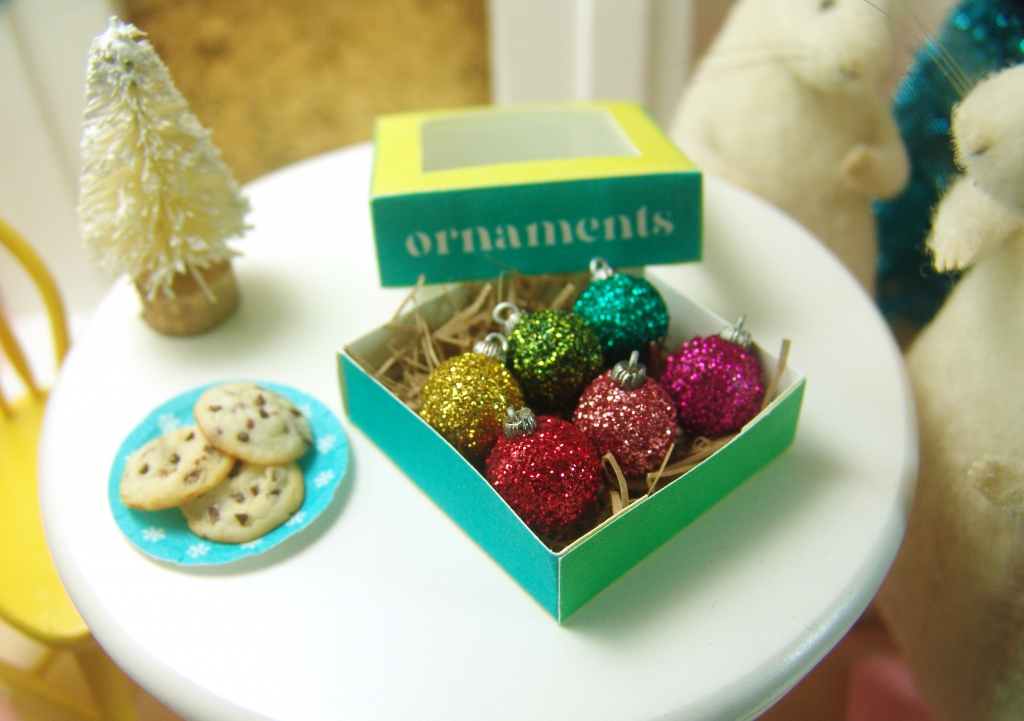
The little boxes are made from printed cardstock and little plastic windows cut out of a piece of leftover packaging.
I filled the boxes with thin strips of paper I cut from an old paper bag (one of the thinner ones you sometimes get when you buy greeting cards).
Download the free box printable here.


August 31, 2020 at 6:38 pm
Love the tutorial! Thank you so much for it.
You’ve taught me so much about making realistic miniature food in 1:12 scale. Are there any new ebooks planned in the near future?
August 31, 2020 at 6:42 pm
Thanks, Marilyn! Have fun tiny Christmas-ing. 🙂
I’m just now getting back on track after a few topsy-turvy months, so I’m planning to return to the new desserts tutorial I was working on earlier in the year!
September 5, 2020 at 12:45 am
Hi, Mo,
I just purchased the mini Christmas wrapping paper, was too late to get the glitter ornaments or putz houses. So, I may try my hand at making the ornaments myself!
I have a question, though. Your book on Christmas decorations…is it the same one that you previously sold or is it a new one? If it has new decorations like the ornaments,(-I know there’s a tutorial) , I would be interested in purchasing it.
Glad to see you’re back!
Gail
September 5, 2020 at 1:43 am
Hi Gail! Thanks for your order!
The Christmas book is the previous one, so it has the Putz house templates and instructions but not the ornaments.
I always have about a bazillion projects I want to make for the holidays, and I can never seem to get to them all, but my schedule is a little freer this year, so here’s hoping I can make another batch of ornaments and different-colored Putz houses before Christmas! Along with more cookies, and gingerbread houses, and and and… 😉