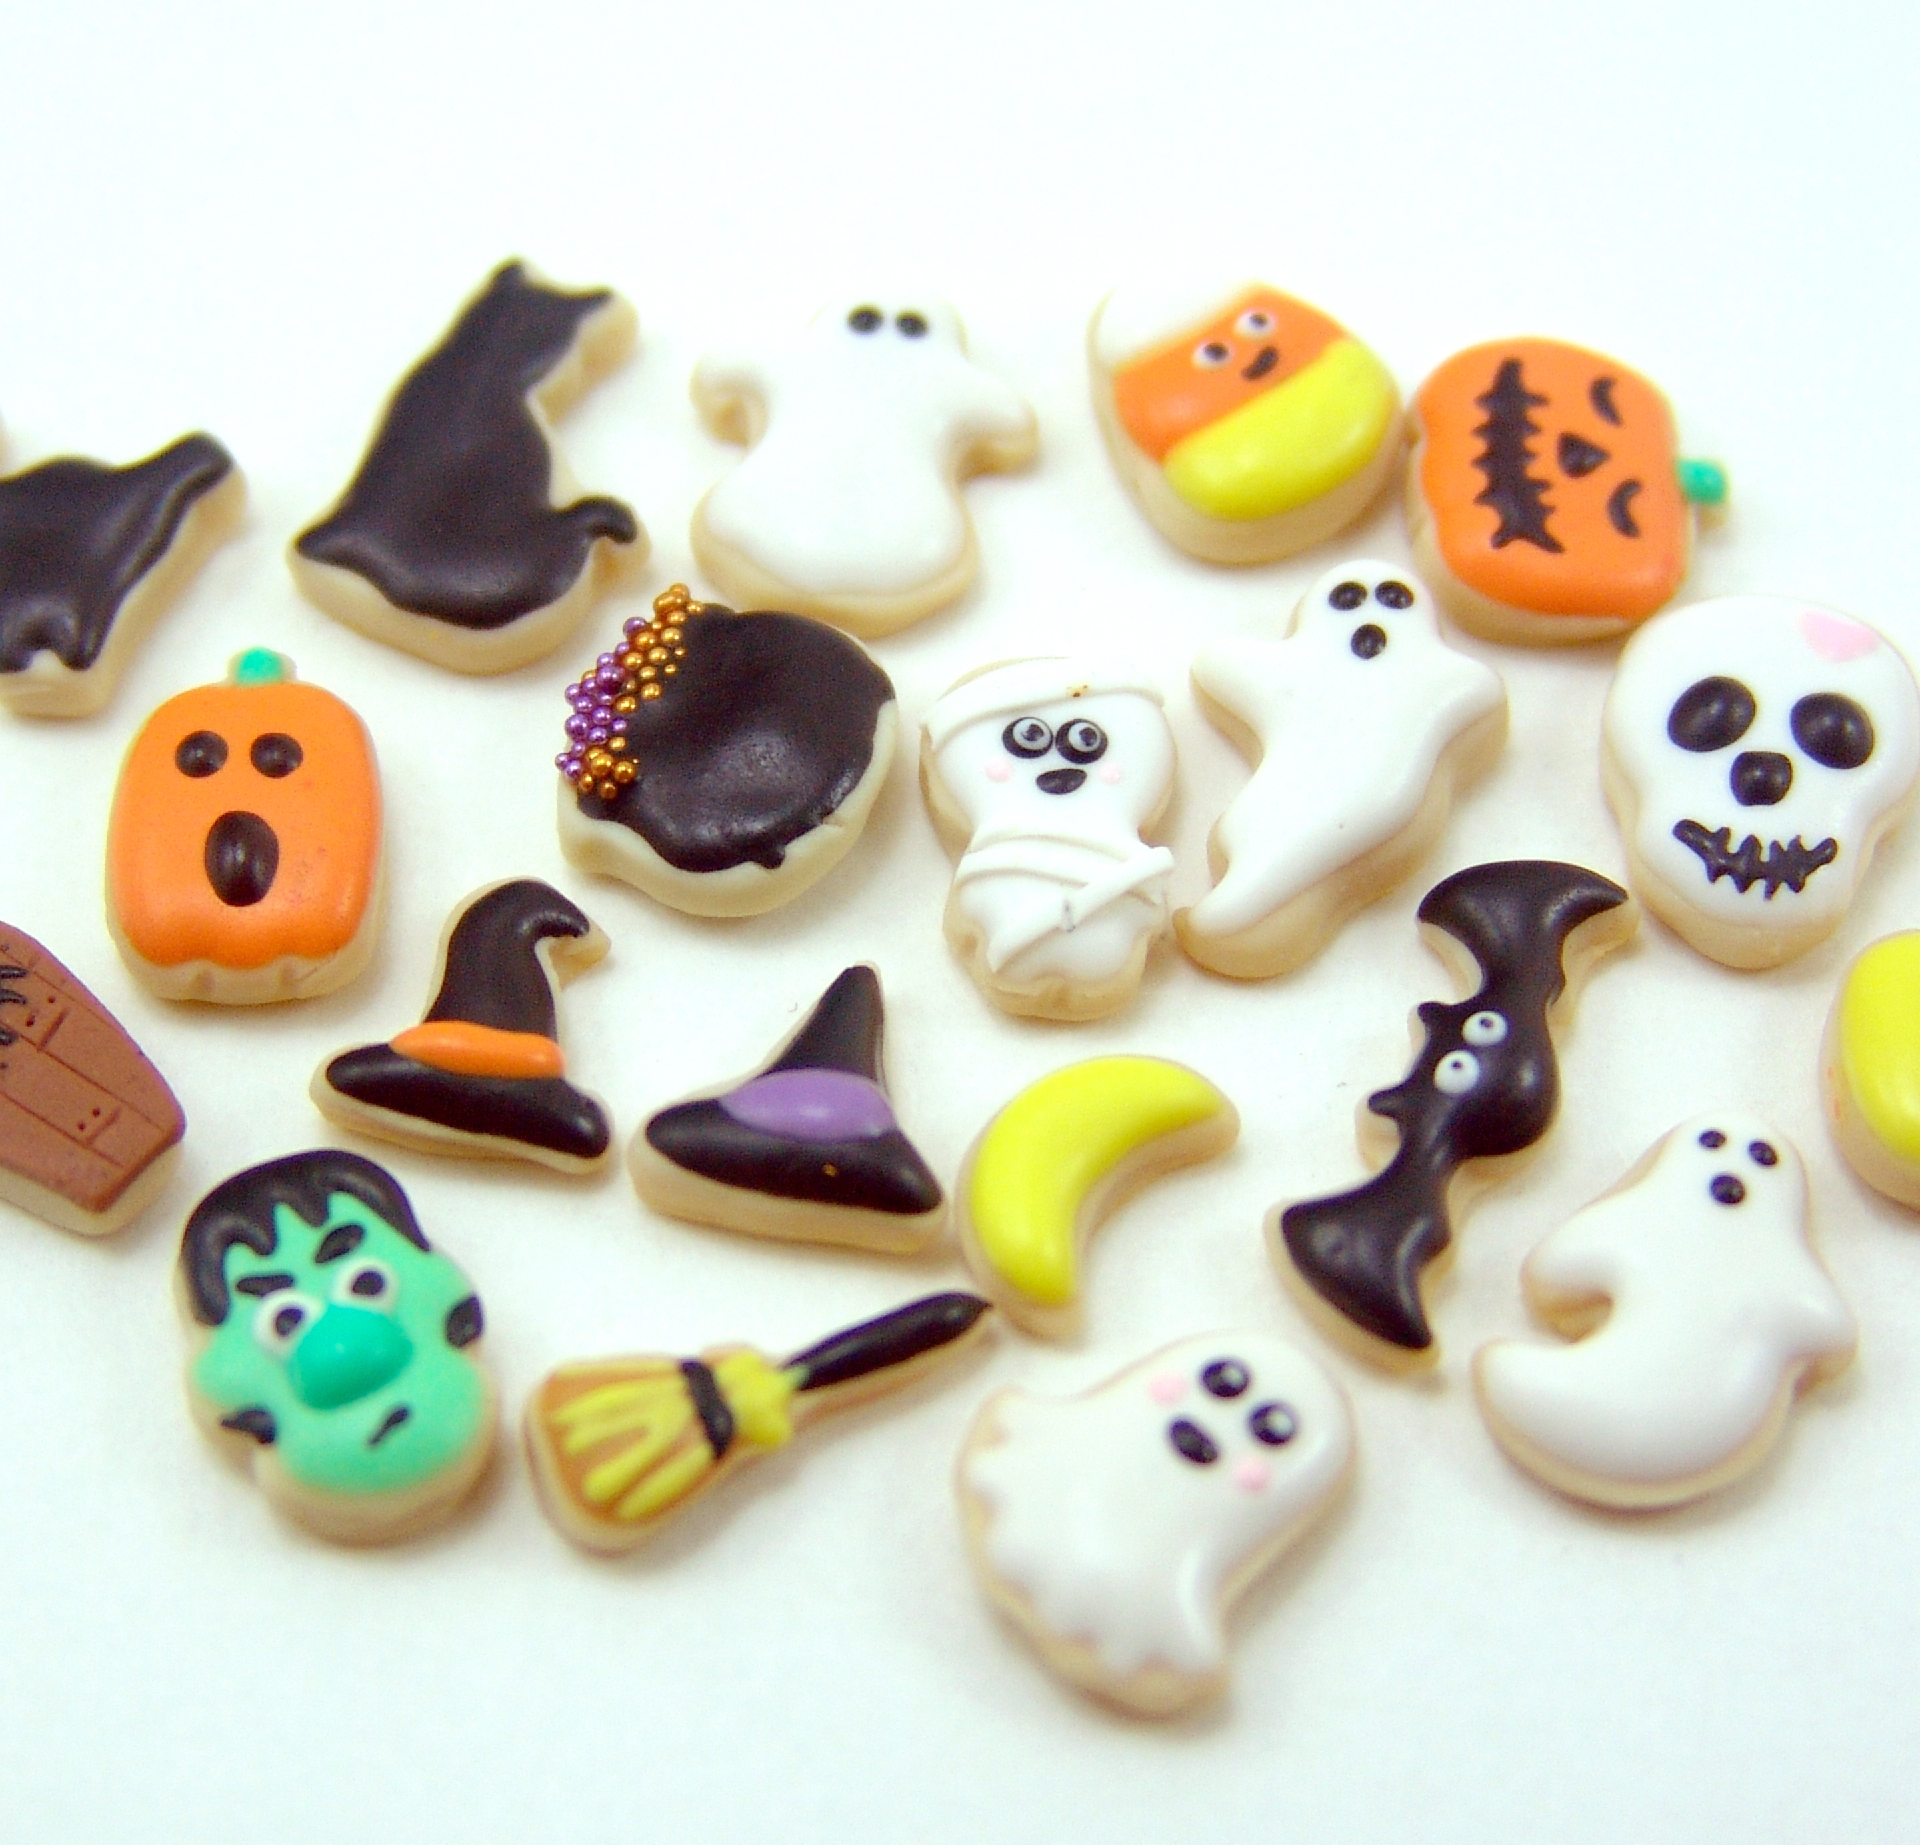
My favorite holiday is right around the corner, so I’ve created brand new Halloween cookie molds to celebrate. 🙂
Here are links to all of my Halloween molds, new and old:
- cats
- bat, ghost, moon
- skull
- NEW witch’s hats
- ghosts
- NEW pumpkins
- pumpkin and leaf
- NEW candy corn and Frankenstein
- NEW ghost and mummy
- NEW witch’s broom and coffin
- witch’s cauldron (made with St. Pat’s pot o’ gold mold)
To help you get the most out of the molds, here are some simple decorating tips. If you’ve never made tiny cookies before, check out my free tutorials for step-by-step instructions for everything from giving your cookies a nicely browned, baked coloring to making and tinting icing.
My first tip is: bake your cookies before icing them. This is much, much easier than trying to hold onto a tiny unbaked piece of clay without smushing it during the decorating process.
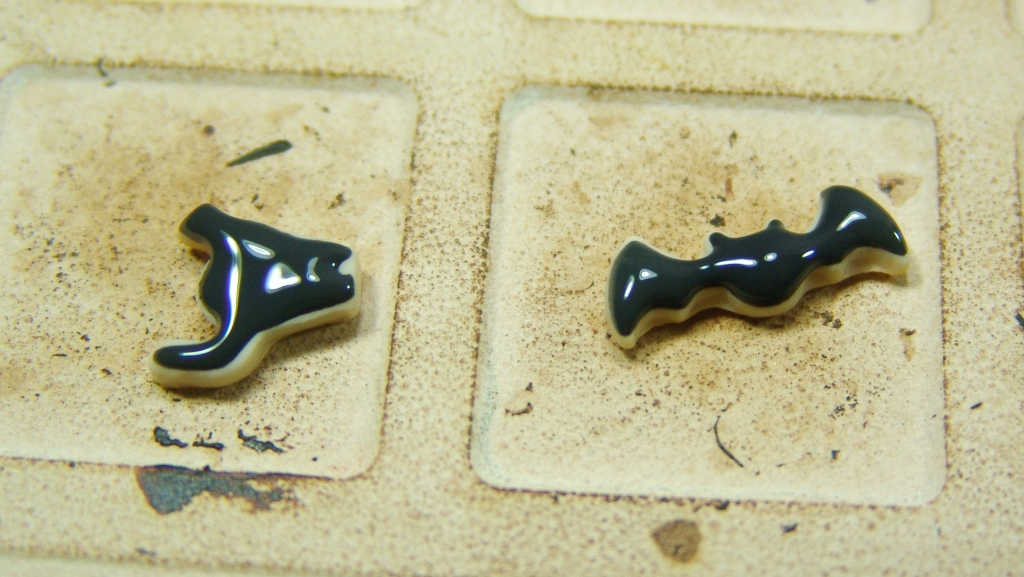
Some cookies will require only a single icing color, like this cat and bat, making the process super simple. Just place a dollop of icing in the center of the cookie with a toothpick, and carefully drag the icing out toward the edges, filling in the design.
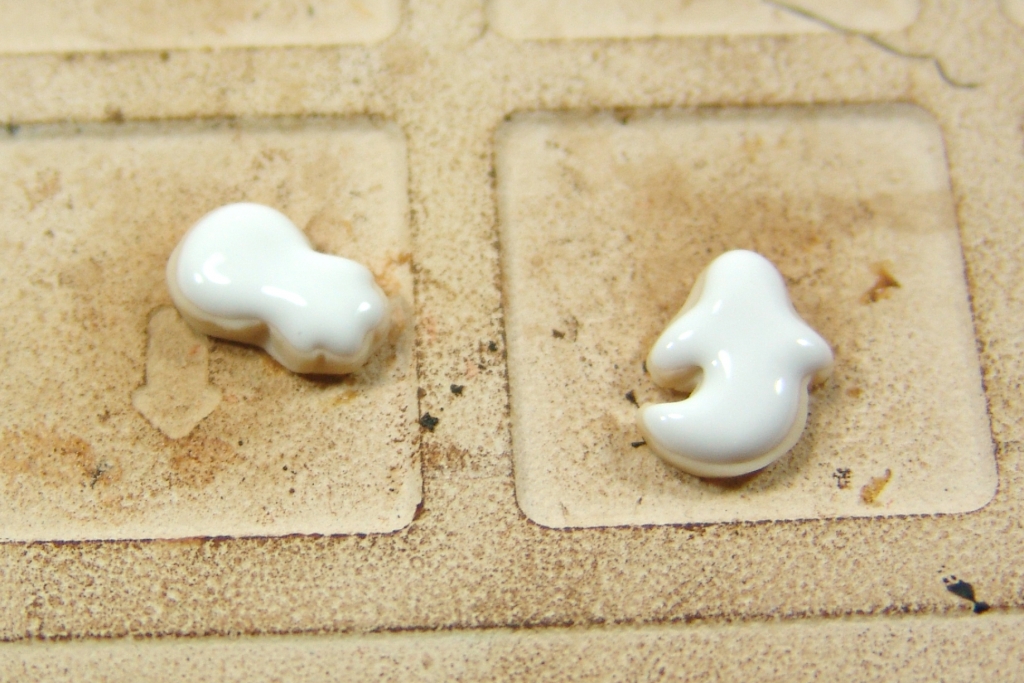
For cookies with multiple icing colors, I like to start with the base or background color. For example, to make ghosts, start by icing the cookie in white.
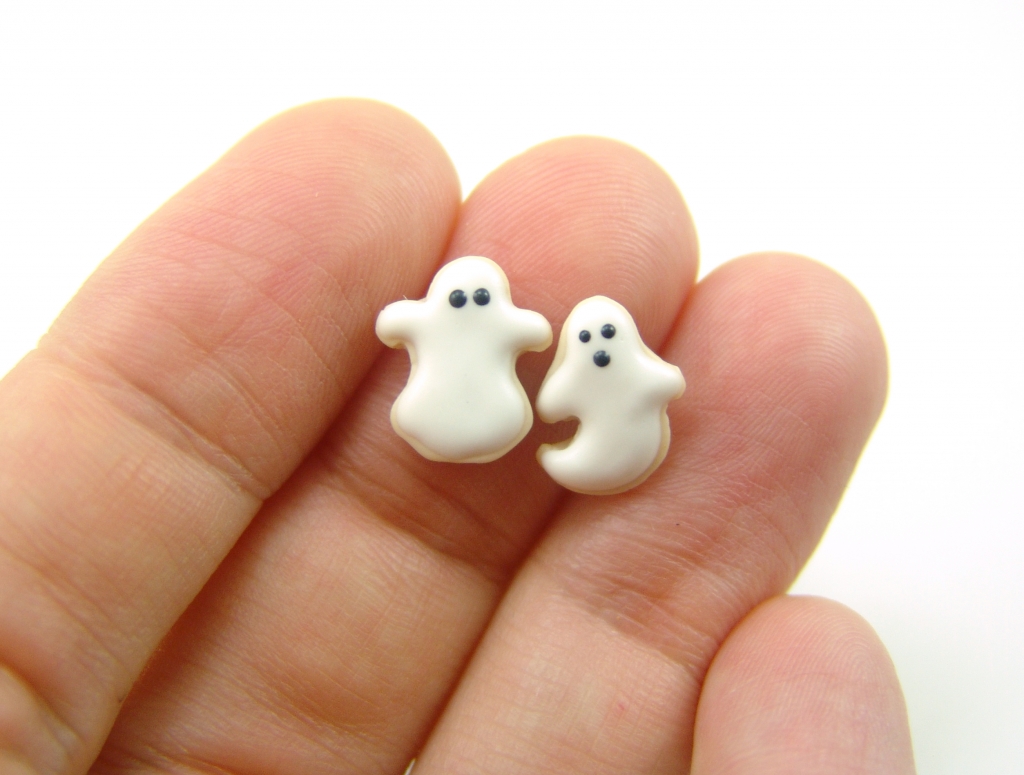
Bake the cookie in a preheated oven for five minutes, and let it cool. Then, you can add the eyes and mouth with black icing.
You can do the same with even more complex designs, like Frankenstein’s monster. Start with a base of green, and bake.

Then, add the rest of the details and bake for a final five minutes.
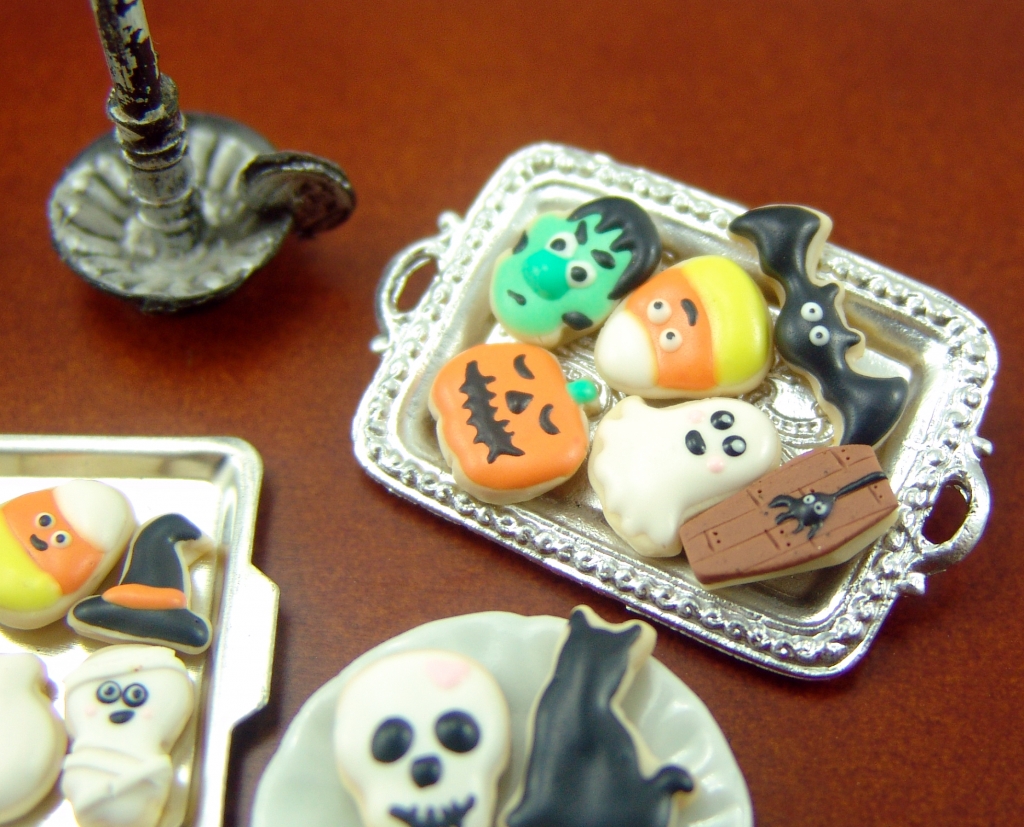
For the candy corn, start with the orange strip in the middle. Bake for five minutes.

Then, fill in the yellow and the white portions. The baked orange strip acts like a barrier, keeping the colors from running into each other.

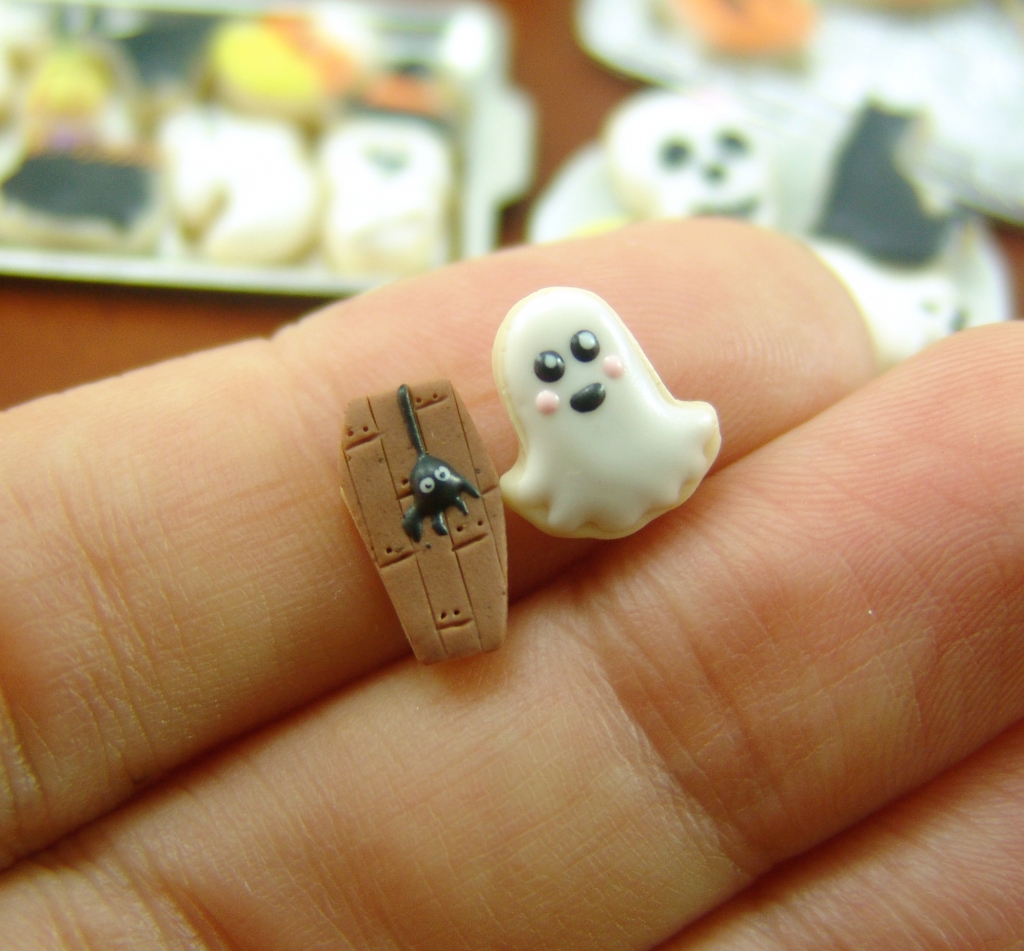
You can also add a layer of clay to the surface of a cookie for a fondant effect, like this coffin cookie. The brown is a thin sheet of clay cut to size, pressed onto the cookie, and textured with a needle tool to create the appearance of wooden boards. The spider was made with black icing applied with a needle tool.
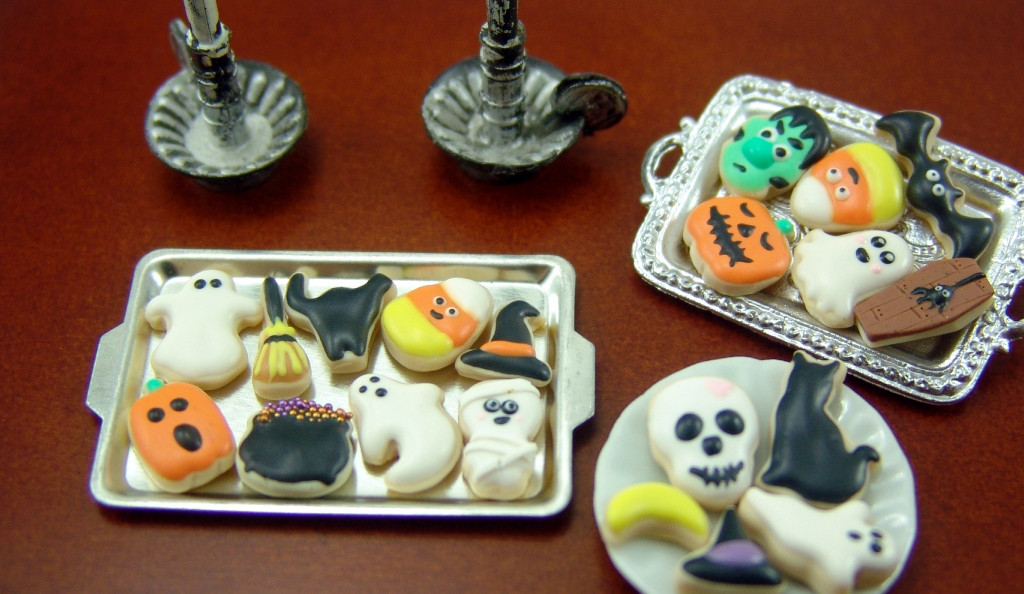
You can also add strips of clay to unbaked icing, as I did with the mummy (bottom right of the cookie sheet), or add other decorations to the raw icing, like the orange and purple glass microbeads used for the witch’s cauldron.
Have fun! 🙂
P.S. Don’t forget to check out my Halloween tutorial eBooks, available for instant download! Learn how to make everything from Frankencake and Witch’s Brew Punch to Pretzel Fingers and Full Moon Rising Cake.


October 11, 2017 at 6:39 pm
These cookies are beyond adorable! I appreciate how detailed they are – and whimsical too. Also, lovely photographs. Happy Halloween 😉
October 18, 2017 at 1:40 pm
Thank you, and a very happy Halloween to you, too! 😀