I had an opportunity to work on a food prop for Chicago’s The Floating Opera Company’s production of The Quantum Mechanic–super fun!
Time was of the essence, and I am totally indebted to this Fake ‘n’ Bake blog post for pointing me in the right direction in terms of supplies and methods.
Here’s my shopping list:
- acrylic caulking from the hardware store
- Styrofoam cake base from the craft store
- offset spatula (a cake decorating tool)
- wooden dowel to secure cake layers together
- acrylic craft paints
Other tools that I already had:
- paint brush
- mixing bowl for frosting
- glitter (the cake required a hint of sparkle)
- box cutter
The process was so much easier than I thought it would be and, wow, was it ever fun! Way back in the day I went to pastry school, but it’s been ages since I’ve made a life-sized dessert, so this was a blast from the pastry past.
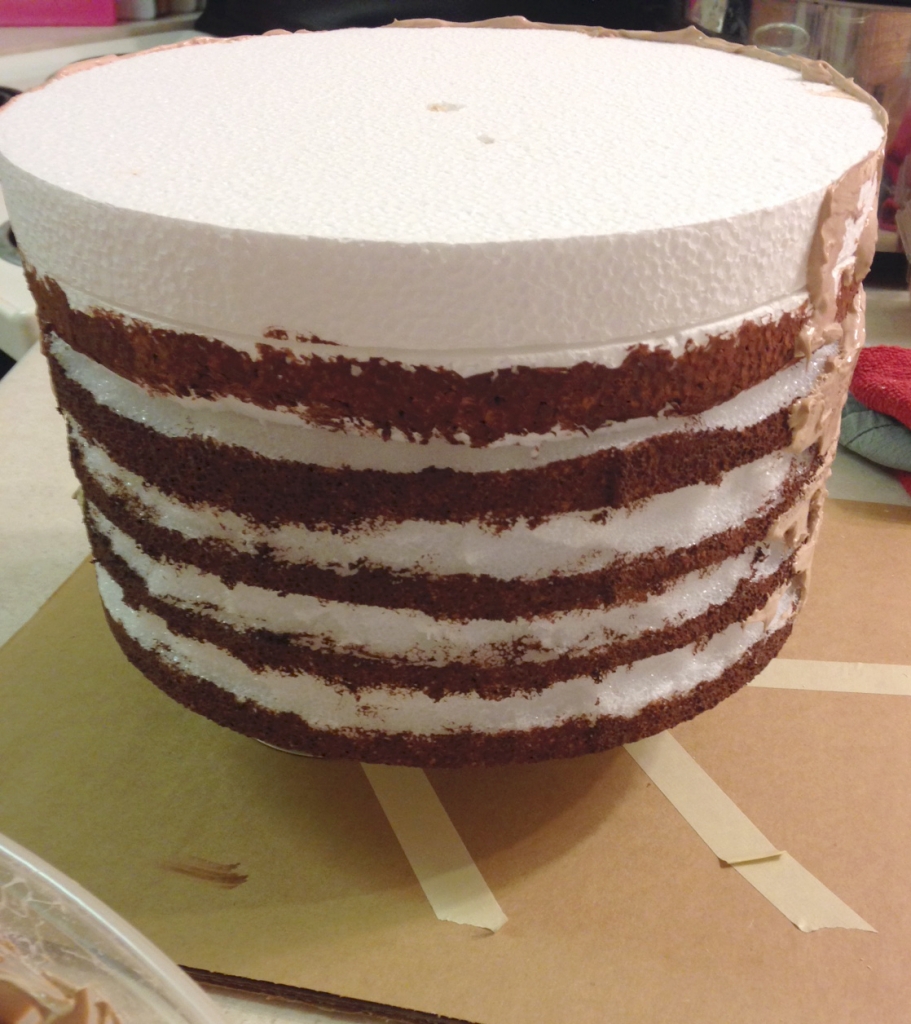
First step: prepping the Styrofoam base. I was combining three different discs of Styrofoam in order to get the cake height I was after, and I simply stacked the payers and pushed a wooden dowel down the center to secure.
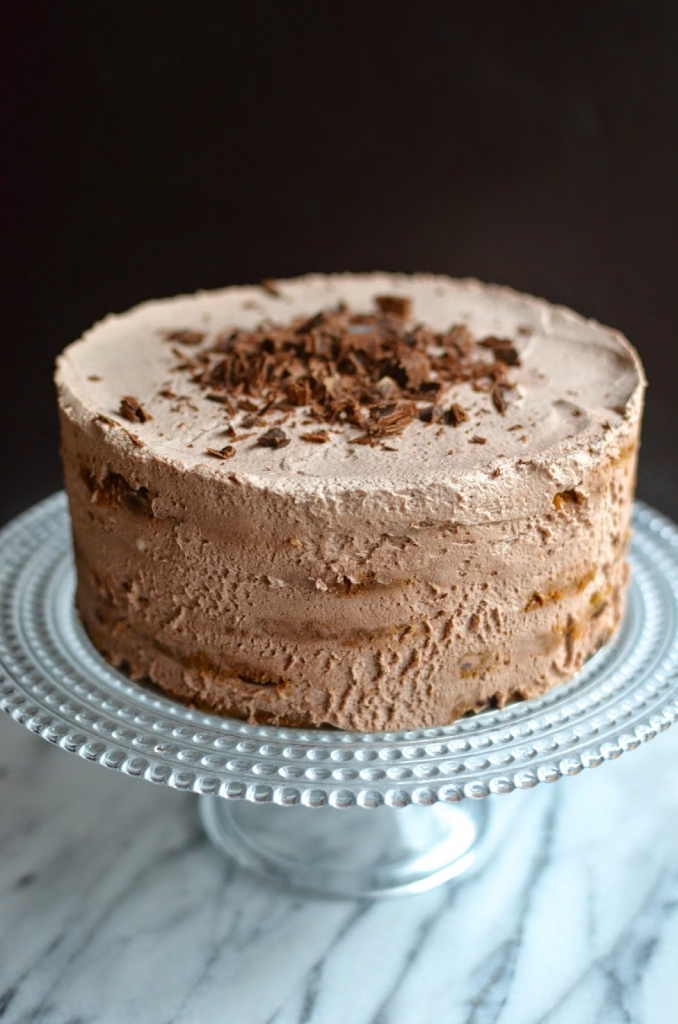
My next step involved cutting channels around the side of the cake to mimic the appearance of cake layers, barely exposed, like the photo below from Playing With Flour:
My strategy was this: Cut away strips of Styrofoam so that when I iced the sides, the cut away strips would fill with icing while the chocolate cake portions peeked through. And because those cake portions were going to be peeking through, they needed to look like chocolate, so I painted those areas with acrylic paint. Time was a tickin’, so I used a hair dryer to speed along the paint-drying process.
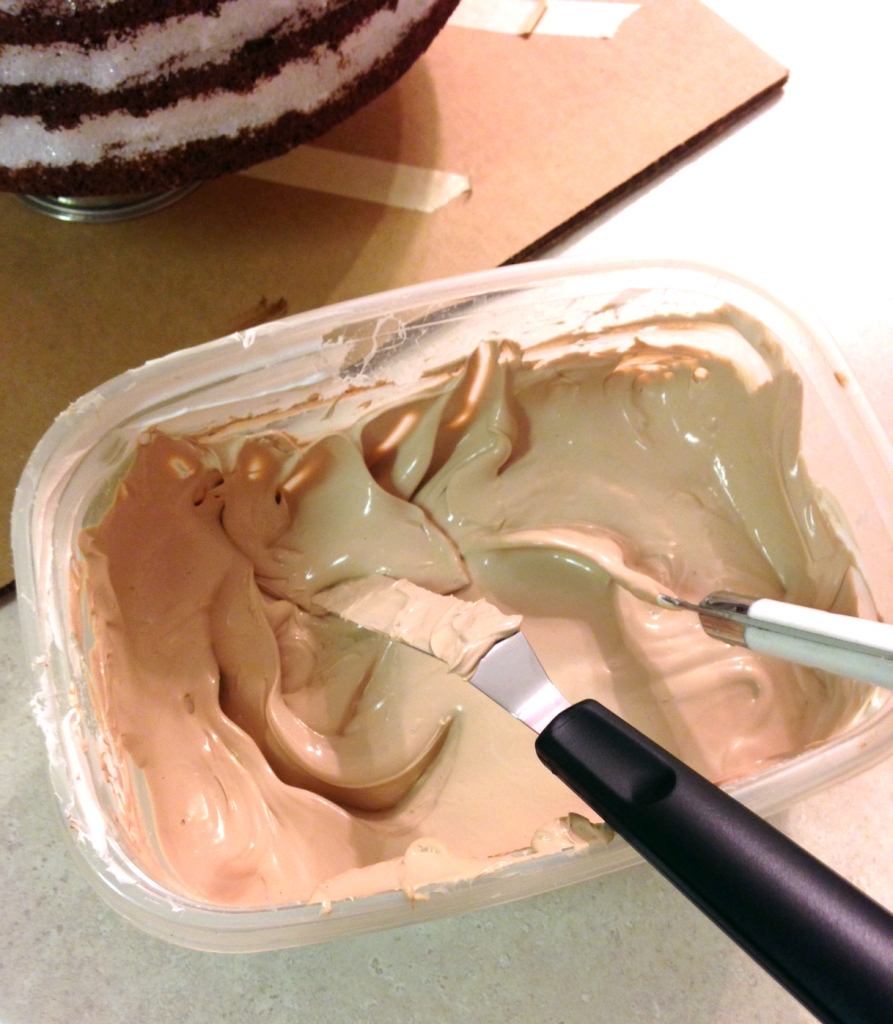
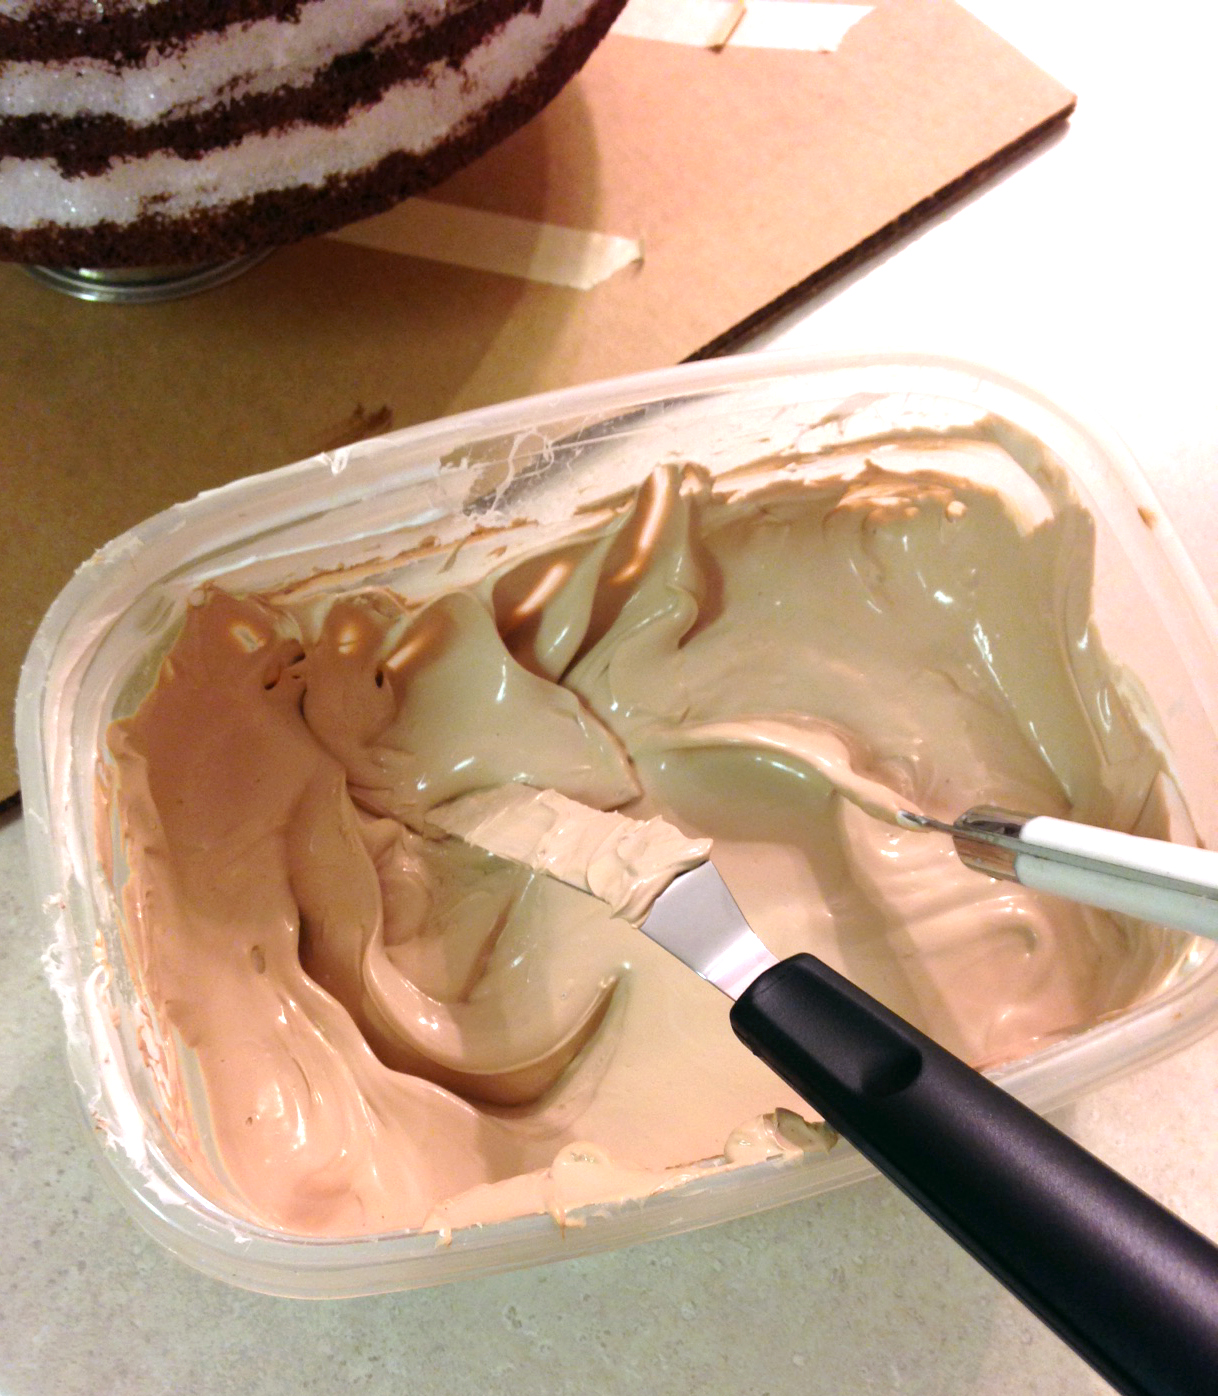
From there, it was time to mix up the frosting, and I emptied out the contents of four tubes of acrylic caulk into a plastic tub (hello, was that ever too much! I ended up having enough left over to easily ice a second cake), using a spoon reserved for crafts to stir in light and dark brown acrylic paint. Words cannot describe how satisfying this mixture was to work with, like the silkiest buttercream in existence. #tactileHeaven
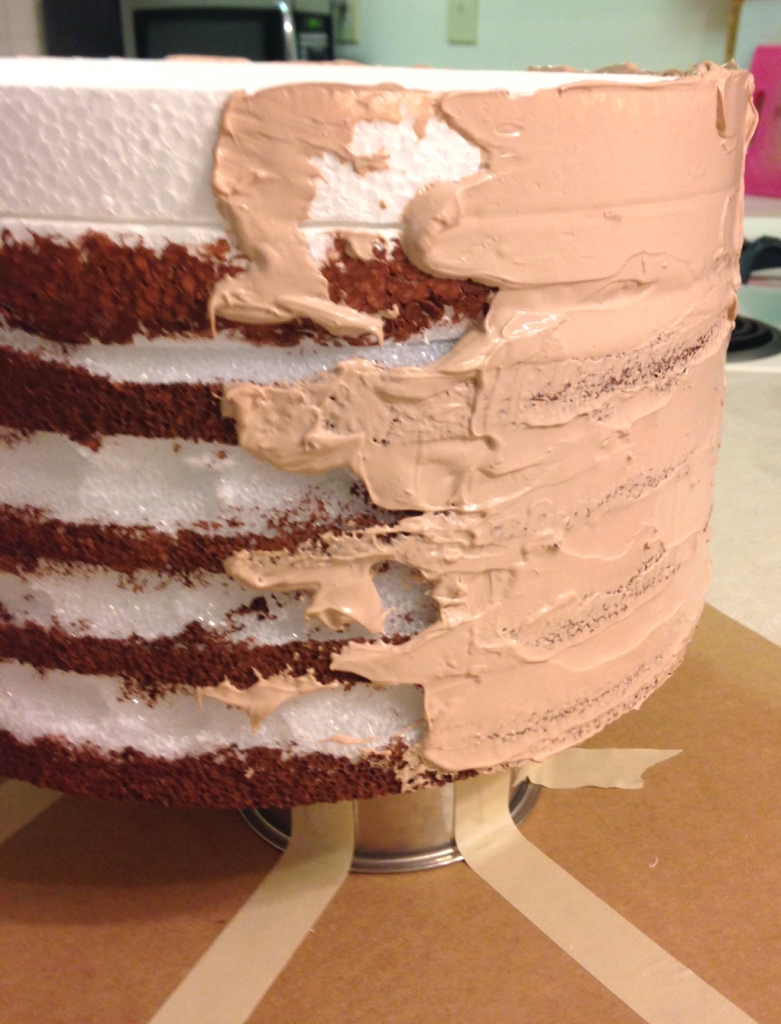
I used an offset spatula to smooth icing on the sides, scraping away a bit of the icing in spots to reveal the cake layers. At this point, I was able to tilt the cake, which was attached to a makeshift pedestal made from little bowls masking taped to a piece of cardboard, enough to allow me to sprinkle glitter on the sides.
To finish, I dumped more frosting on the top of the cake and used the offset spatula to create a smooth, even finish before sprinkling with chopped chocolate made from baked polymer clay and more glitter.
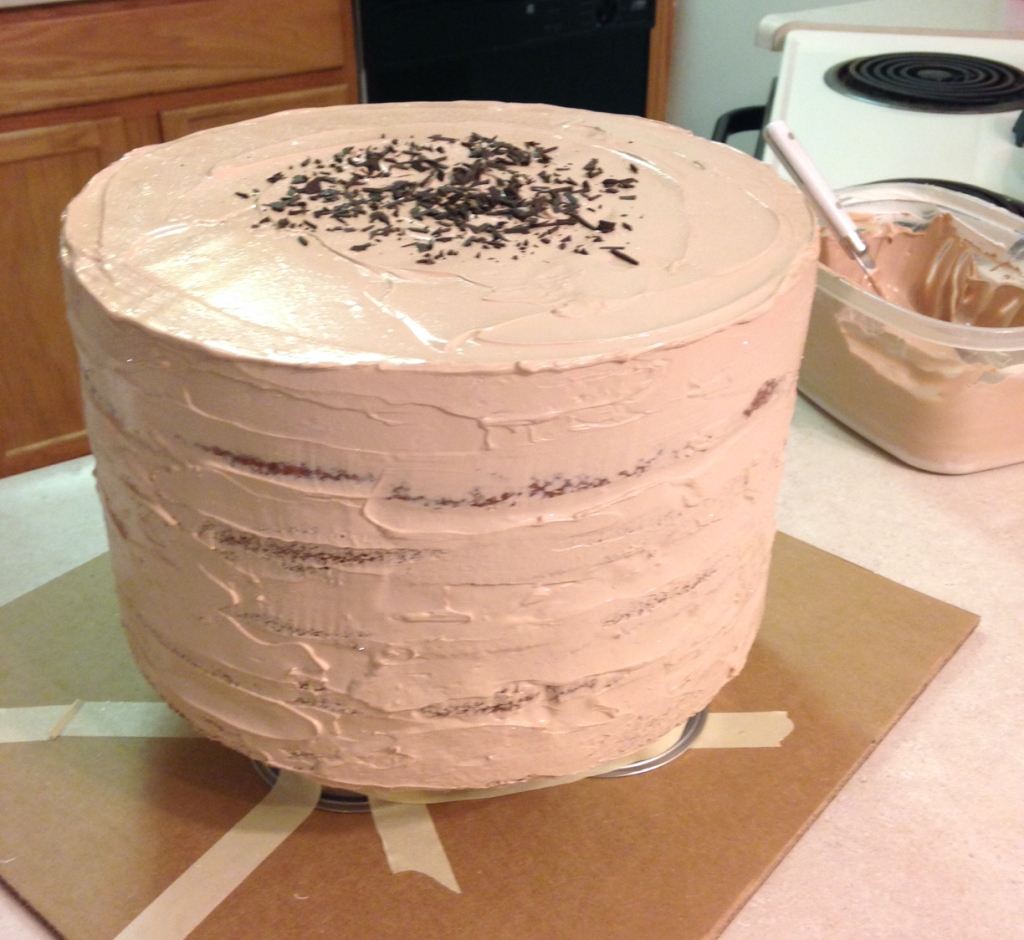
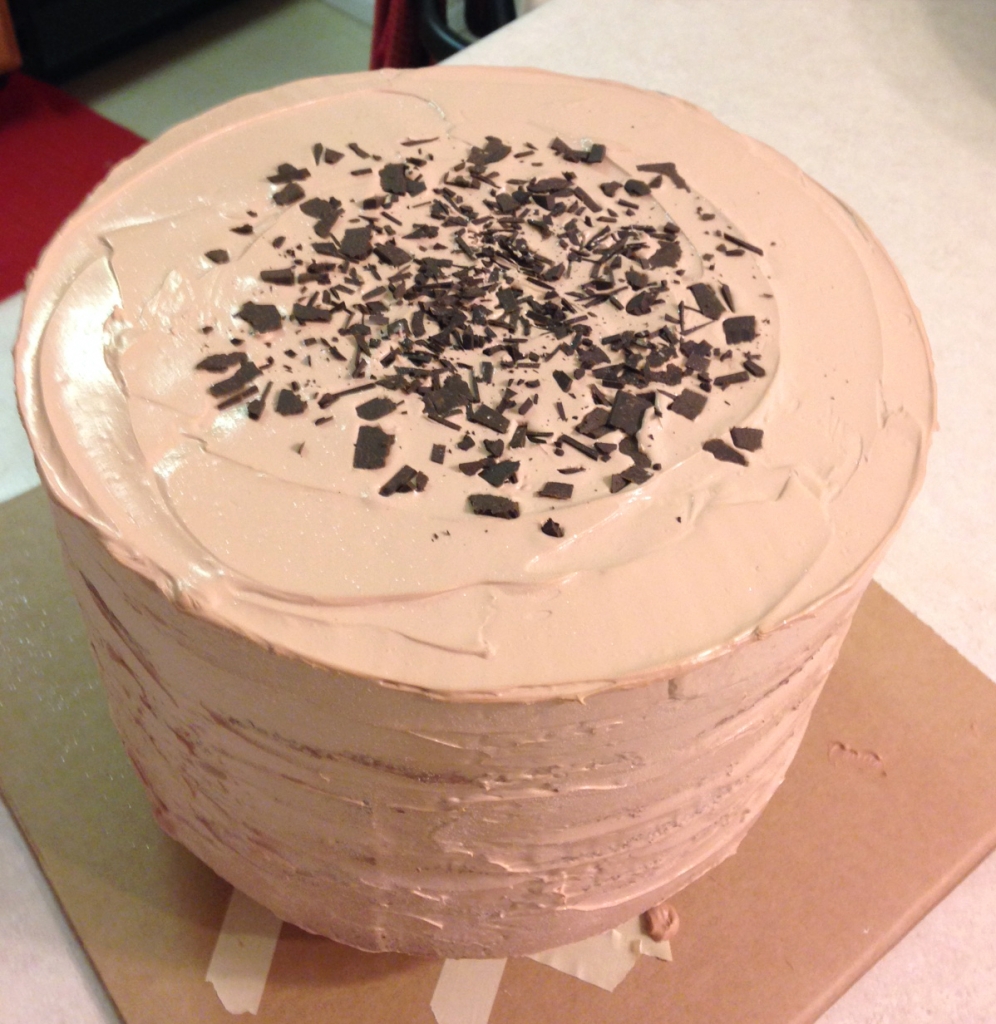
If I get a chance before the cake embarks for Chicago, I’ll try to snap a nicer, non-phone pic, but at the moment, I’m paranoid about even thinking too close to this cake while it dries, much less moving it to a more photo-worthy spot.


June 10, 2016 at 5:05 pm
I’d love to see one final photo of this amazing piece. It looks good enough to eat, caulk and all! 😀
June 13, 2016 at 3:27 pm
Thanks, Deb! I ended up shipping it off before snapping a final photo, but I’m going to see if I can get an image of if being used in the opera. 🙂