


One of my favorite things to make is dollhouse sugar cookie cookie molds, and today, I want to show you what goes into them…
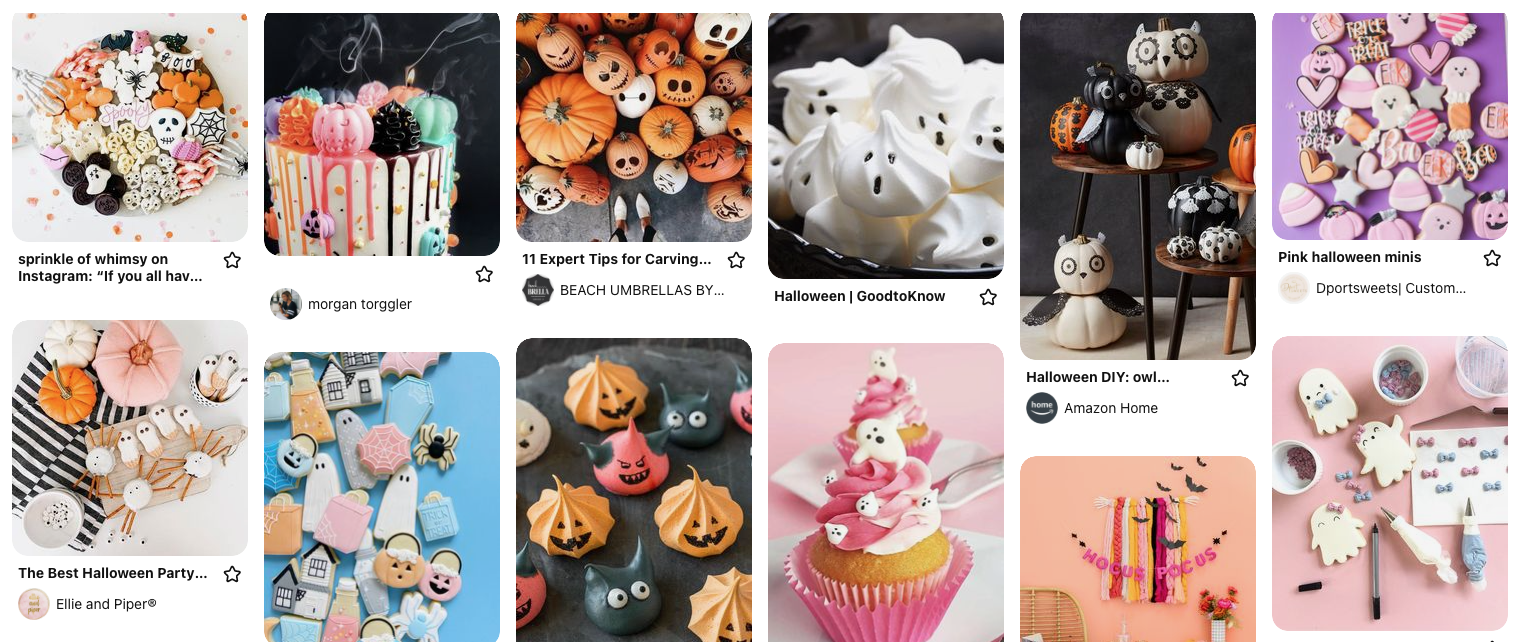
First off, I do a search for real (i.e. edible) cookie inspiration, and this is where it’s realllly easy to fall into a Pinterest hole. It’s just too fun! (Btw, you can see my Pinterest boards here.)
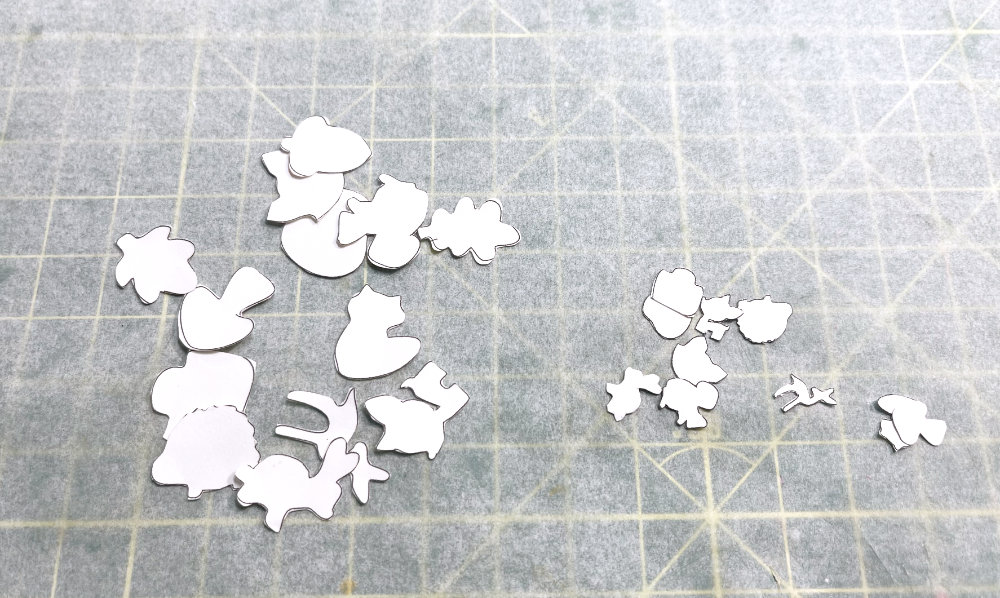
Once I’ve chosen photos to work from, I’ll use them to freehand draw the cookie shapes in my illustrator software before printing them out on card stock.
They then need to be cut out, which can be tricky with all of the tiny details, especially in 1:12 scale, which you can see below on the right. (I don’t want to accidentally snip off a little squirrel tail or a deer leg!)
Using the card stock shapes as a template, I press them onto a rolled-out sheet of polymer clay and carefully cut around the template with an X-acto knife to create the clay design.
At this point, the pieces are usually pretty jaggedy and rough around the edges, so it takes some time to smooth the shape with a needle tool, ball-end tool, and/or my finger to finalize the design.
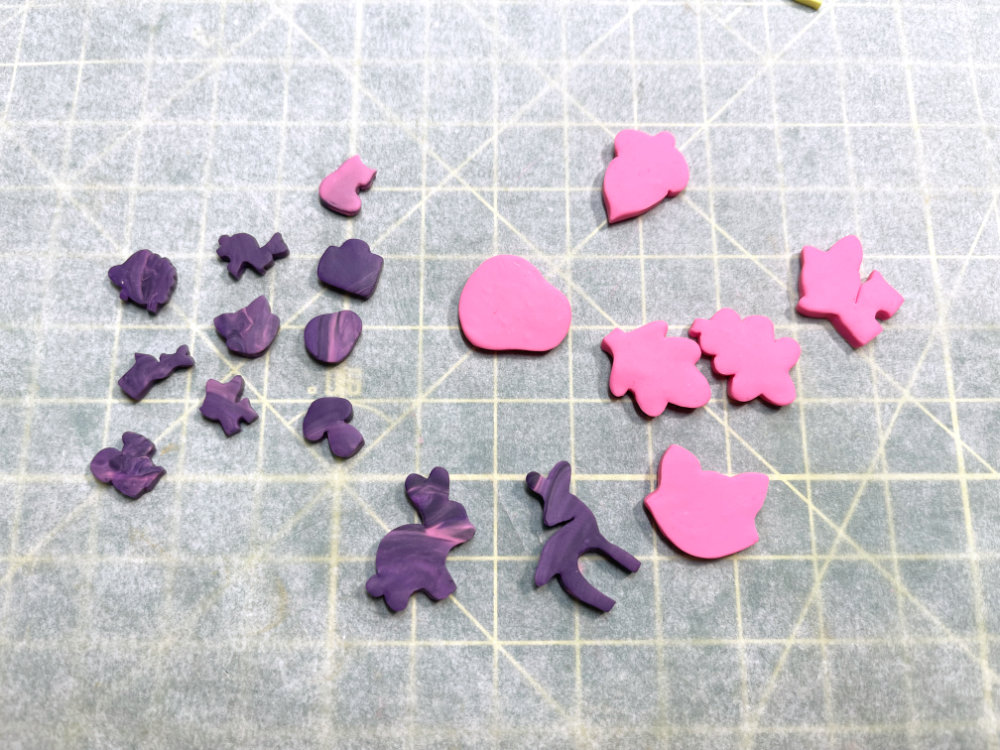
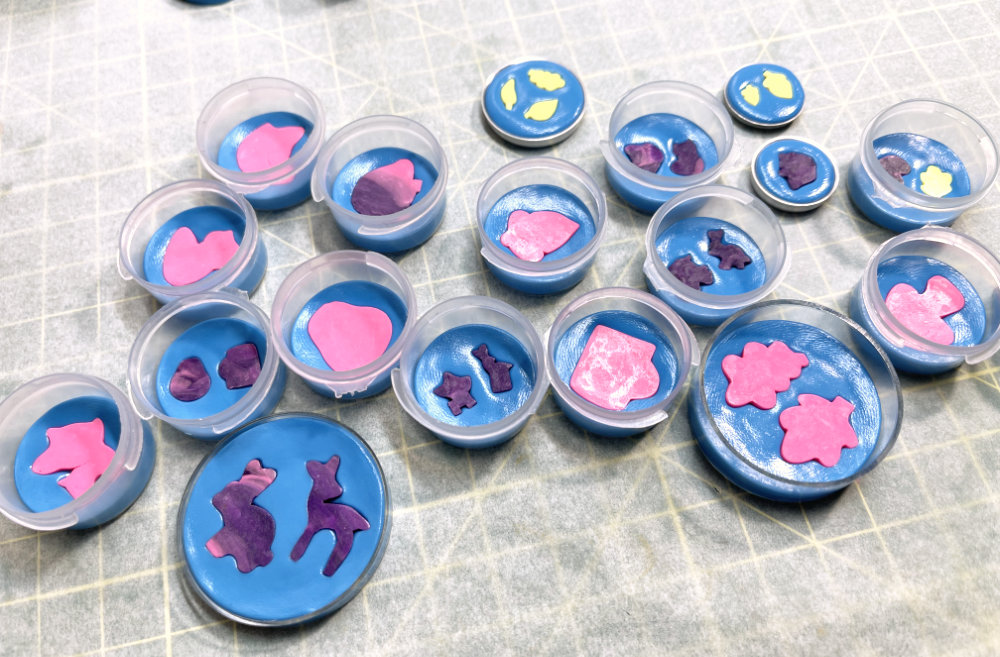
Then, the clay pieces are baked, cooled, and ready to be cast into molds!
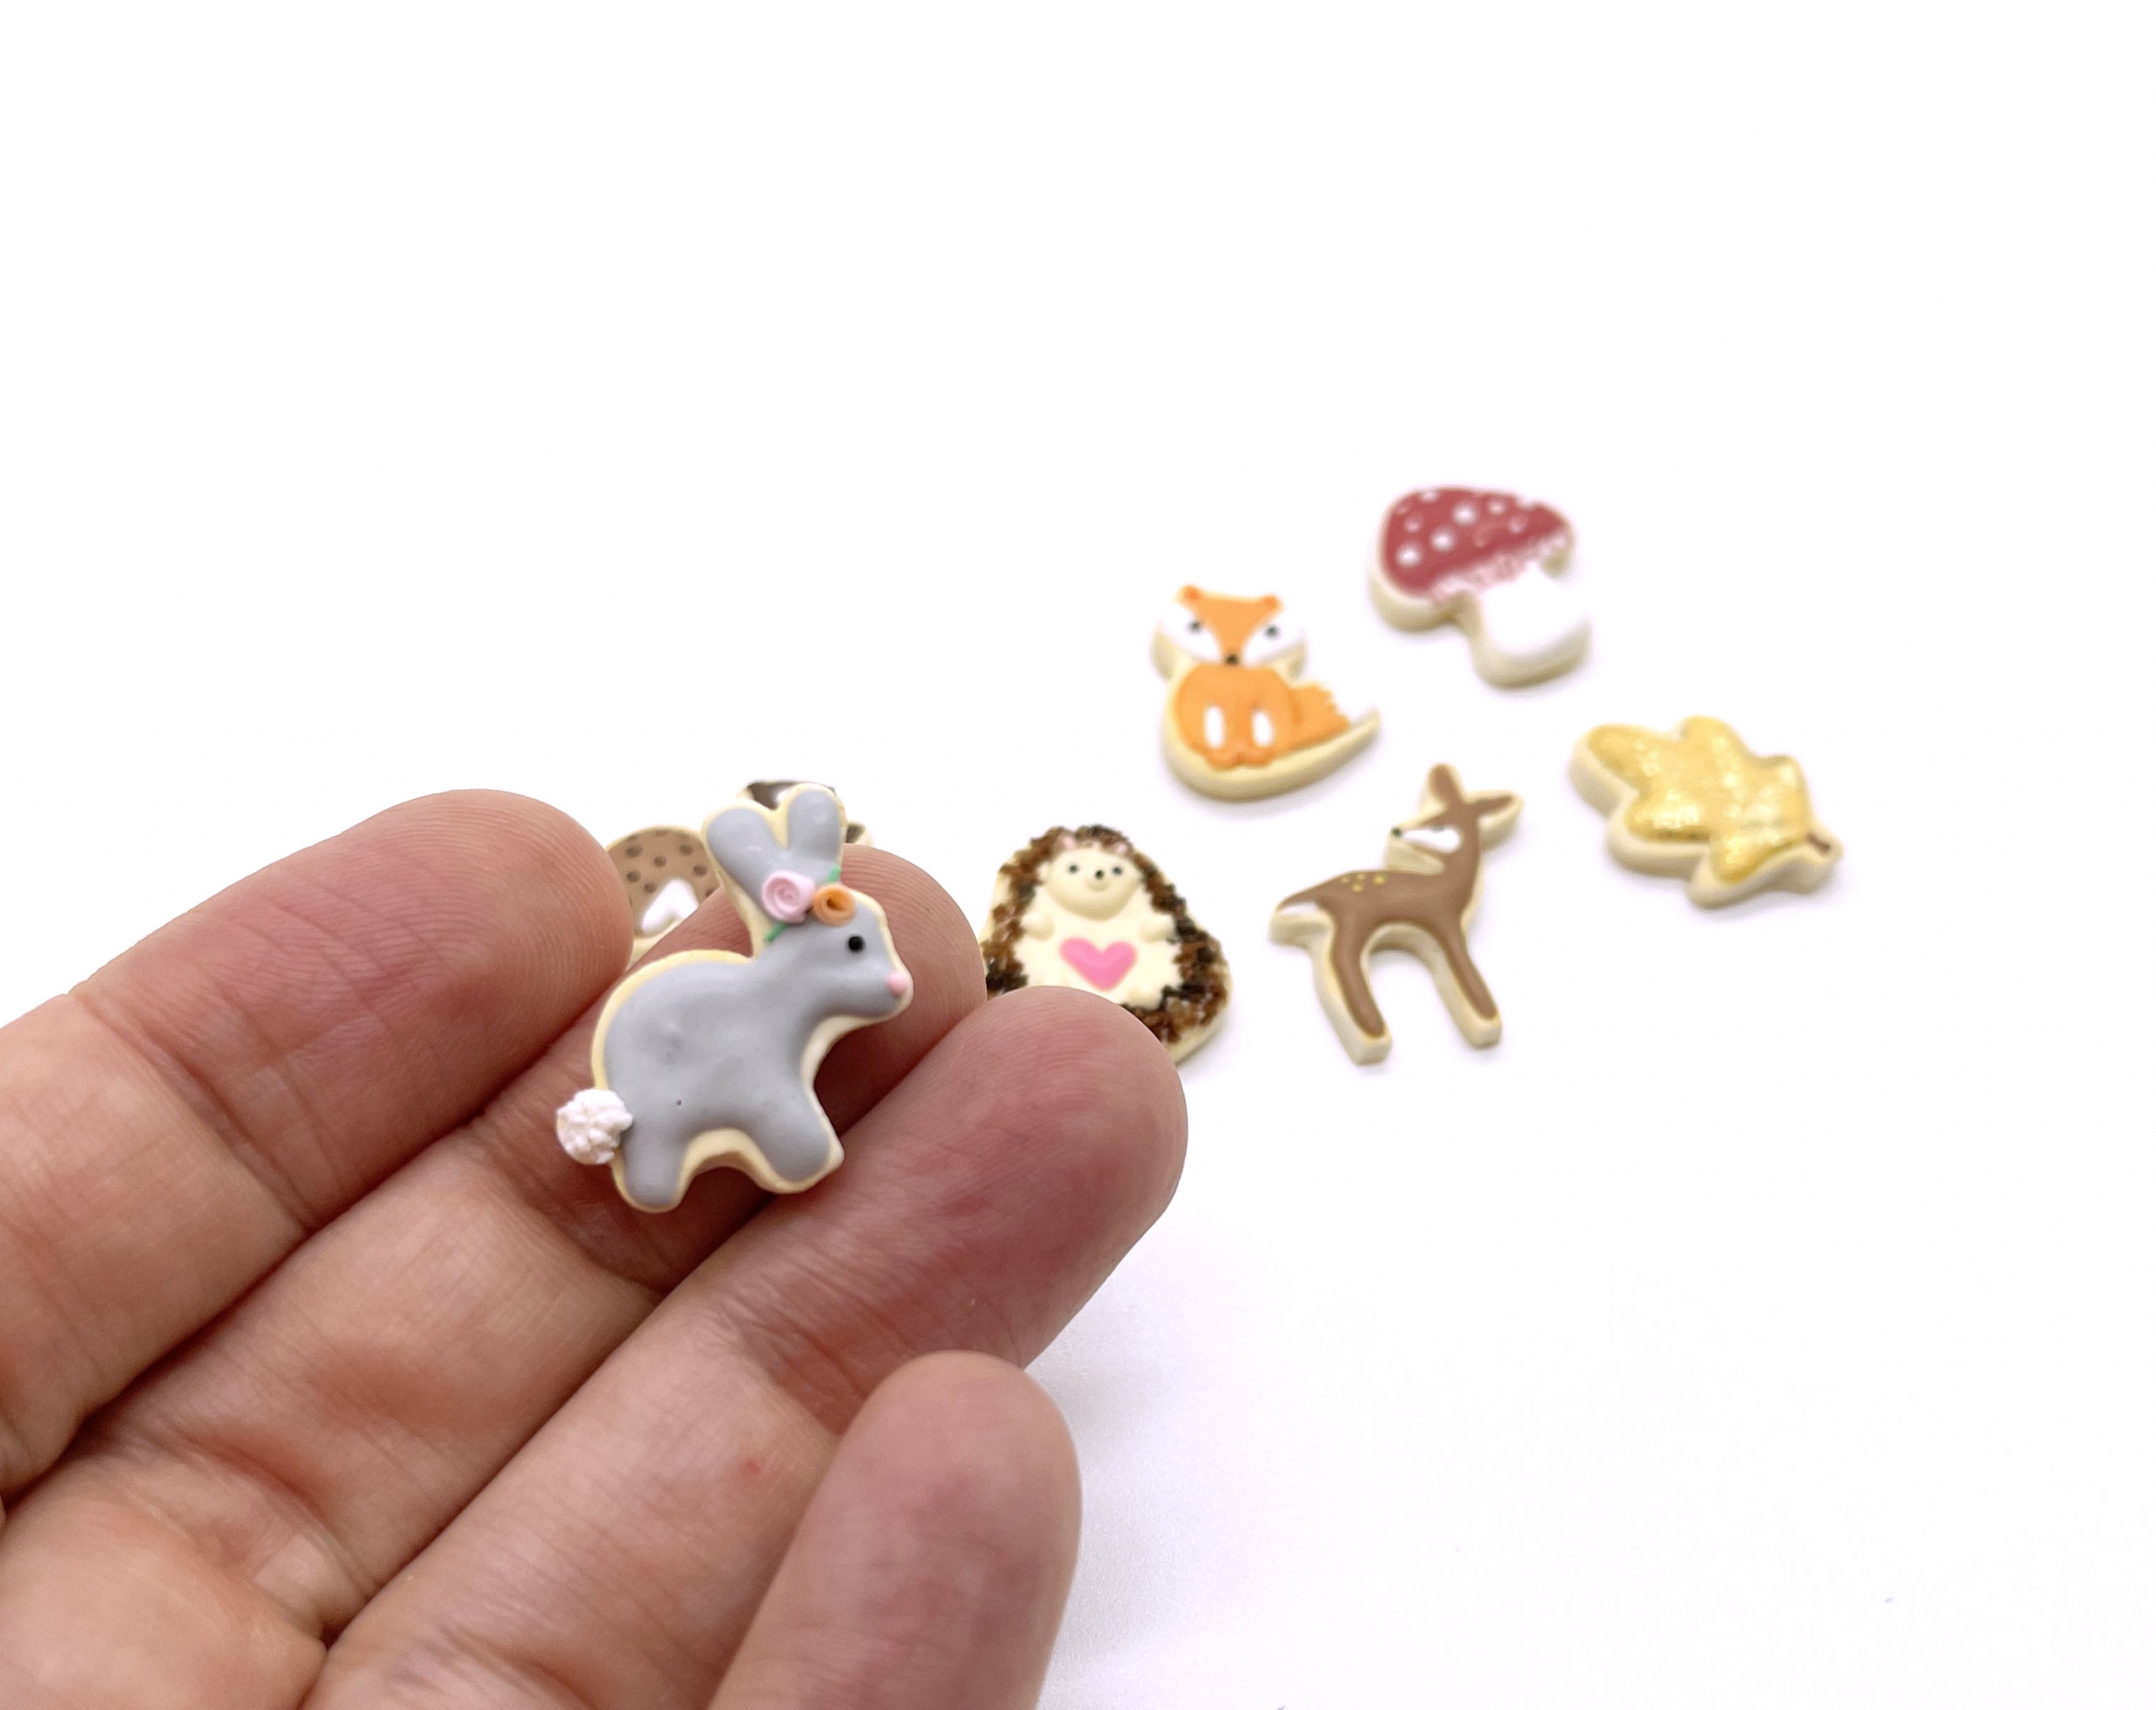
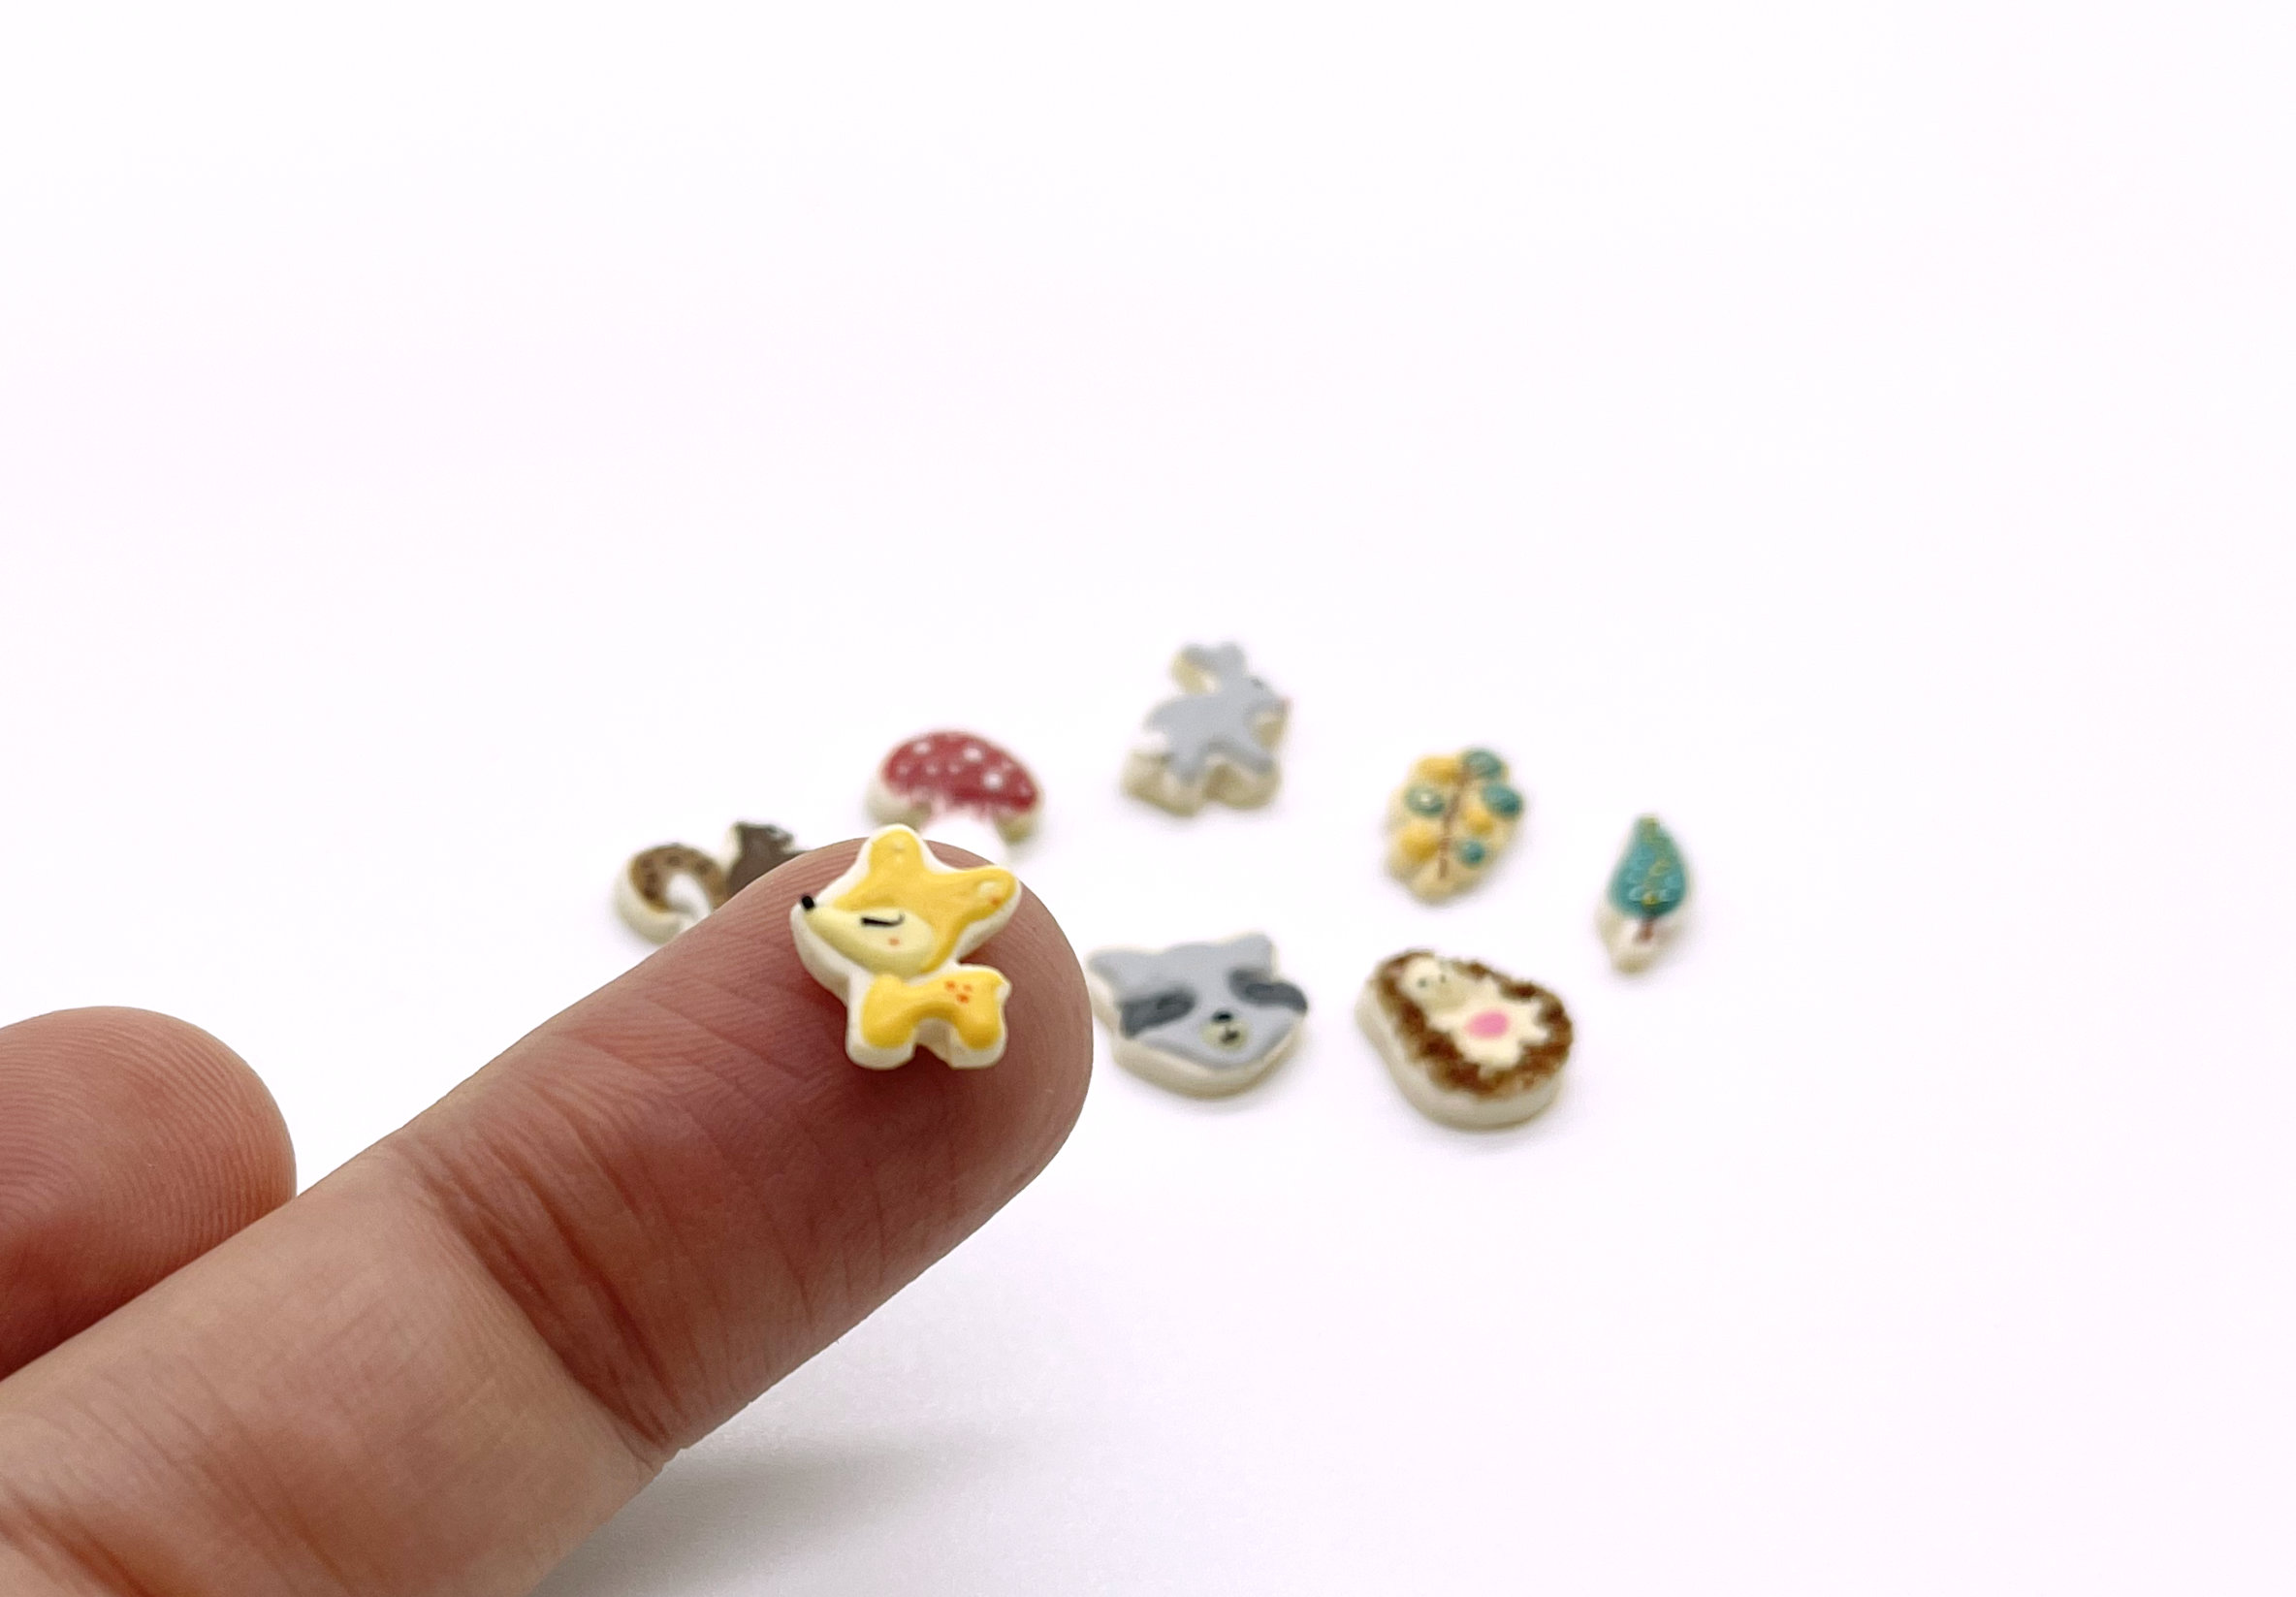
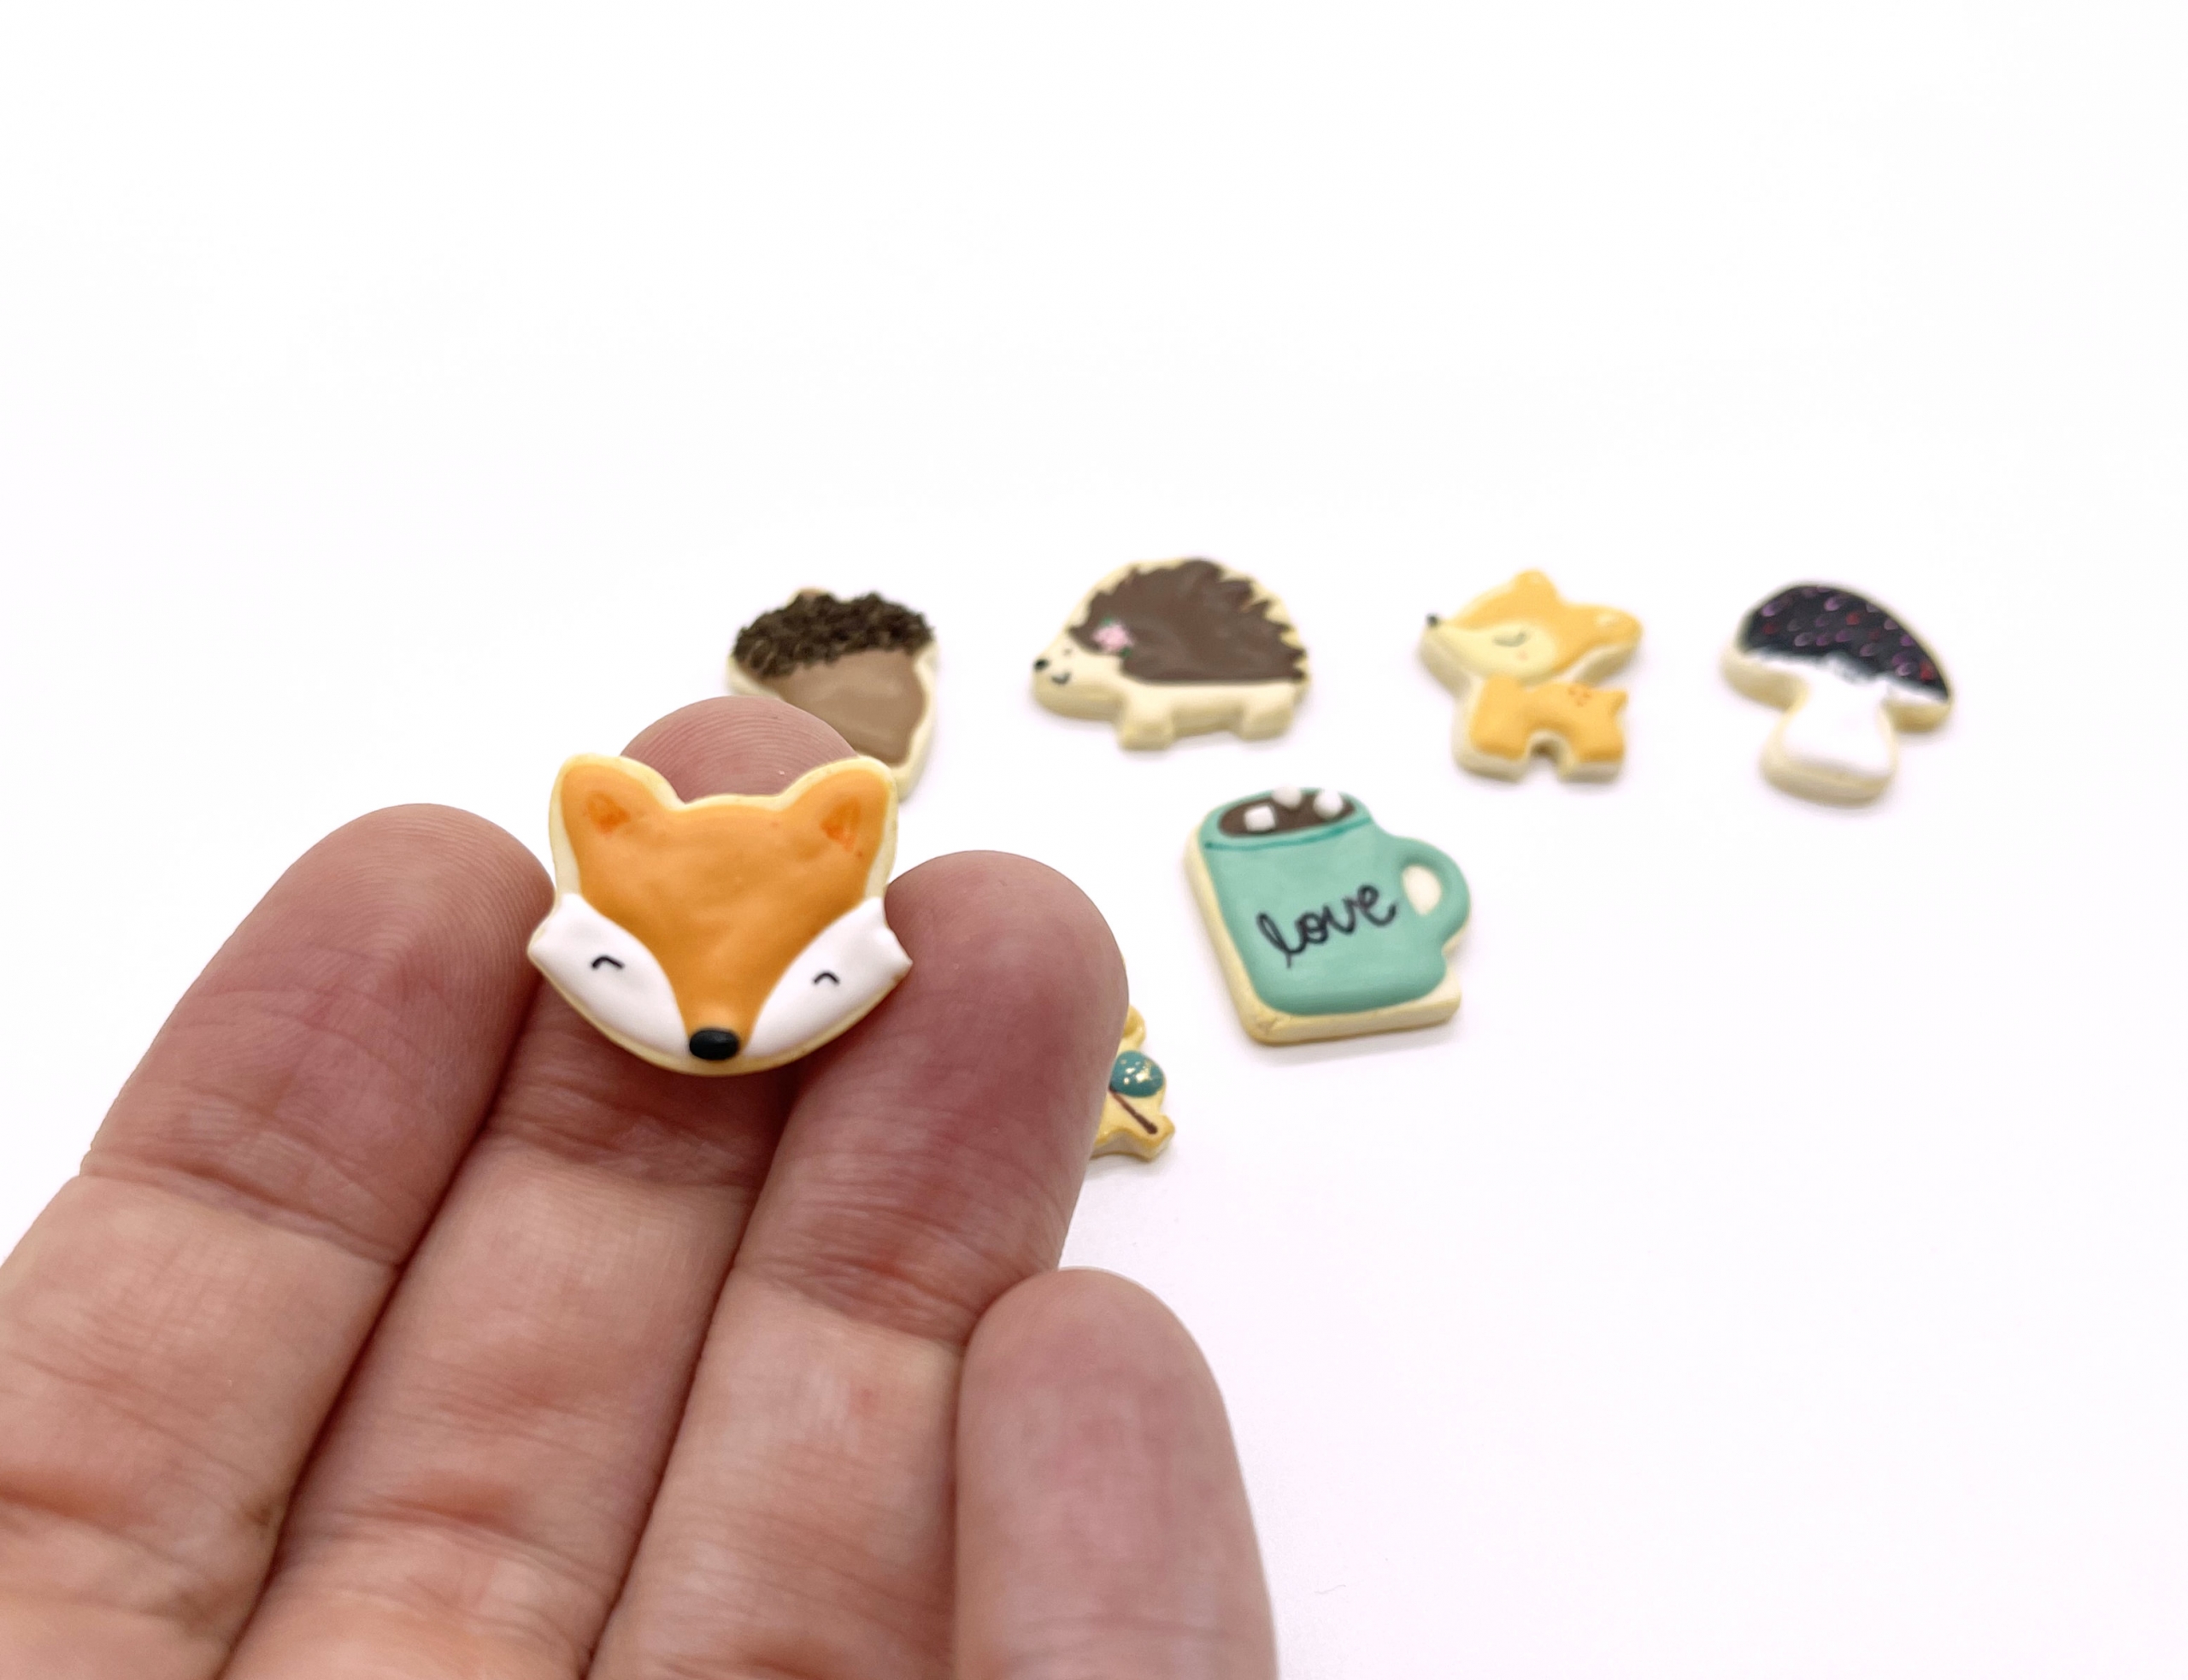
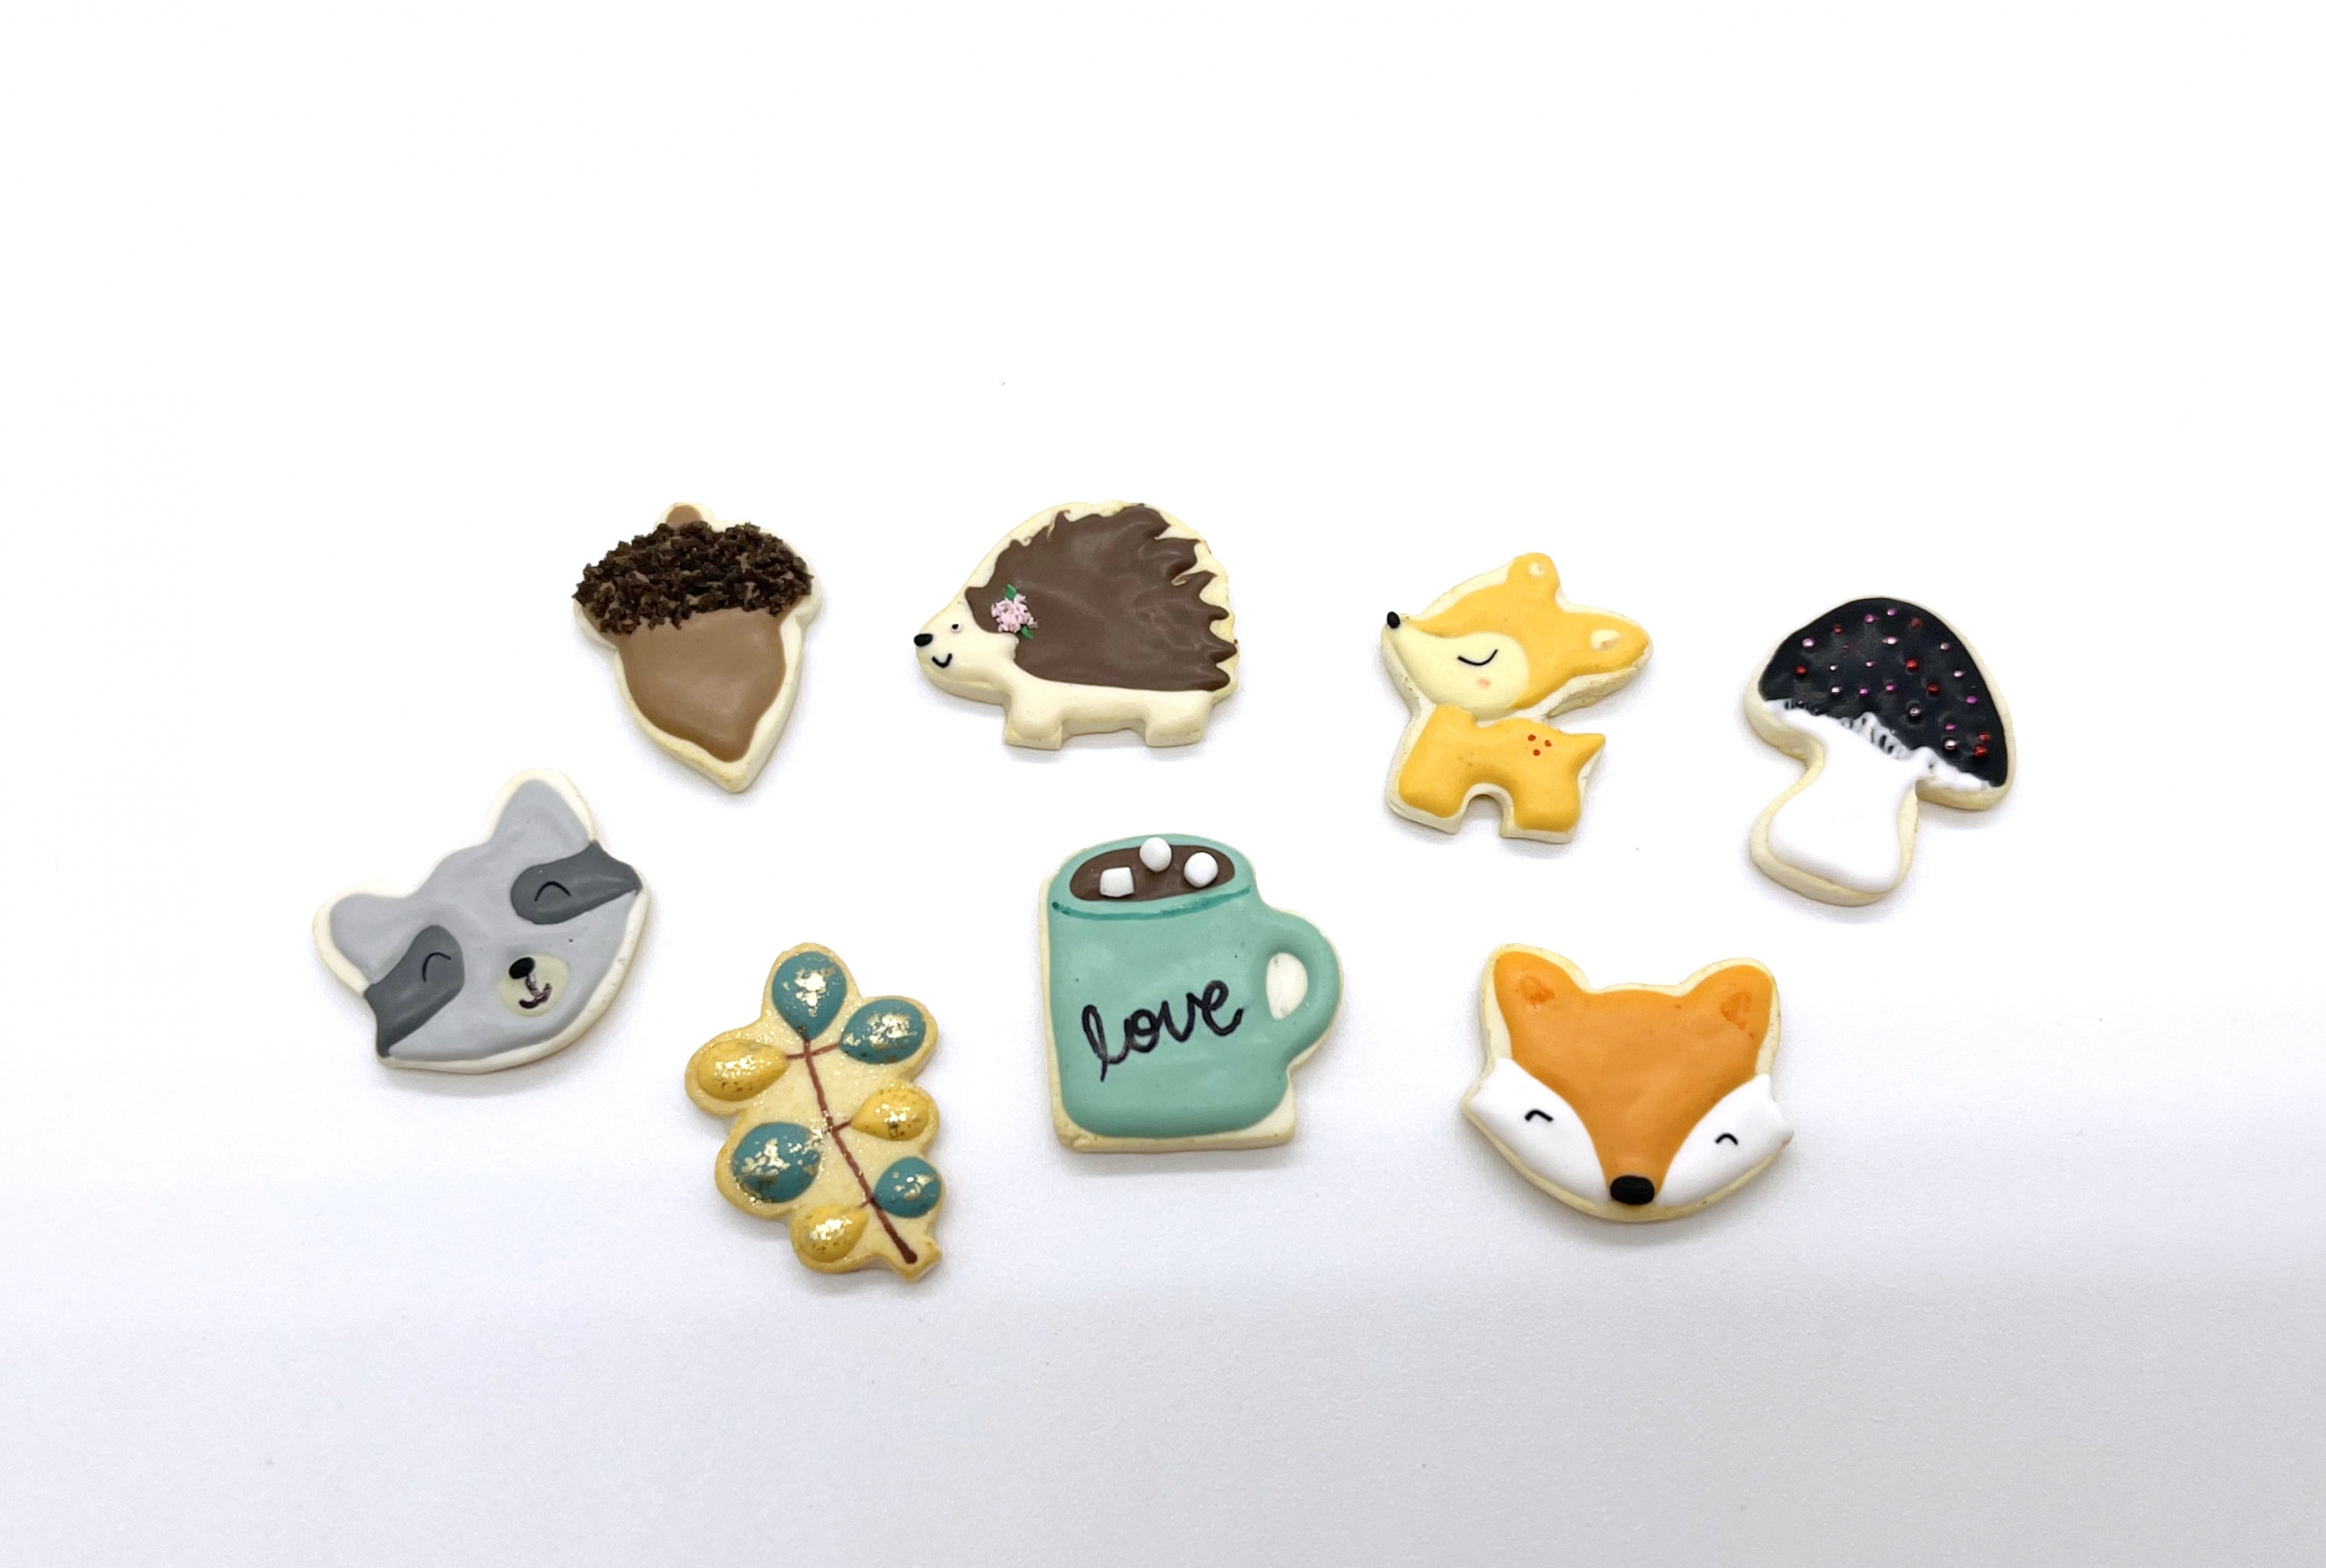
From there, it’s time to use the molds to make tiny cookies so I can photograph and list them in my shop. 🙂

October 1, 2021 at 9:18 pm
These are so adorable!! Definitely a labor of love! Thanks so much for sharing the process.
Take care,
Robin
October 1, 2021 at 10:12 pm
Oh, thank you, Robin! It is quite the intricate little process, and it’s so fun to see the finished product!! <3
October 4, 2021 at 10:06 pm
Hi Mo!!
Can I just say you are AWESOME for sharing your skills and ideas with us. I have tried to make my minis look realistic like yours, and I just can’t come close! You are a Mini Magician!
Thanks again for your impact on this world!
October 4, 2021 at 10:36 pm
Oh my gosh, Heather, you are so sweet! Thank you! <3
December 6, 2021 at 8:53 pm
You are so talented and those are absolutely beautiful. What is the blue liquid that you place your shapes in to create the molds?
December 6, 2021 at 9:09 pm
Thank you so much, Maria! I create my molds with a two-part mold putty. You can it at most well-stocked craft stores, and it typically comes in two colors of putty that you knead together like dough right before using. 🙂