Does your doll have a sweet tooth? Well, then. It’s time to bake some cake!
Tools + Supplies
- lightweight chipboard (see note below)
- card stock
- aluminum foil tape
- bone folder
- polymer clay in various colors + translucent
- decoden cream
- pasta machine or rolling pin
- toothbrush or medium-grit sandpaper
- needle tool
- clay blade
- offset spatula
Note: For the lightweight chipboard, you can use the thin cardboard found in t-shirt packages. A cut-up cereal box would also work; I’d just recommend orienting the printed side inward so you don’t have to worry about the ink interacting with the clay.
Instructions
Make the Cake Form
Print out the cake slice template (download the PDF) on card stock, and cut out the shapes.
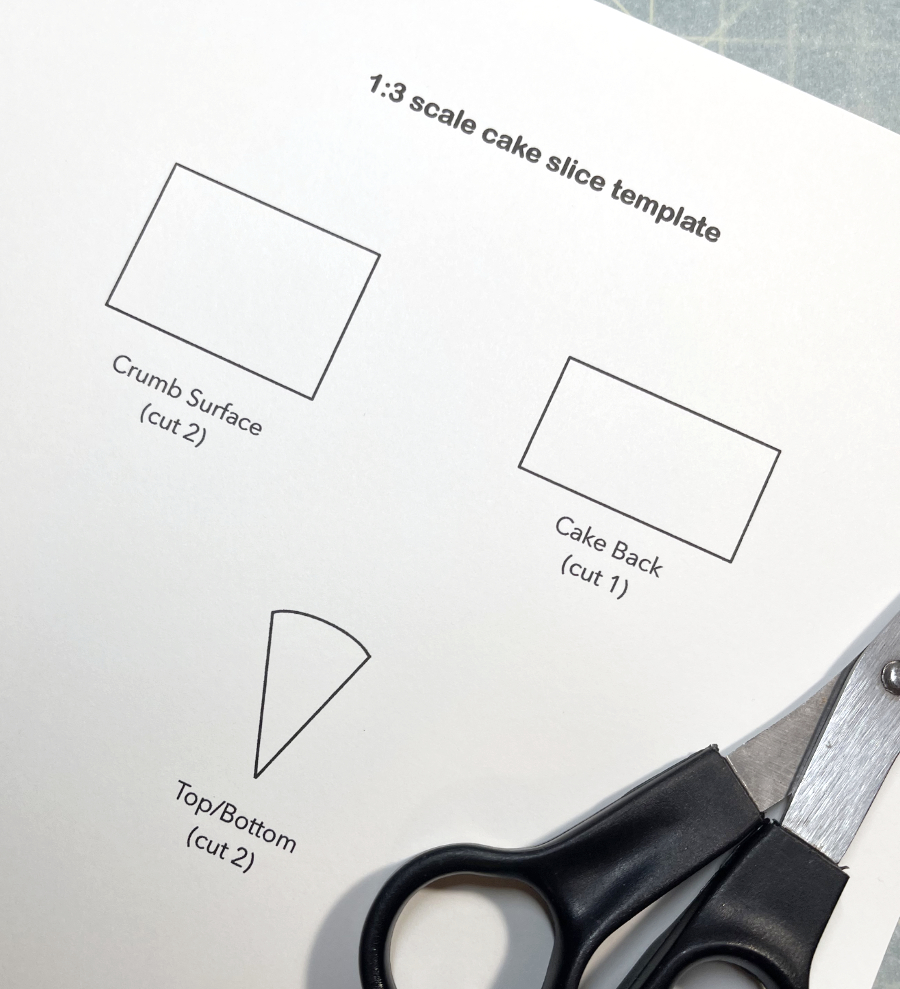
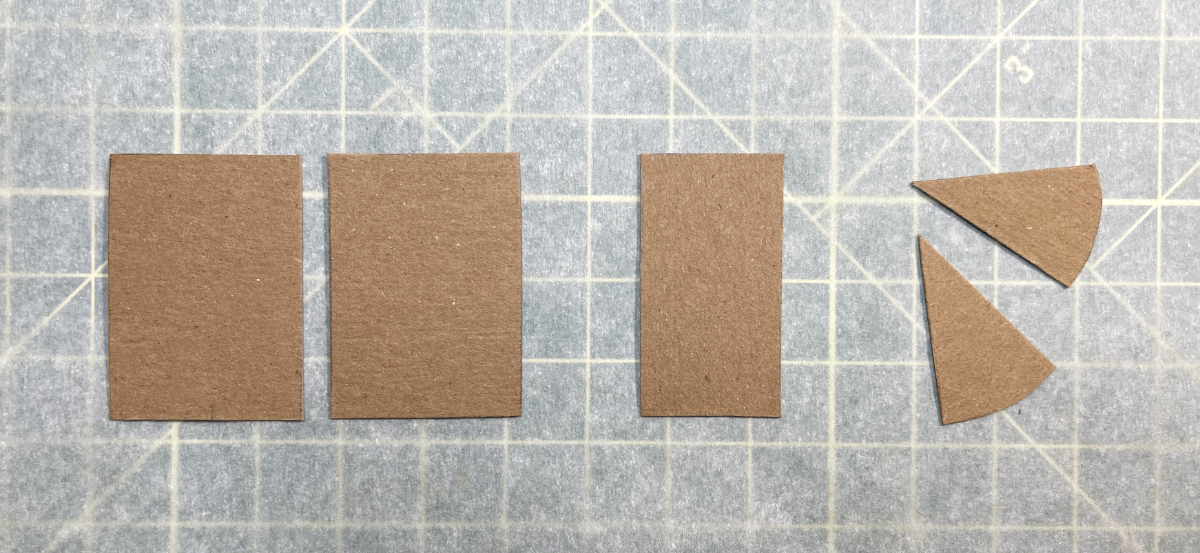
Use the templates to cut your cake shapes out of lightweight chipboard. On the template, I’ve noted how many of each shape you need for each slice of cake.
Secure the two Crumb Surfaces together first with a thin strip of tape on the long edge. Run the bone folder over the tape to ensure that it’s securely attached.
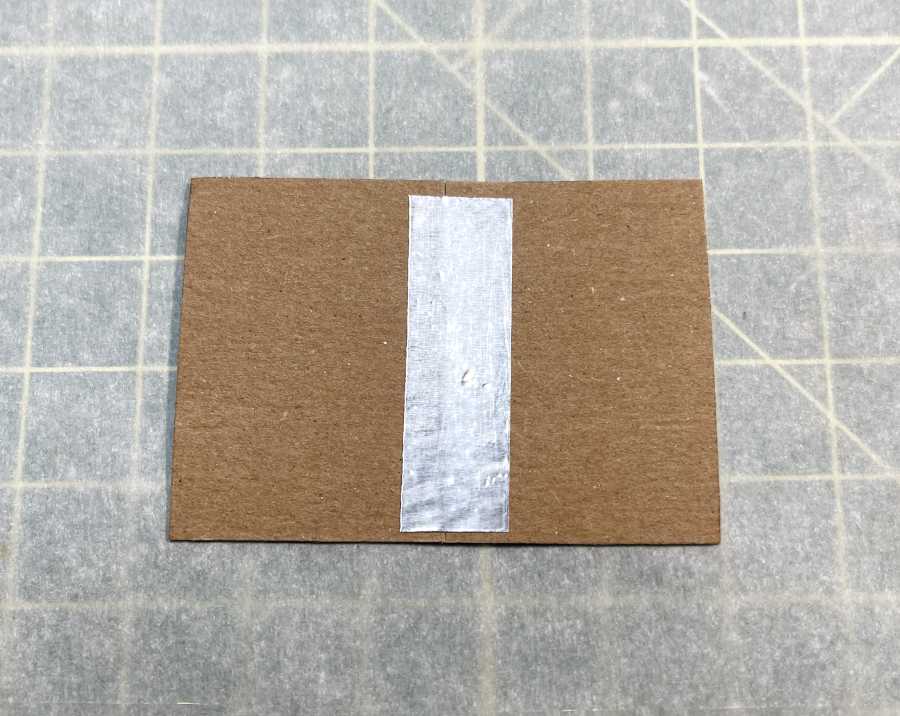
Your cardboard will look like a little book cover at this stage.
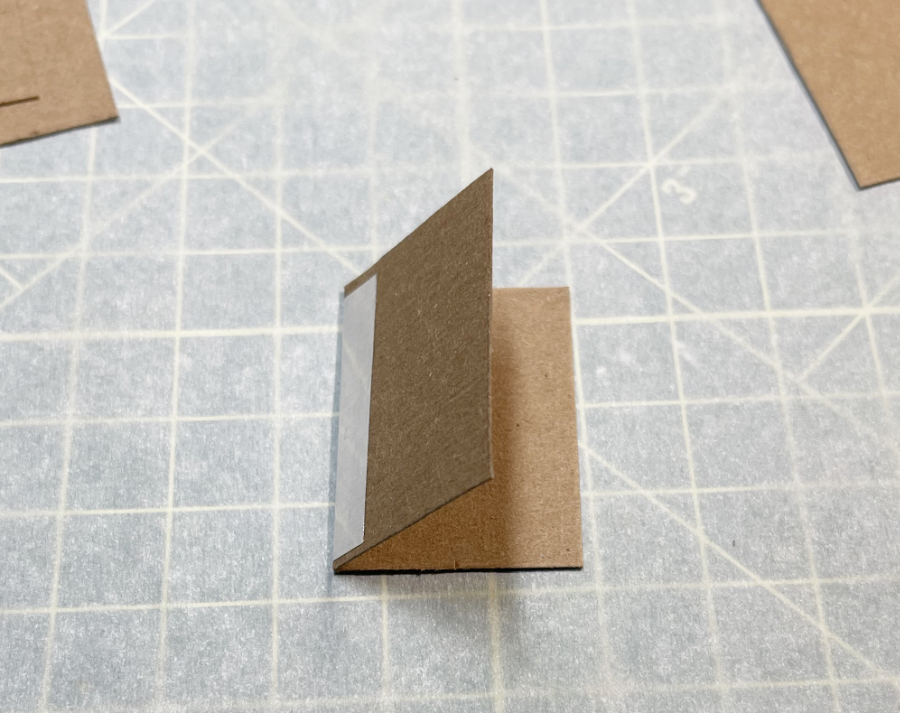
Take one of the Top/Bottom triangles and add a short strip of tape to both of the straight sides.
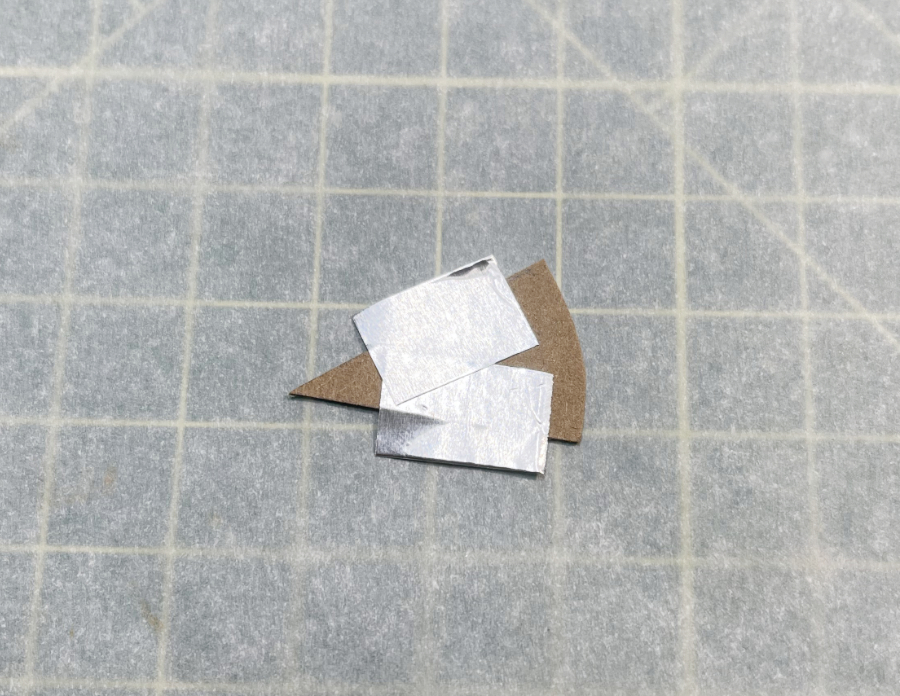
With your finger, fold the tape at a 90-degree angle so it’s easier to position the triangle inside the “book cover” you created in the previous step.
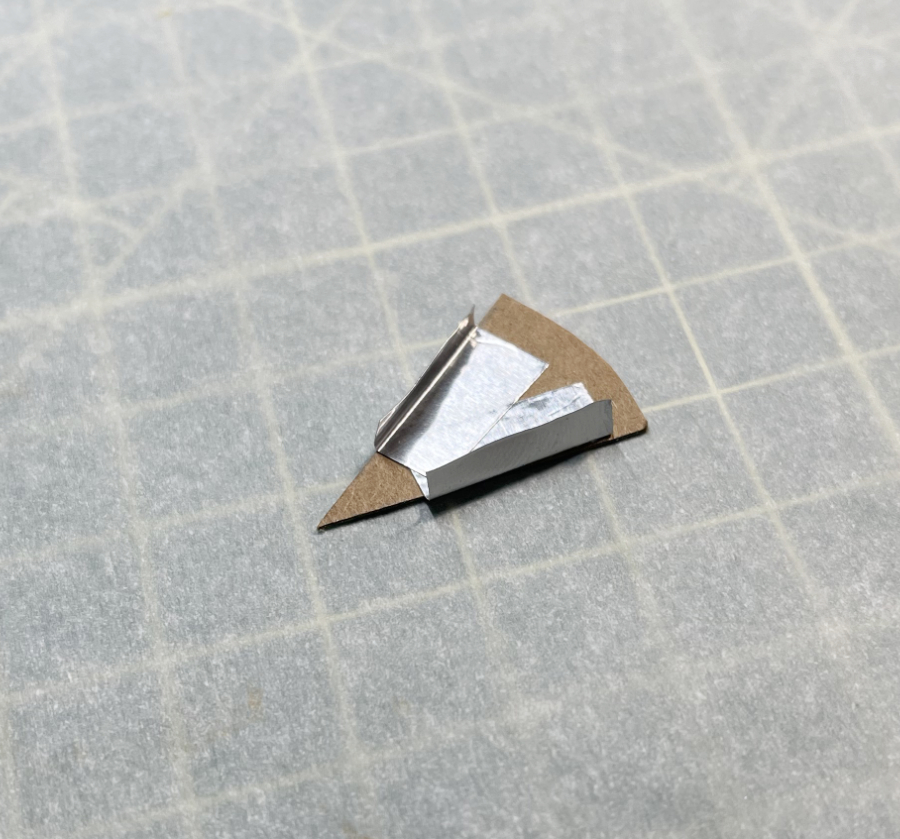
Once the triangle is in position, use the bone folder to secure the tape to the two Crumb Surface rectangles.
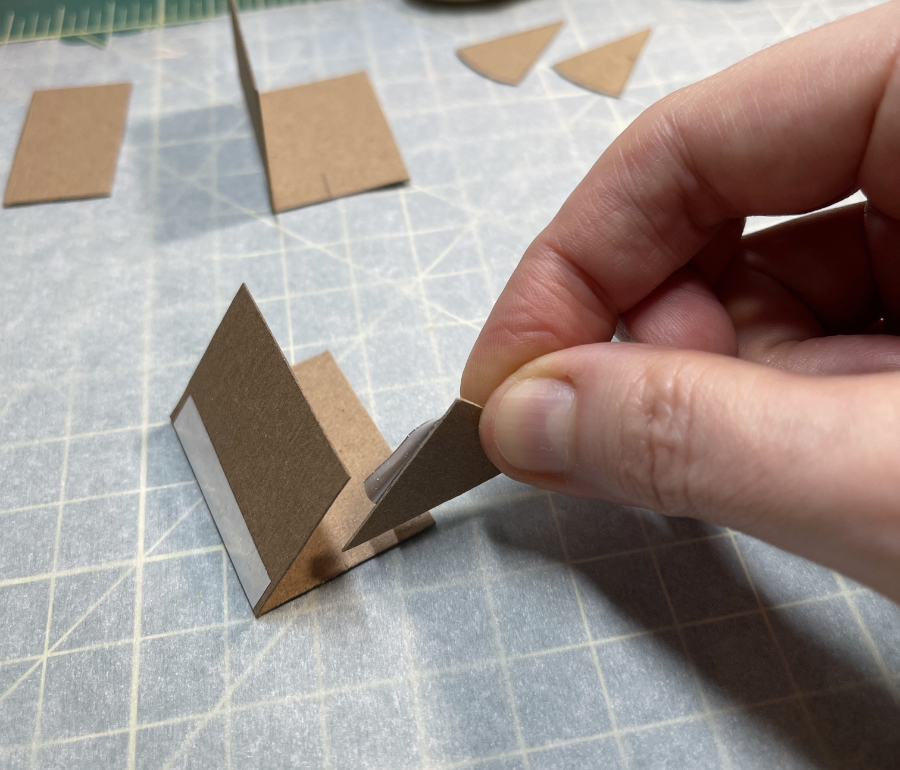
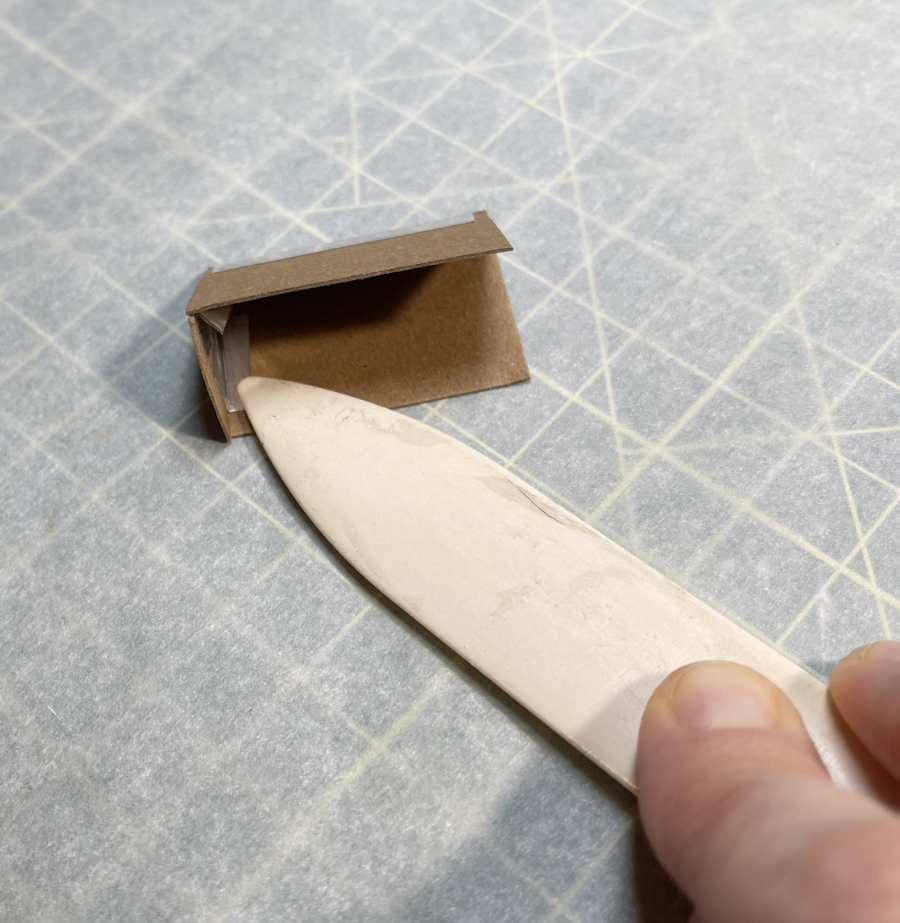
Repeat this process with the second Top/Bottom triangle.
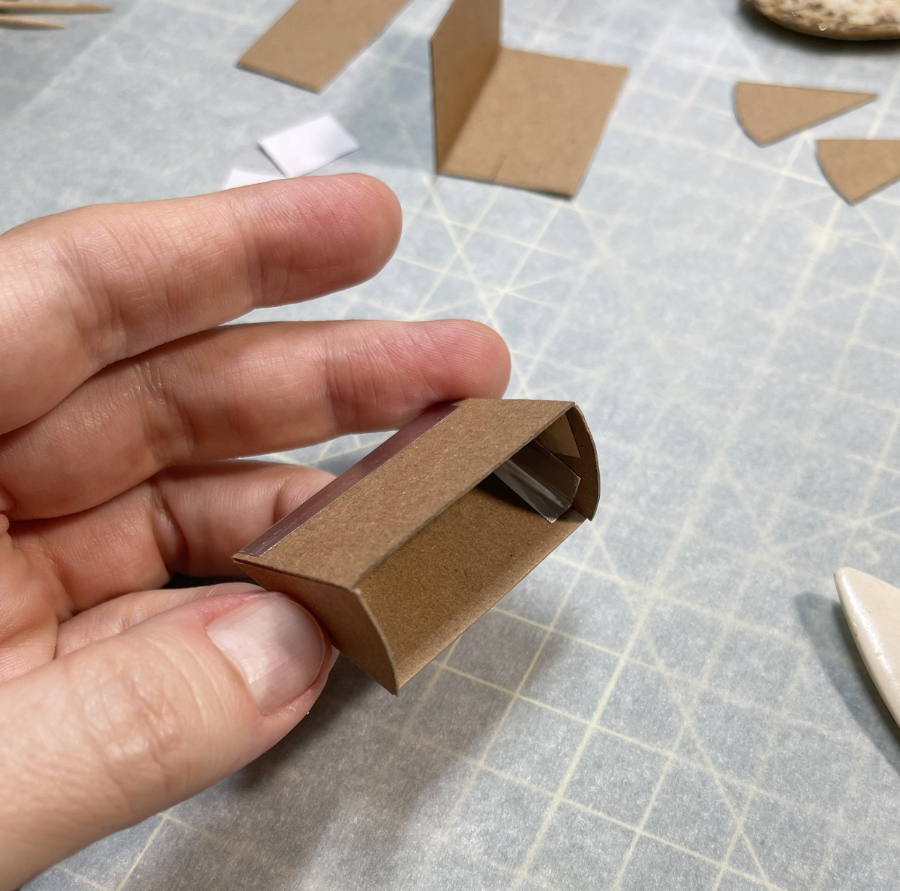
Use a large paint brush handle or something similar to gently curve the Cake Back rectangle.
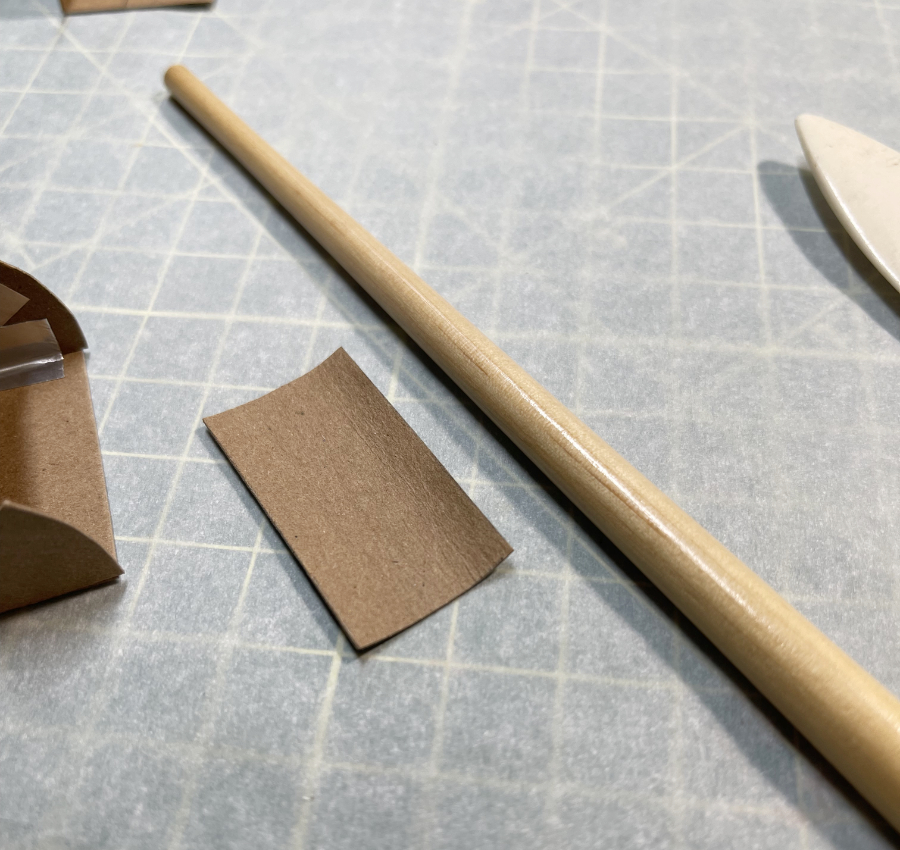
Add a thin strip of tape to one long edge of the Cake Back rectangle, and position on the cake slice, using the bone folder to securely fasten the tape.
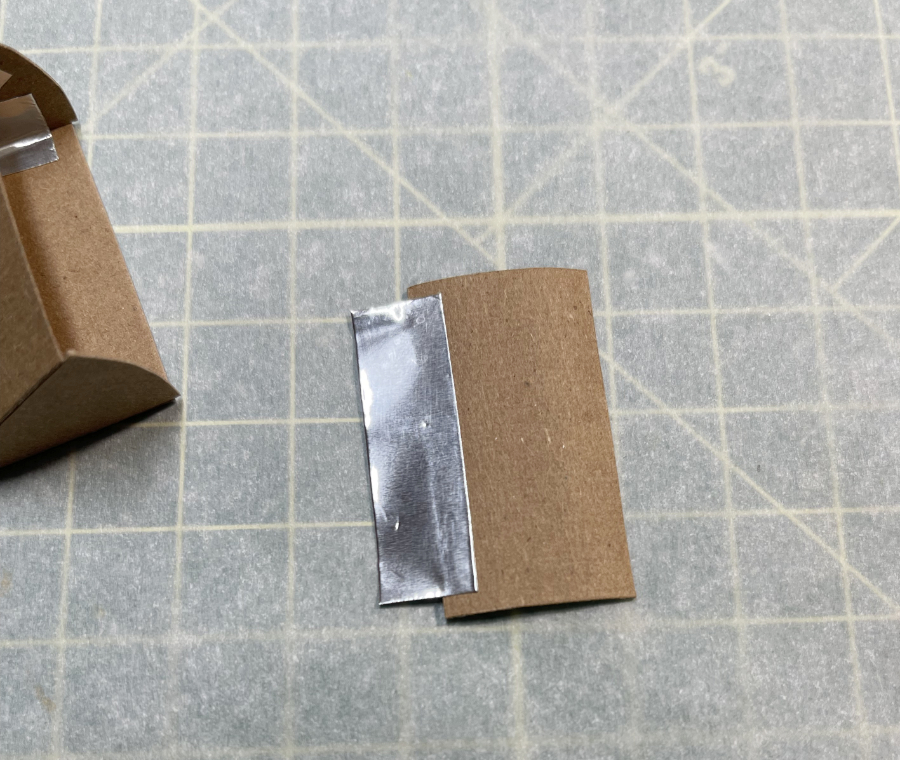
Finish by taping the other long edge of the Cake Back.
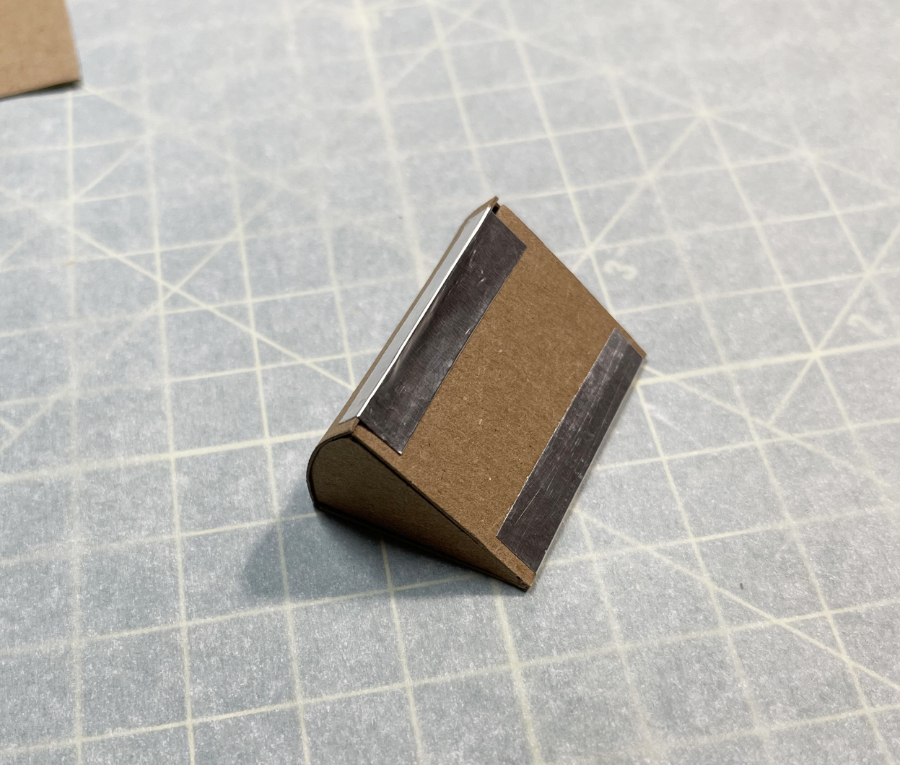
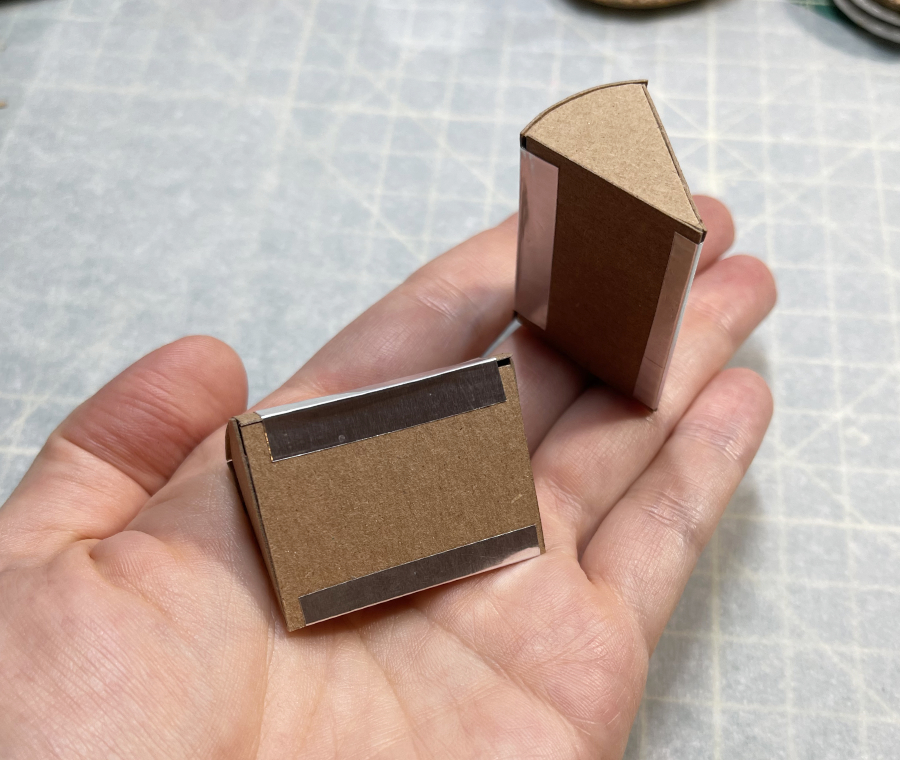
You’re now ready to add polymer clay!
Add the Cake Colors
You can make your cake any color you choose with as many layers as you like.
💡 Keep in mind that more layers adds complexity, and you’ll need to calculate the width of each layer by dividing the length of the Crumb Surface (1 5/8″) by the number of layers.
Start by mixing up your clay colors. Mix one part colored clay with three parts translucent, kneading thoroughly to combine.
You’ll cover the bottom triangle of the cake slice first with whichever color matches your bottom cake layer. For instance, in my rainbow cake slices, purple is the bottommost layer, so that’s the color I’ll use for the Bottom Triangle.
Roll out a thin sheet of clay (1/16″ thick), and use the Top/Bottom triangle template to cut out a piece of clay. Press this into place on your cake form.
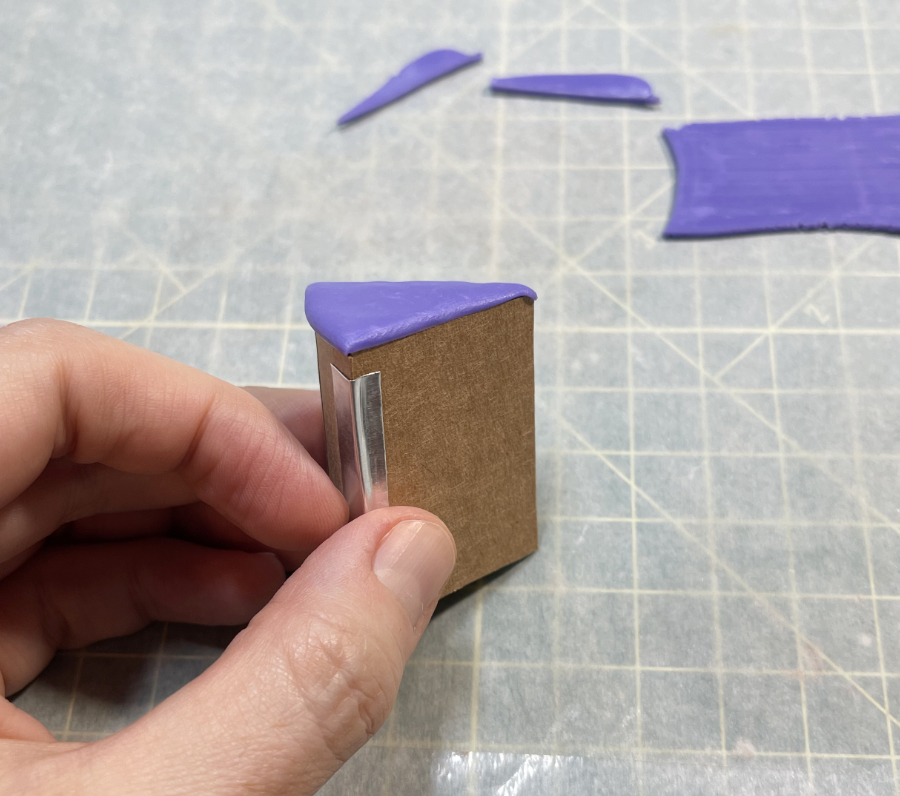
Use white clay (no need to add translucent) to cover the Top Triangle, one of the Crumb Surfaces, and the Cake Back.
Smooth the seams with your finger, doing your best to work out any air bubbles. You can also use a needle tool to prick air bubbles.
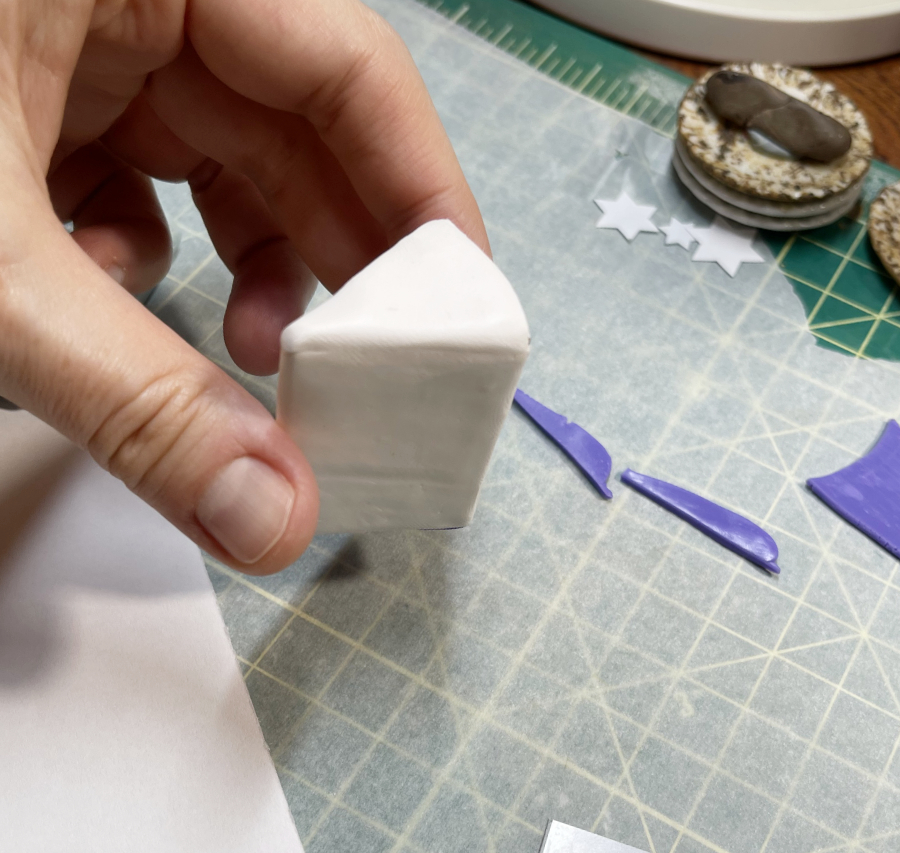
Notice below how I smoothed the white clay slightly over the edge of each piece, so there aren’t any gaps.
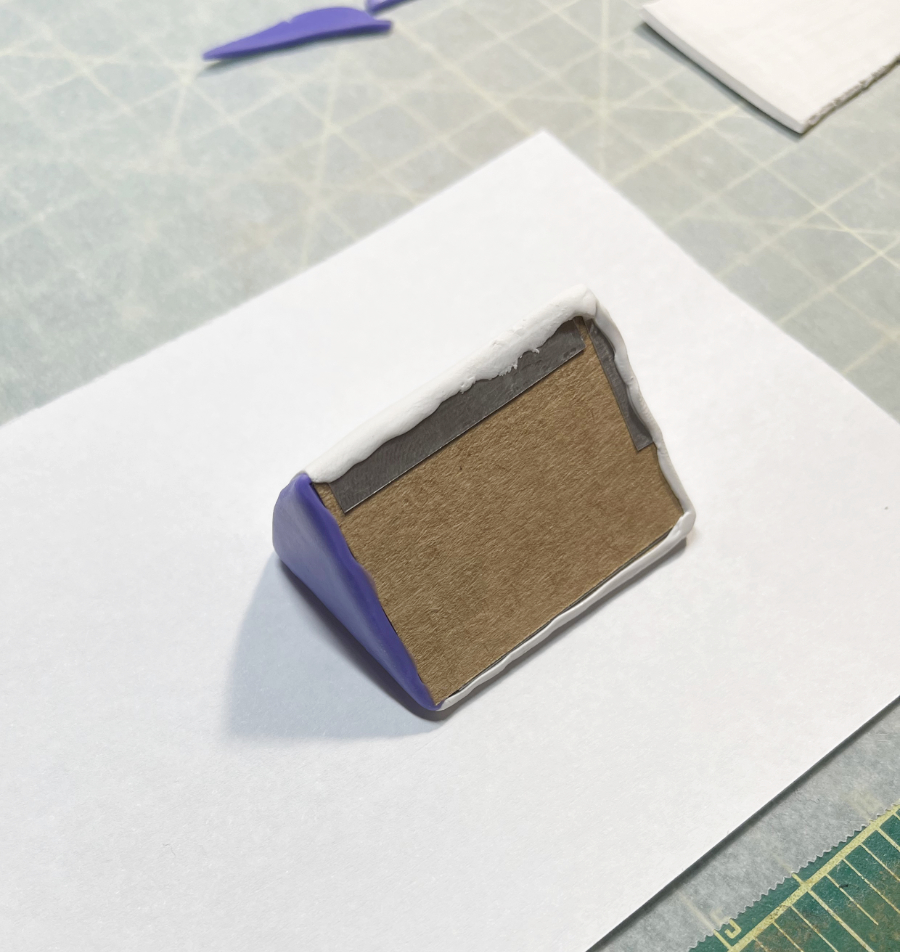
Use a toothbrush or medium-grit sandpaper to add texture to the Bottom Triangle.
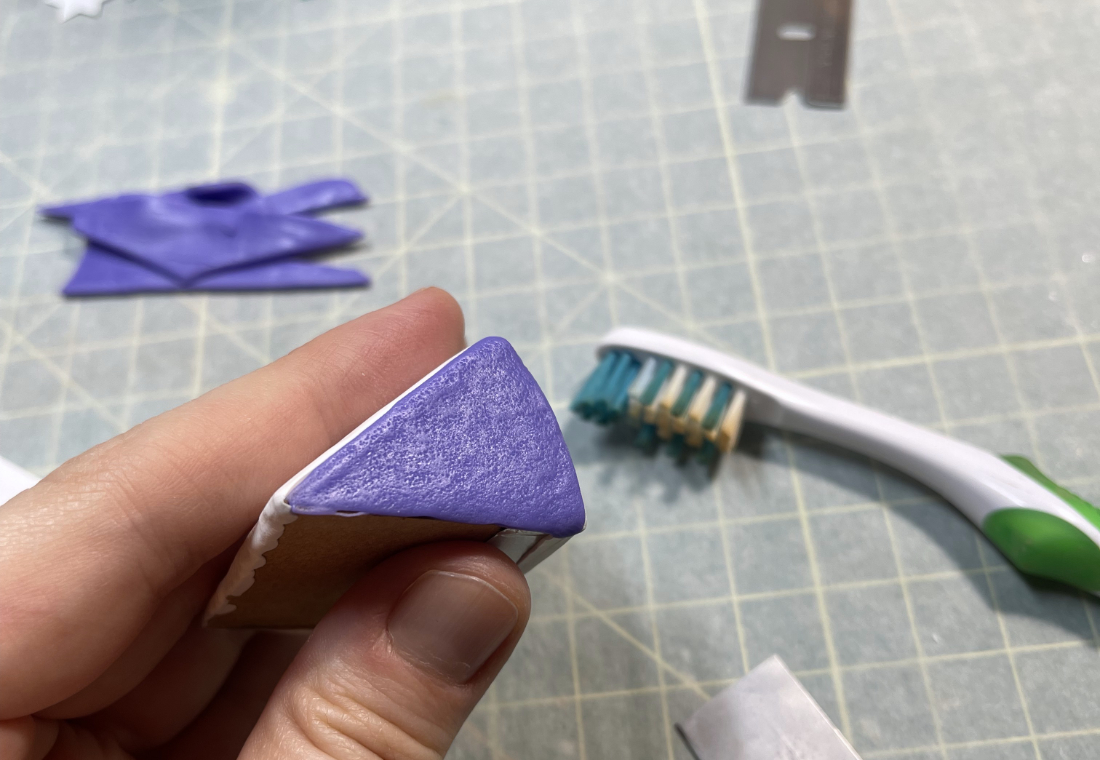
Time to add your cake layers! Roll your clay colors into sheets 1/16″ thick or slightly thinner. Don’t go too thin (paper thin, for instance), as you’ll likely tear the clay when you texture it in a later step.
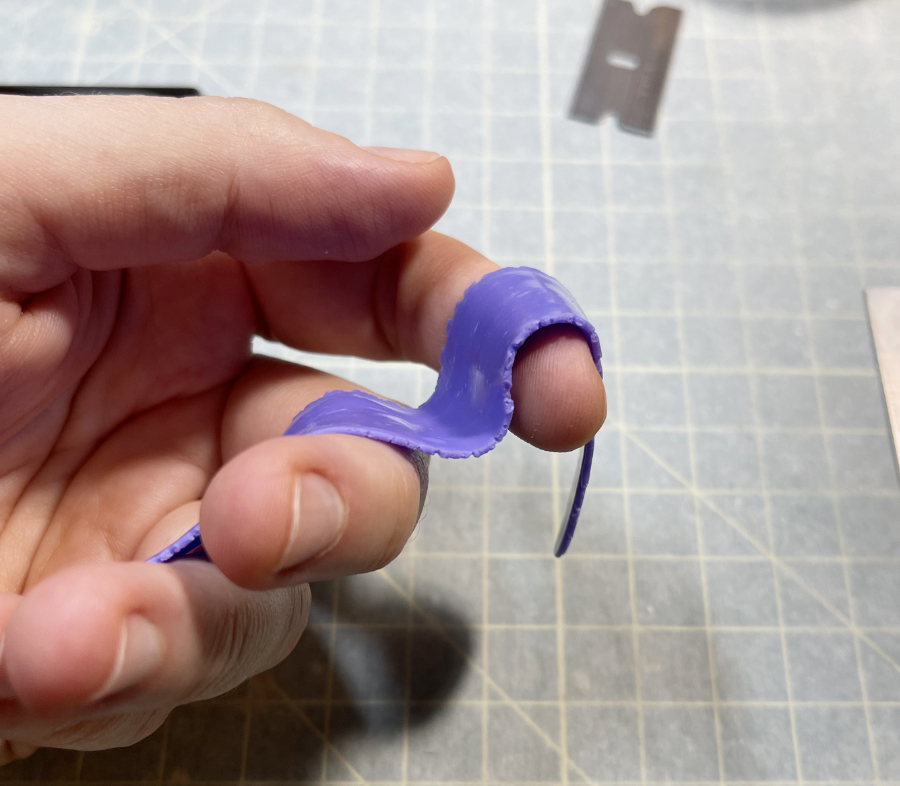
Cut the clay into strips of the appropriate width, based on the number of layers you’re making.
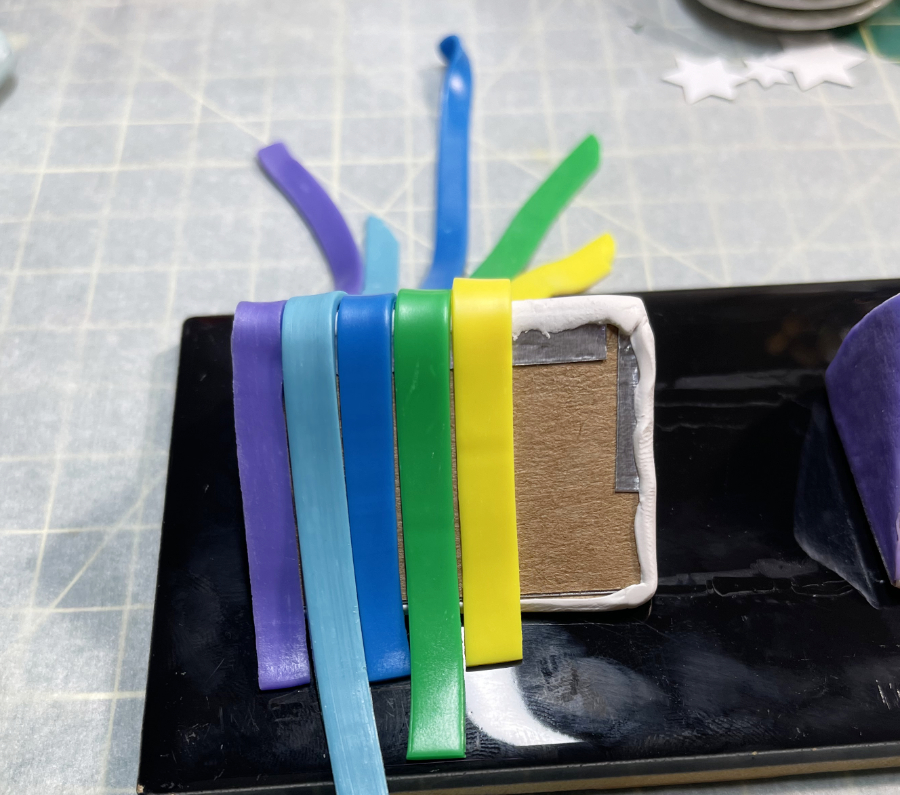
Trim the strips and make sure they’re firmly pressed in place.
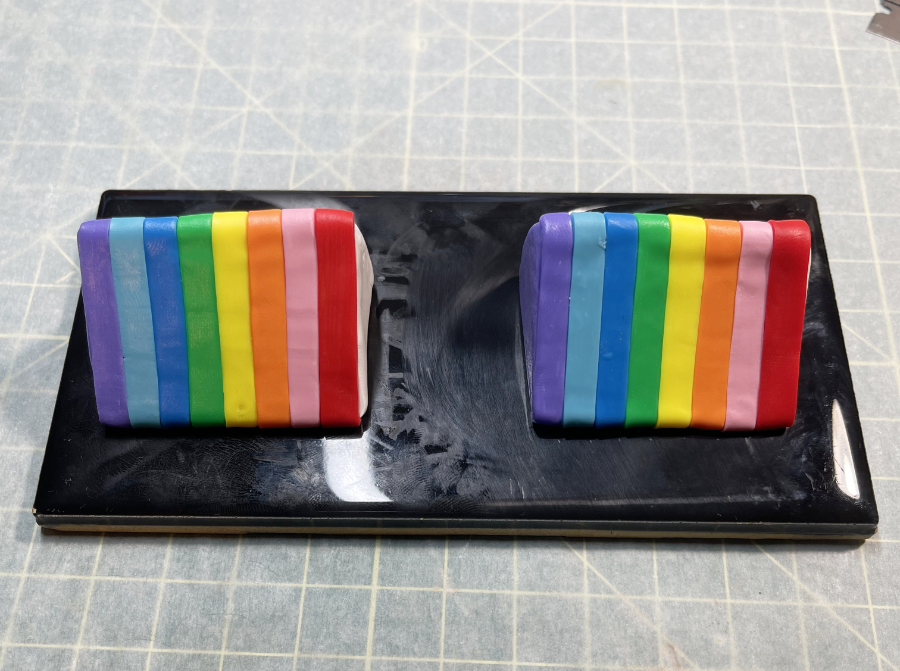
Now for the time-consuming part! Use a needle tool to tease the surface of the cake layers into a crumb texture with a light swirling motion. Take care not to gouge and tear the clay.
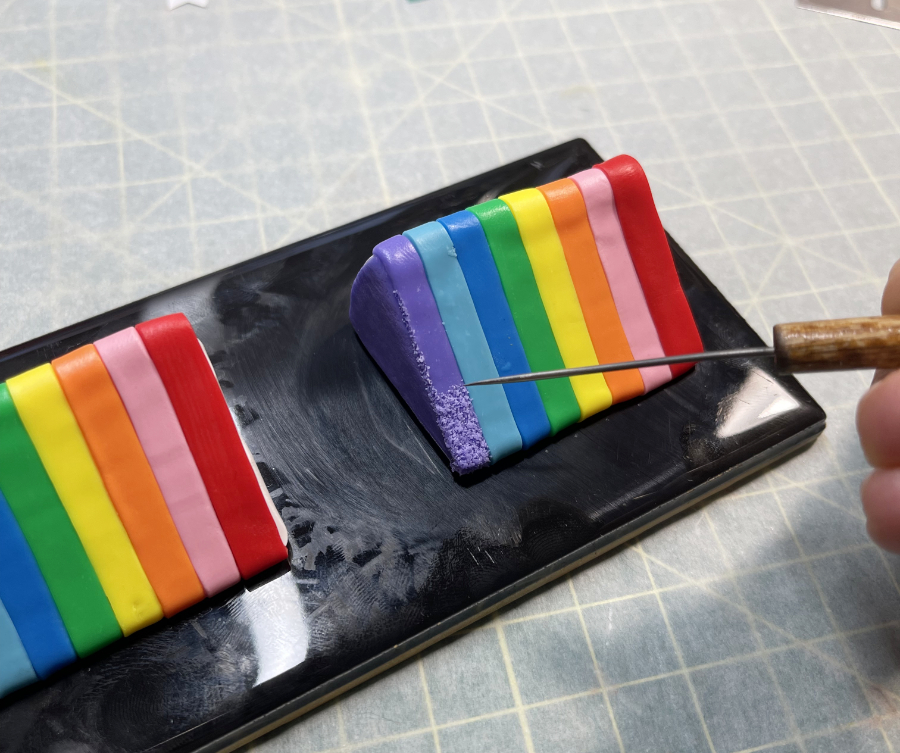
Almost done!
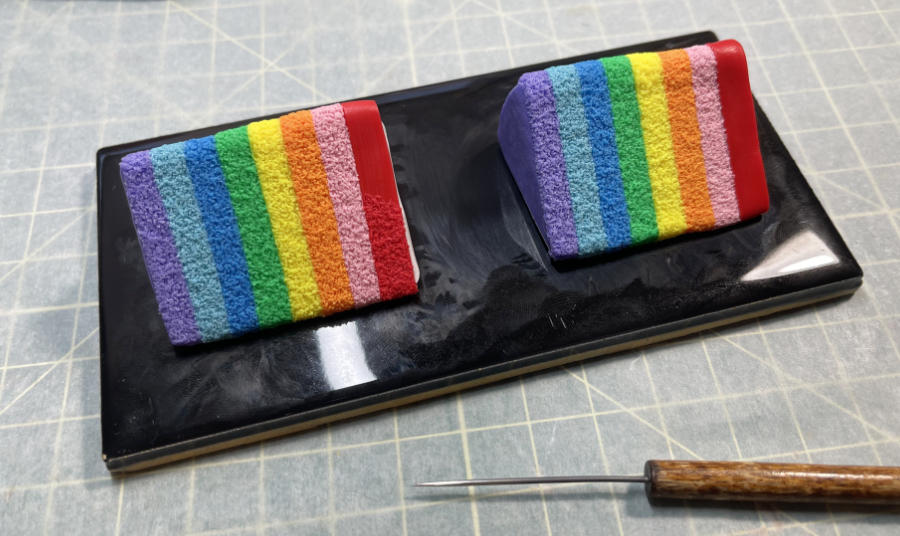
Bake the cake slices on a baking tile (see note below) for 15 minutes in a preheated oven at the temperature specified by the clay manufacturer. Let cool.
Note: You can get any ol’ tile at a home improvement store, often for a dollar or less. This doesn’t need to be some fancy tile marketed for polymer clay use.
Frost the Cake
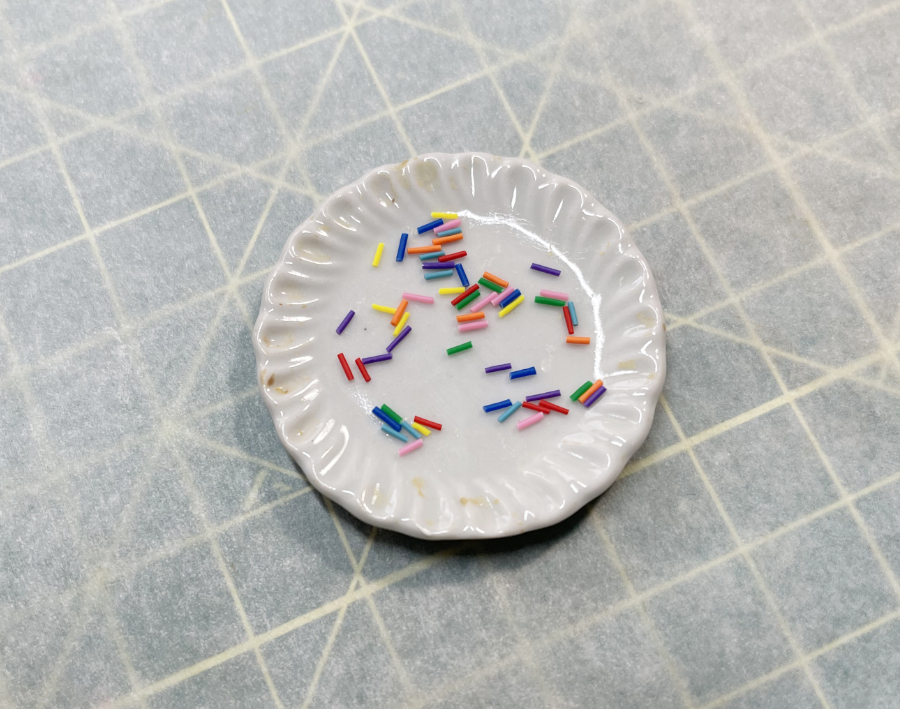
If you’ll be decorating your cake with sprinkles or other toppings, have those out and ready to go before you start frosting.
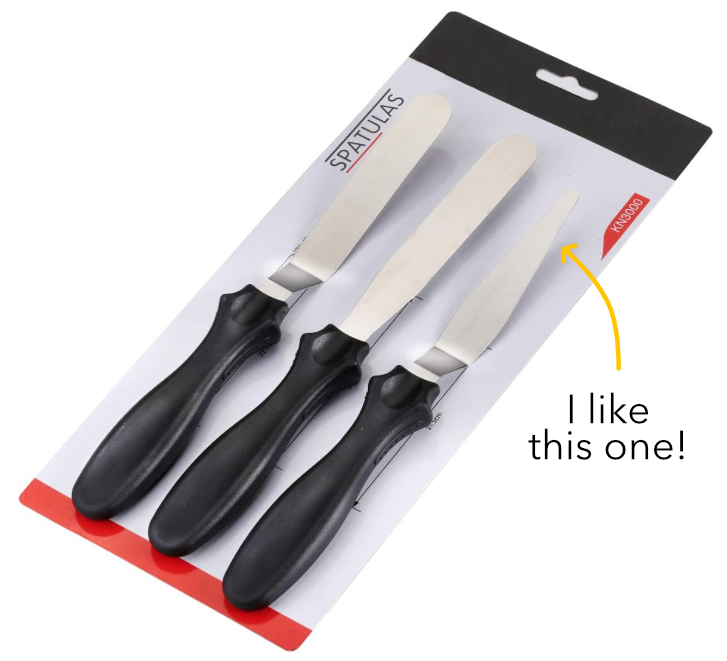
To spread the decoden cream, I prefer an offset spatula with an angled tip for the most precision.
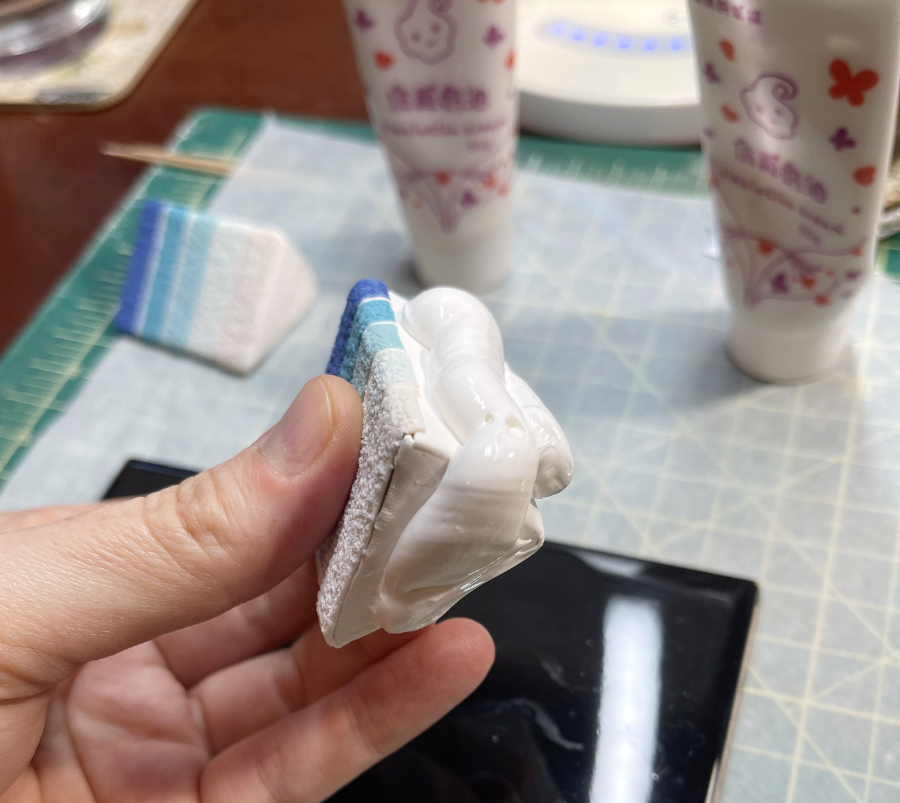
Squeeze decoden cream onto the Cake Back and Top Triangle, and use the offset spatula to spread it neatly.
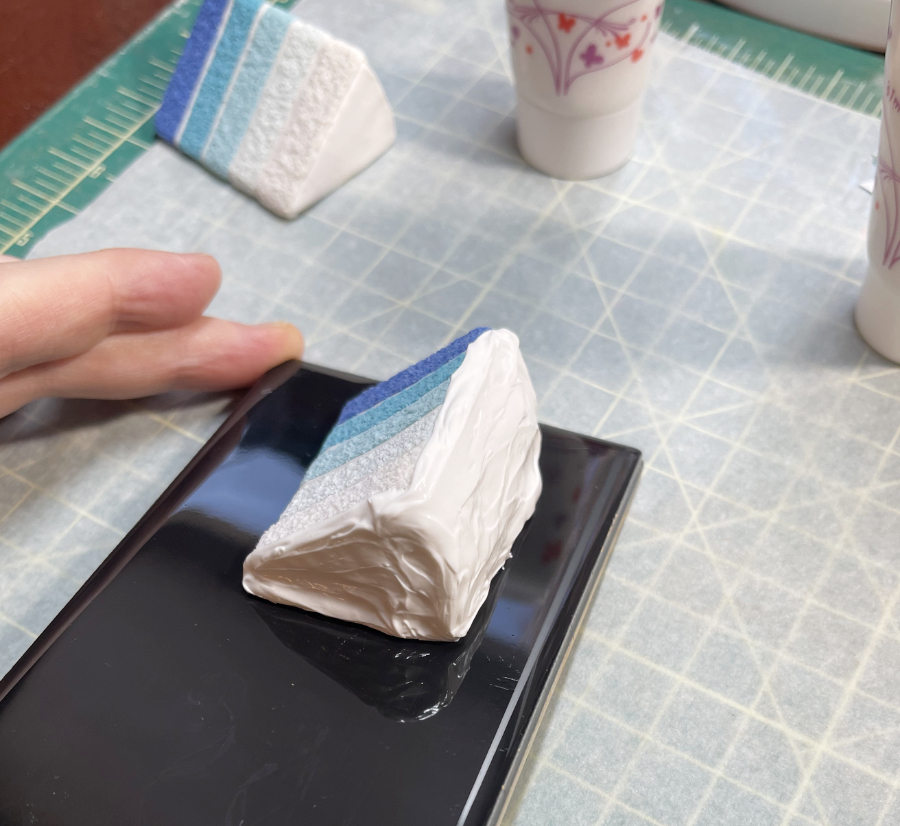
If using sprinkles or other decorations, add them now. You can buy decorations or make them out of polymer clay. For instance, these sprinkles are thin ropes of clay, baked and cut into shorter lengths.
Place the slice on your baking tile to dry (make sure it’s the glossy side so it doesn’t stick).
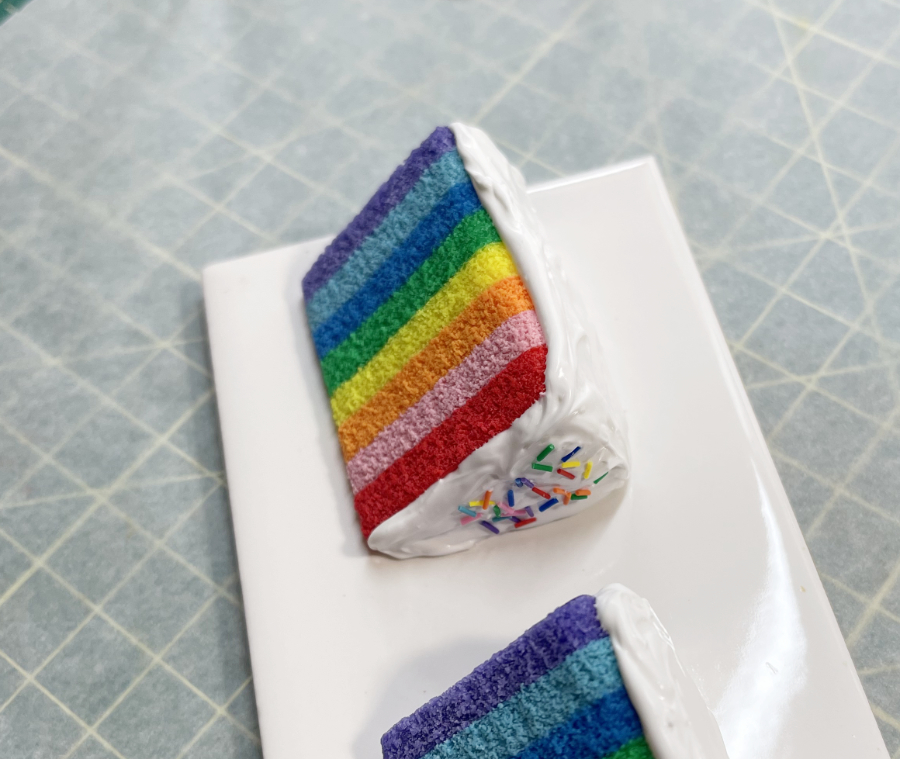
I let the frosting dry overnight before sliding a clay blade between the slice and the tile to carefully remove the cake.
Most of the frosting was dry at this point, except for a small amount that had been in direct contact with the tile. I stood the cake slice upright and let it dry for one more night, just to be on the safe side.
That’s it! Happy baking! 🥳 🍰