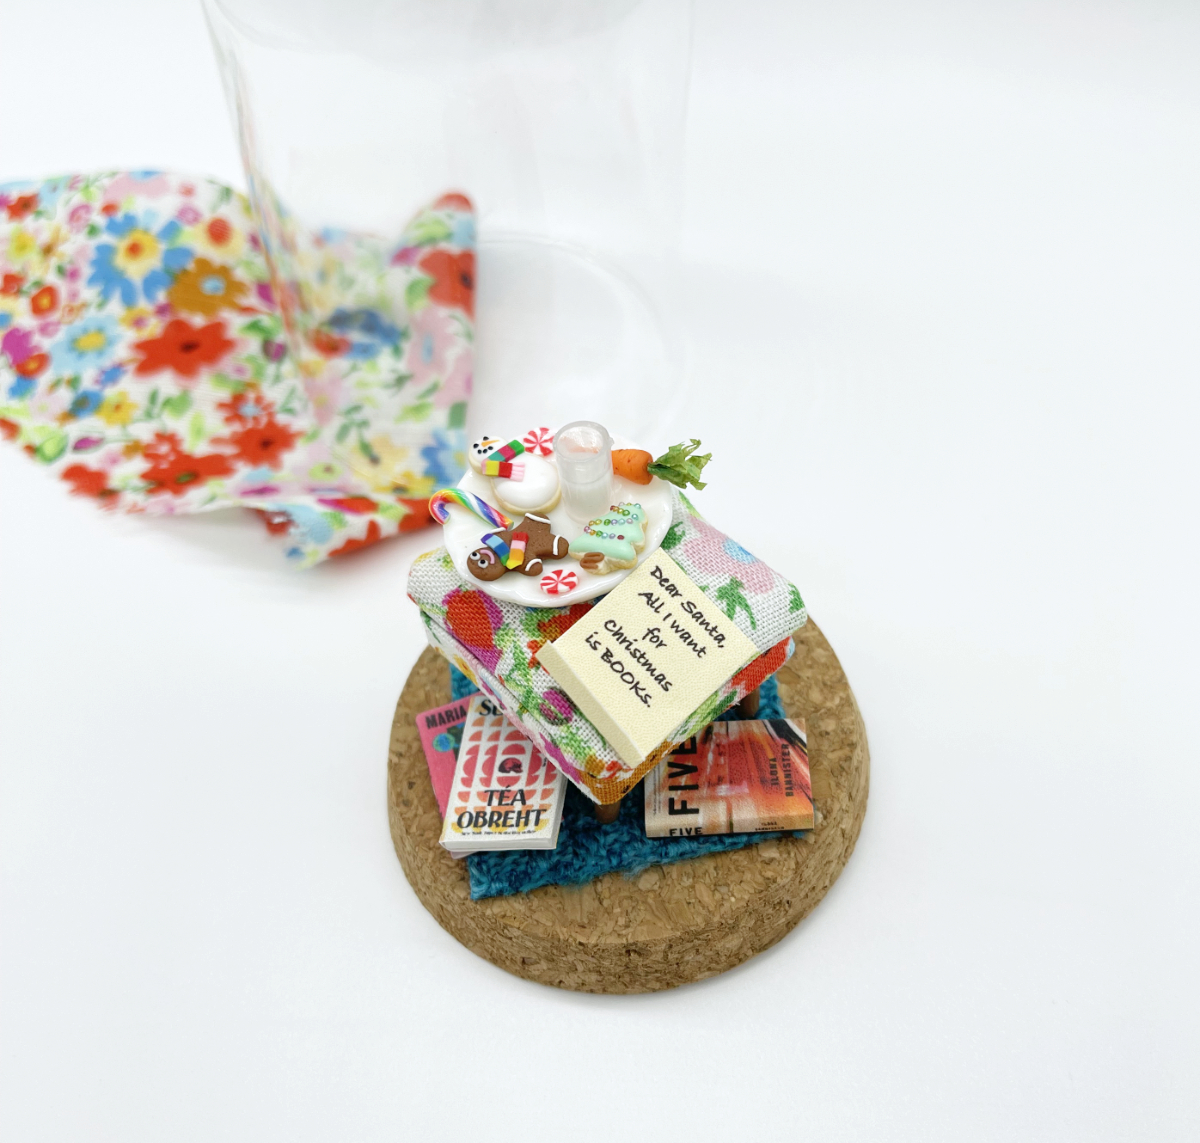
Oh. My. Goodness.
I was so excited to show you this book club Christmas ornament, I was snapping pics before the glue dried. 😍
The context: I wanted to commemorate my book club with—what else?—miniatures, so I made this teeny-tiny scene, compete with a few of the books we’ve read this year.
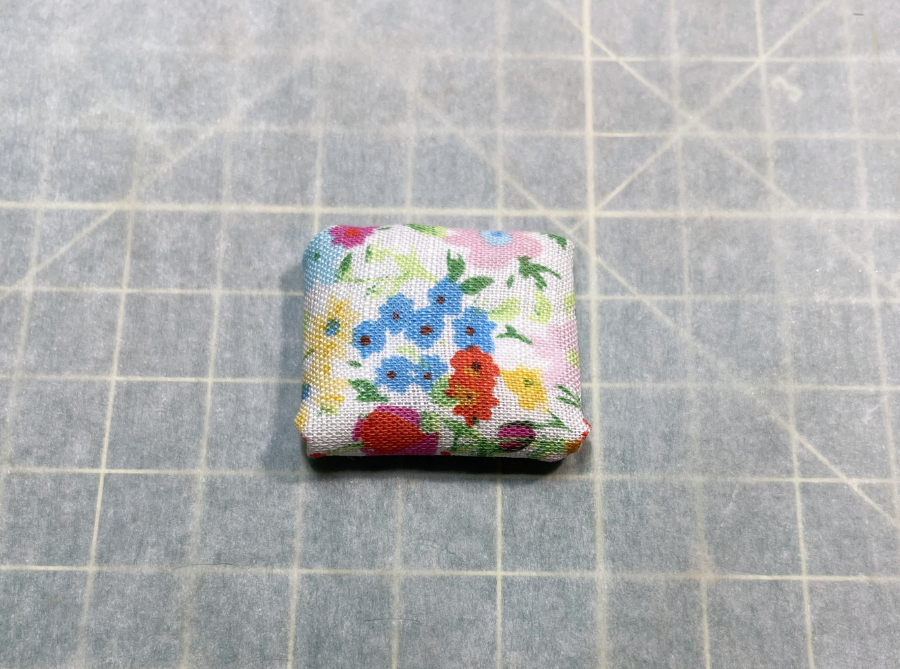
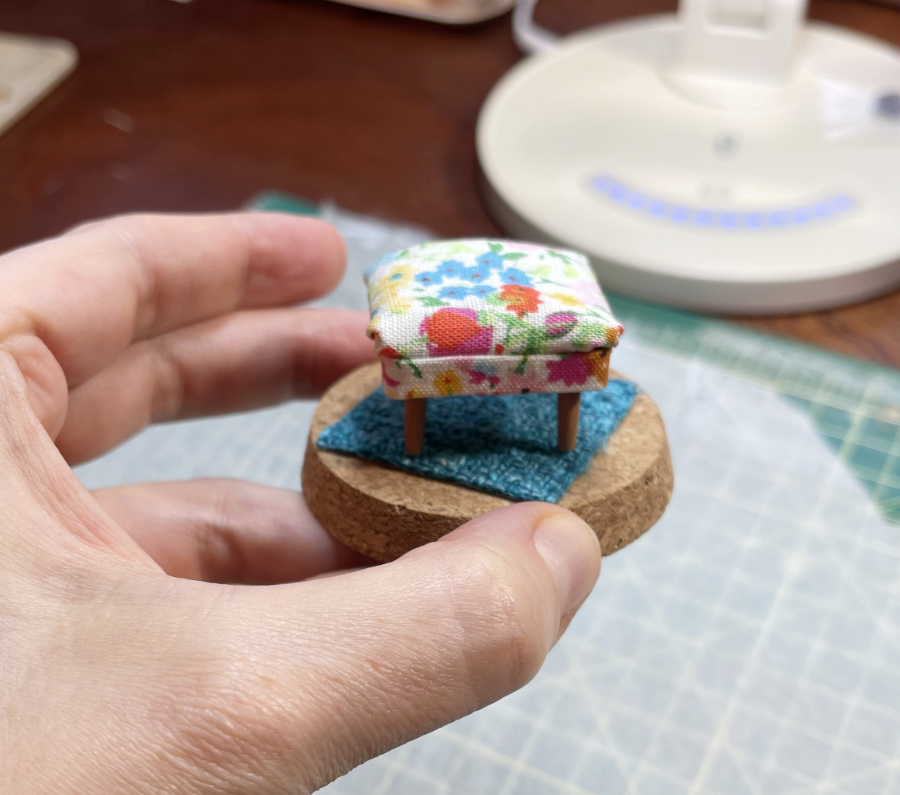
Making the Dollhouse Ottoman
This was the trickiest part, namely because I’d never made one before, and I was figuring things out as I went! I also had the self-imposed constraint of using materials I already had.
First, I cut out a rounded rectangle for the seat, making sure it fit inside my ornament dome.
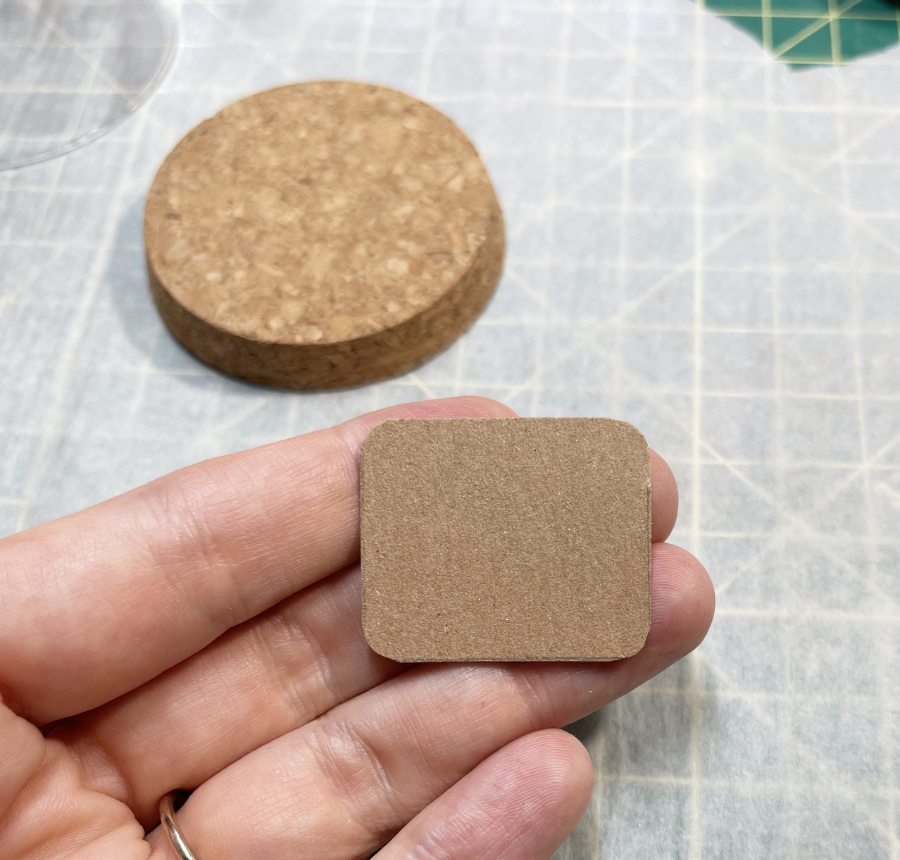
I used cotton batting for the cushion, but if I did this again, I wouldn’t add any glue in between the layers of batting. This resulted in a lumpier appearance, because the batting was flatter/more tamped down wherever there was glue. I’d probably just add one coat of glue on the cardboard and leave it at that.
For all of the fabric steps, I used Aleene’s Tacky Glue.
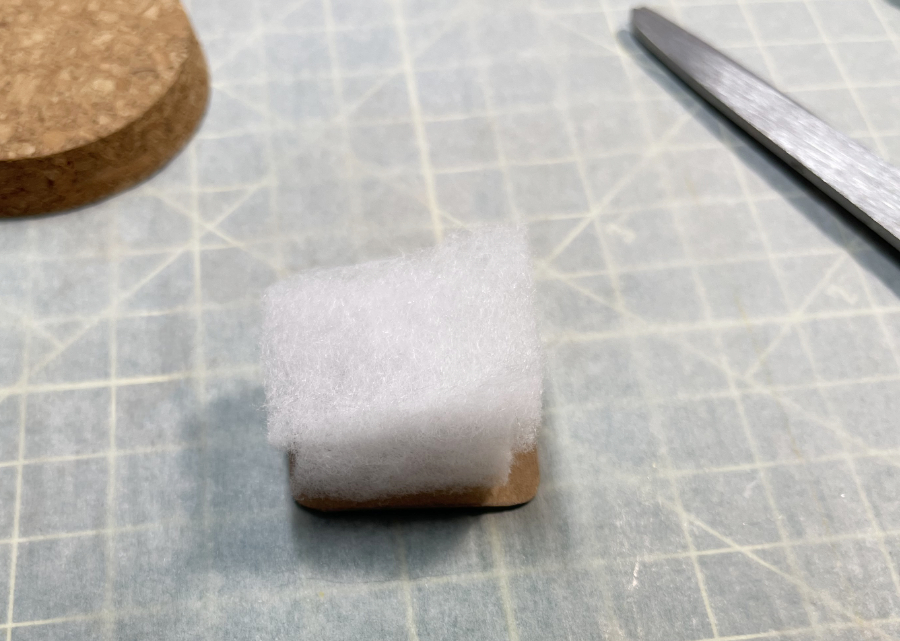
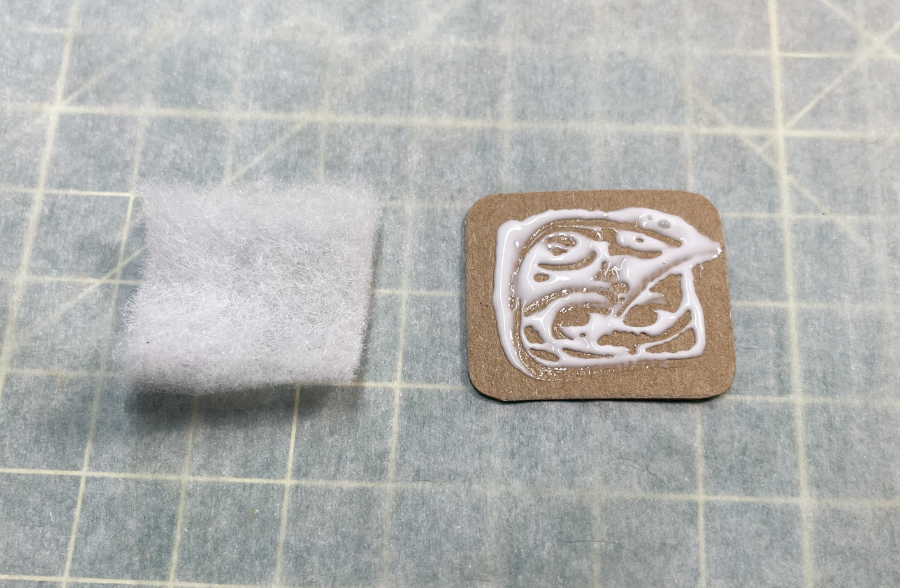
Finally, I wrapped the seat in a lightweight linen. I initially tried using a different fabric, but it was too thick, making it difficult to fold and glue. The linen was so much easier!
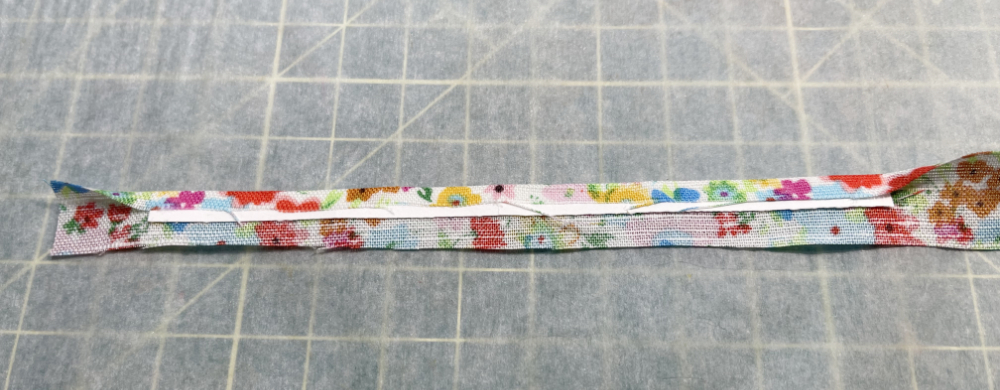
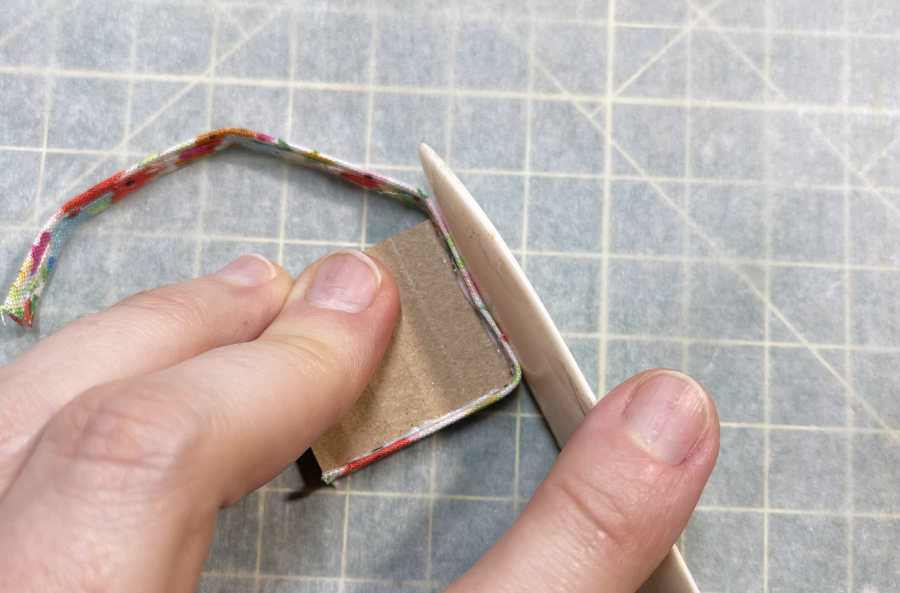
For the ottoman sides, I first wrapped a strip of card stock in the linen. Then I cut out a thicker rectangle of cardboard, slightly smaller than the cushion, and I glued the card stock strip around the edge.
A bone folder was really handy for this step!
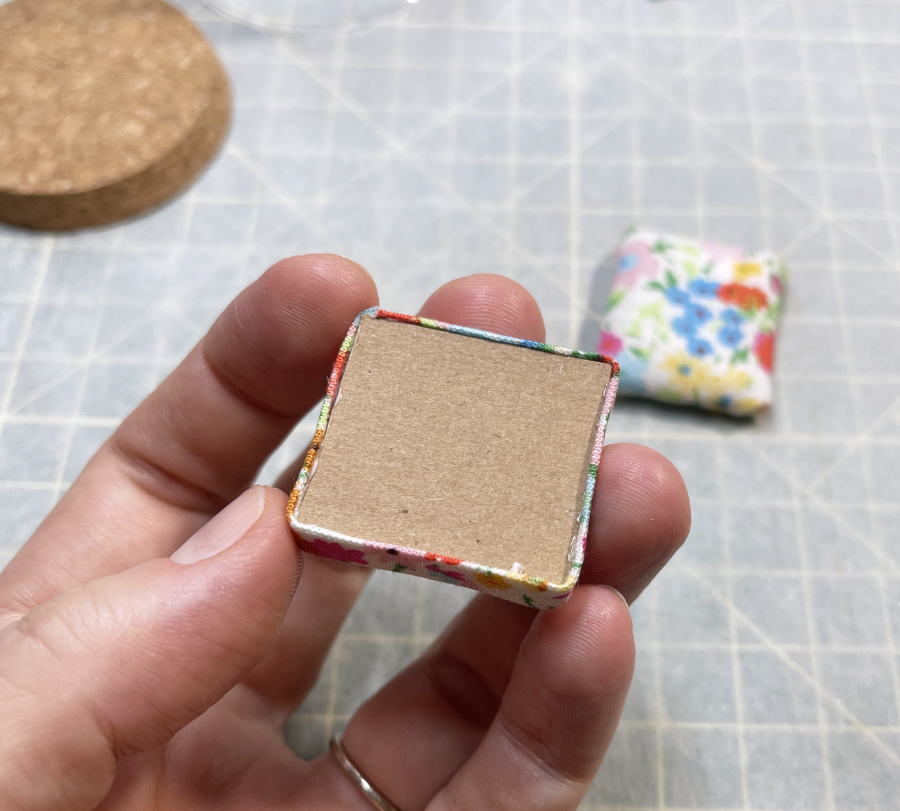
I glued this piece to the underside of the ottoman cushion and set aside while I made the legs.
The legs are made from polymer clay, which I rolled into tapered snakes. I planned on trimming the legs after baking to get nice, straight cuts, so I intentionally rolled out excess clay.
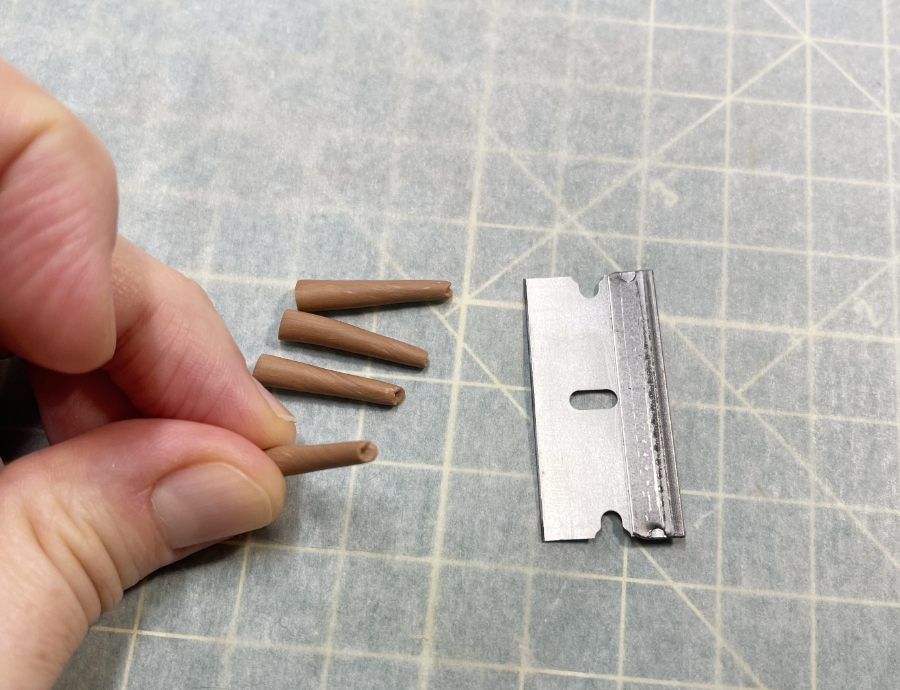
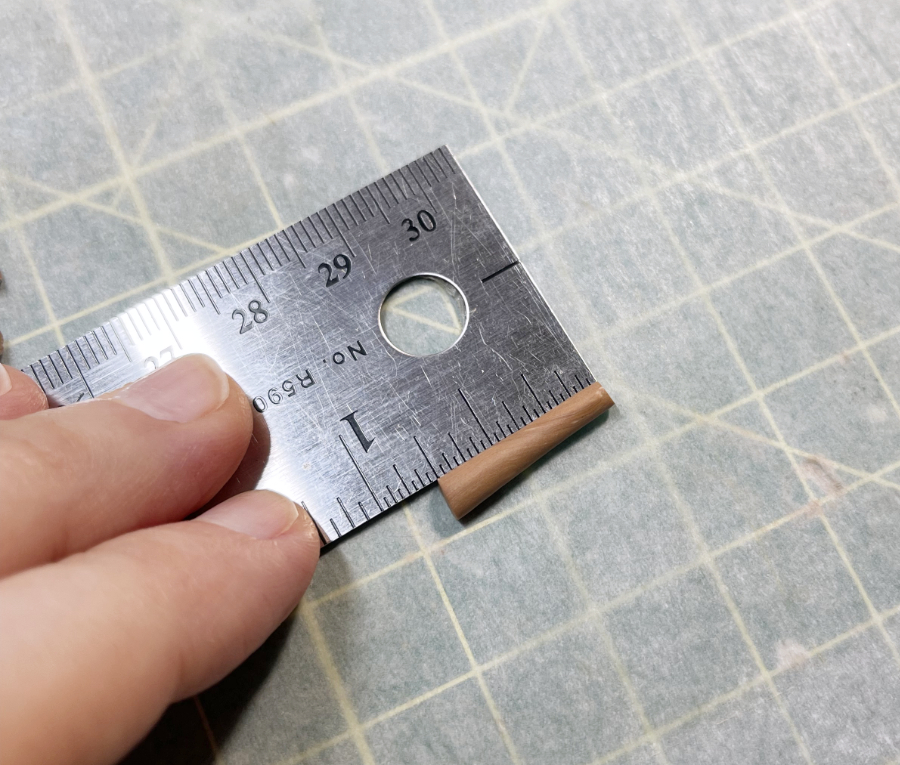
I noticed my cardboard cushion bottom was a little bit crooked, so I trimmed two of the legs a little shorter to compensate. I used E6000 to attach the legs to the cardboard.
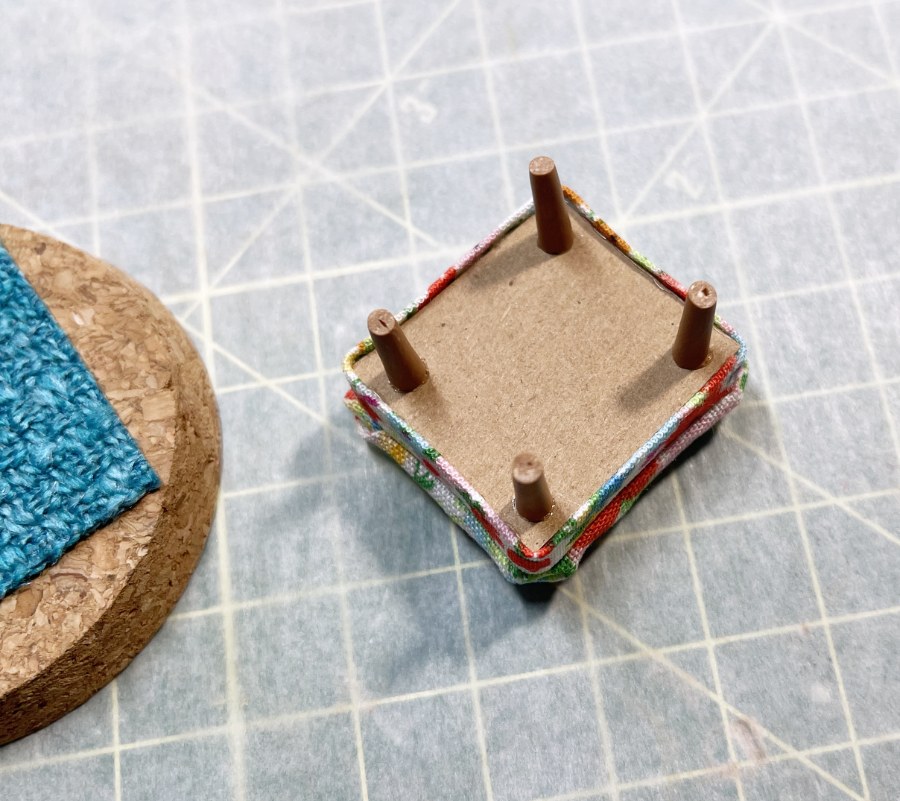
I glued a piece of fabric to the ornament’s cork base for a rug, then glued the ottoman to the rug.
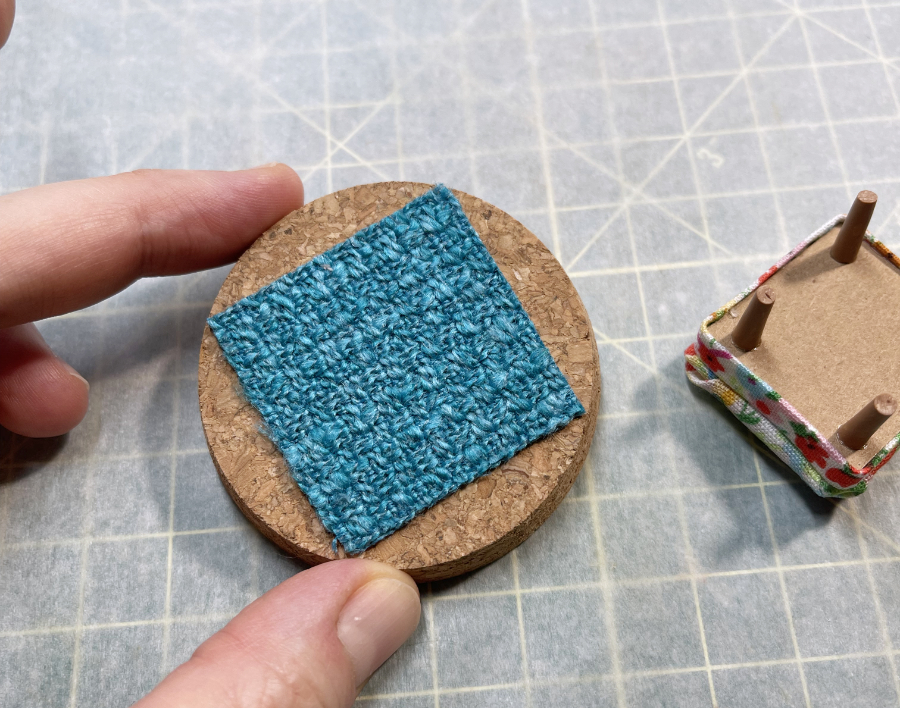
It’s so stinkin’ cute!!!
Next up: cookies!! I didn’t take many progress pics of the rest, but you can get a free cookie tutorial here.
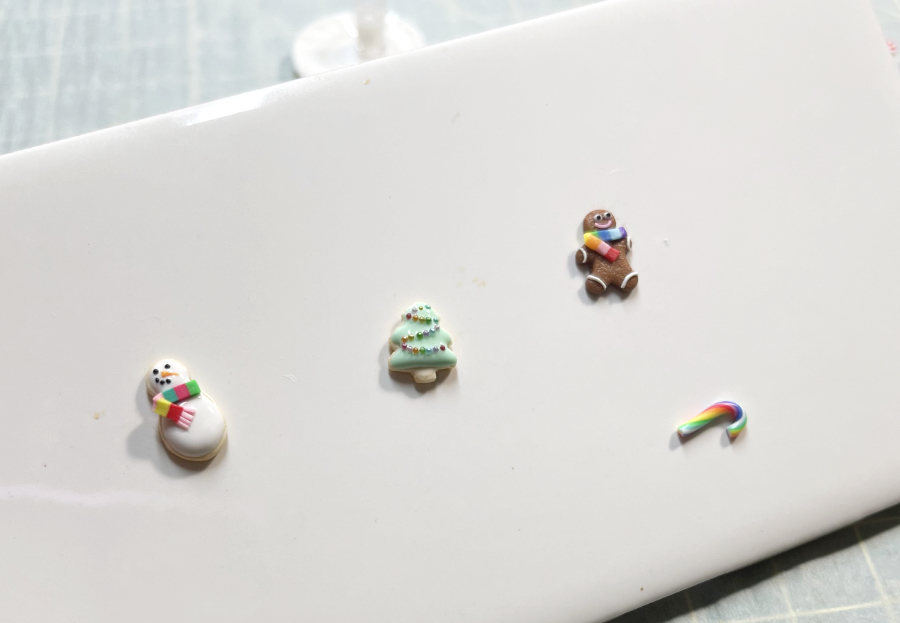
The carrot was made from polymer clay with a twist of green tissue paper glued to the top.
The milk was made from UV-cure resin tinted white with chalk pastel pigment. The foods and milk were glued to the ceramic plate with two-part epoxy (something like Gorilla Glue works great), while the ceramic plate was glued to the ottoman with E6000.
Technically, you can use E6000 to attach the foods to the plate as well, but I hate working with that stuff. It stinks to high heaven, and it loves to form annoying little strings that cobweb all over the place.
The books were made by printing out the covers on paper, which I then folded and wrapped around a piece of white foam, securing with Aleene’s Tacky Glue.
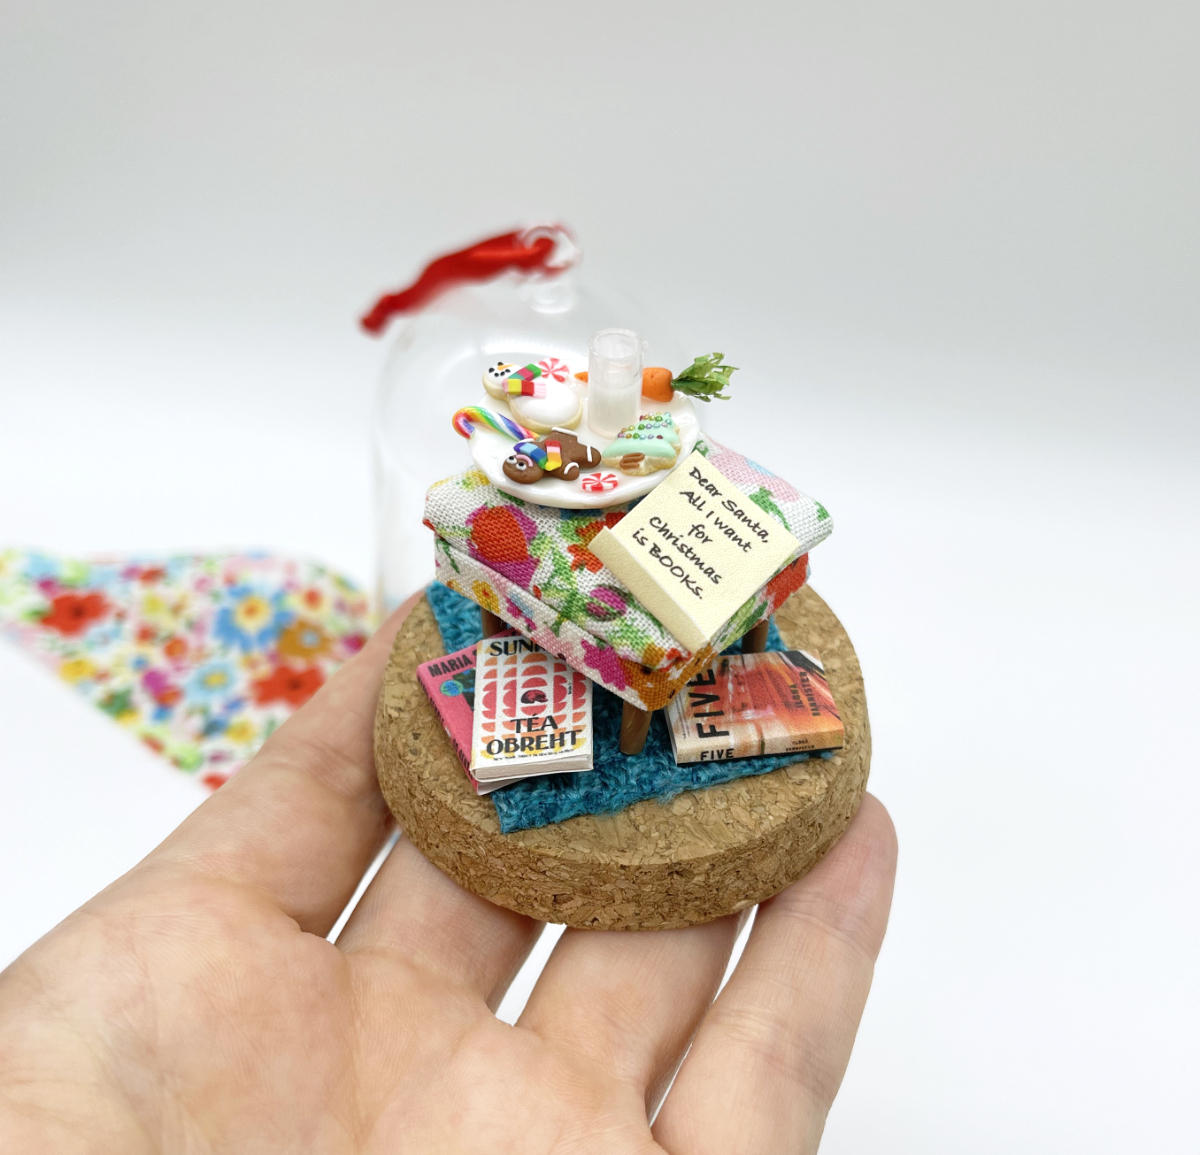
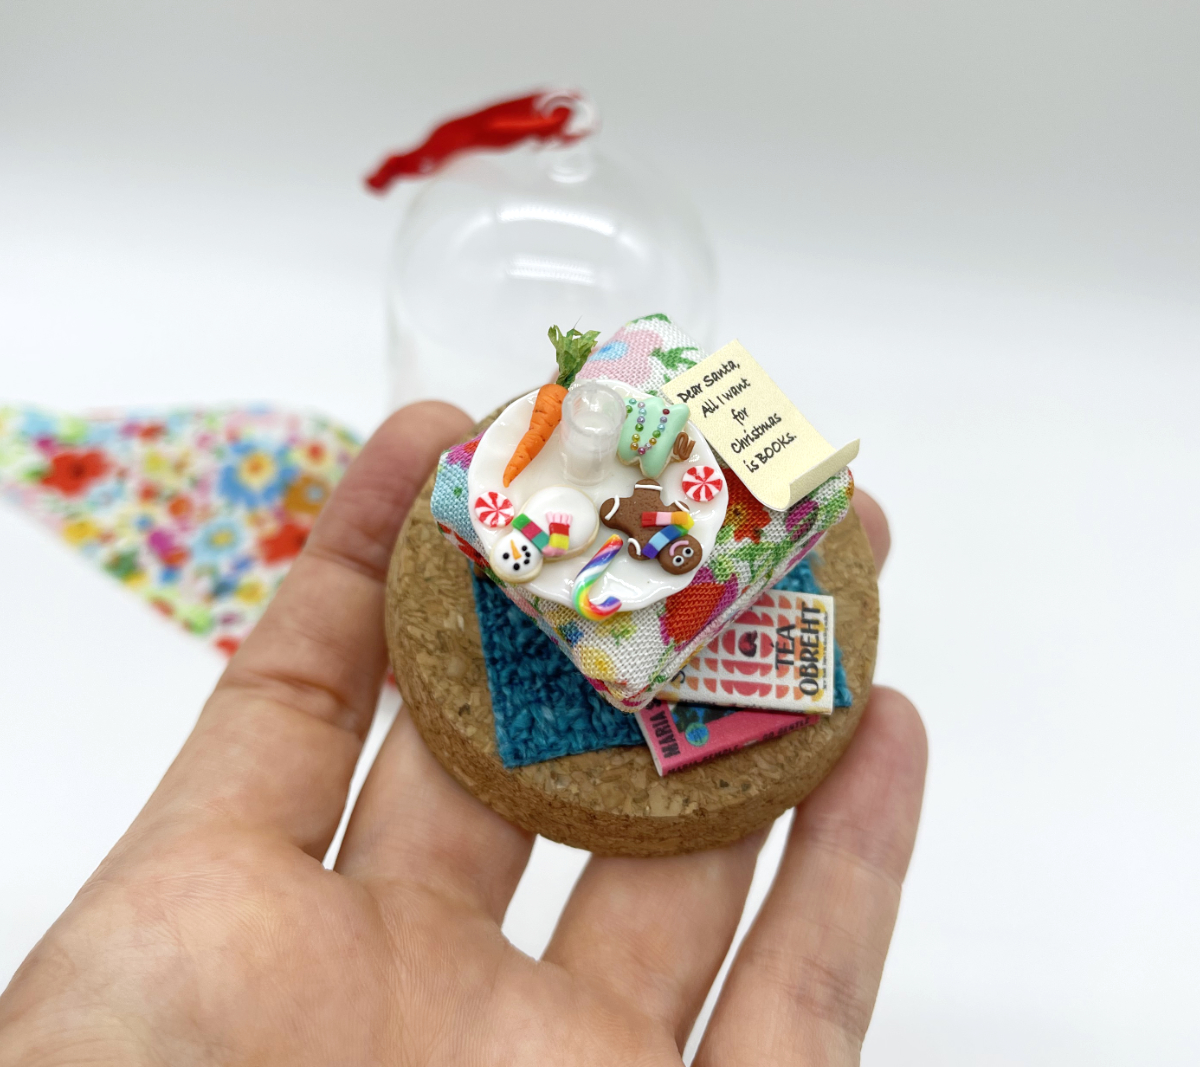
I am so in love with how this turned out! The hardest part is going to be giving it away… 🫣
Feeling inspired?
One of my all-time favorite tutorials is my miniature bakery and ice cream parlor book.
I obsessed over every little detail, documenting the entire process. Best three months of my life. 😁